A lightened-up, dairy-free version of the classic tuna melt. This lunch or dinner sandwich comes together in 15 minutes flat.
 My boyfriend and parents blessed me with two of my new favorite things this past Christmas: a 50mm lense for my DSLR and a tripod. I have been actively working to improve my food photography over the last year, and have hopes to step it up a notch in 2015. Getting a “big girl” lense outside of what comes with the camera kit was the first step. The second step… well, that would be to figure out how to work the darn thing!
 Two weeks ago, I set out on a mission to tackle photography head on. What I mean by that is that it is a bucket list goal of mine to finally take my camera off of “auto” mode and use it in manual mode. That is kind of the point of investing in a DSLR anyways, isn’t it? I spent several hours on a Saturday and Sunday reading about aperture, shutter speed, ISO, focal point, and depth of field. I think that I now have a decent grasp on what these concepts are, and how to manipulate them on my camera. Unfortunately, it isn’t as simple as that. Knowing how to set your aperture, shutter speed, and ISO appropriately to create a bright, clear, and focused image is certainly easier said than done. But I am not giving up!
This is my first post featuring food photography using my camera in manual mode. I am pretty happy with the lighting and my food presentation of these photos, but I can definitely see some of the areas that I need to work on. A big thing is working on creating images that are more focused and clear, and I am hoping that I can improve upon this with time. Until then, bear with me! I am certainly not a quitter, so I am going to keep truckin’ along…
 Speaking of truckin’ along… let’s get to the recipe!
A couple weeks back I broke the news that I am starting to incorporate fish back into my diet. I mentioned in that particular post that I did not expect to be sharing any seafood recipes until I got the hang of things. Well, it turns out you cannot mess up canned tuna too easily. All of you fish eaters can rejoice because I am sharing a recipe for something that I always thought sounded delicious, but had never tried: a tuna melt sandwich. I put my own spin on the traditional tuna melt by healthifying it and making it dairy-free. Not too shabby for my first seafood post, eh?
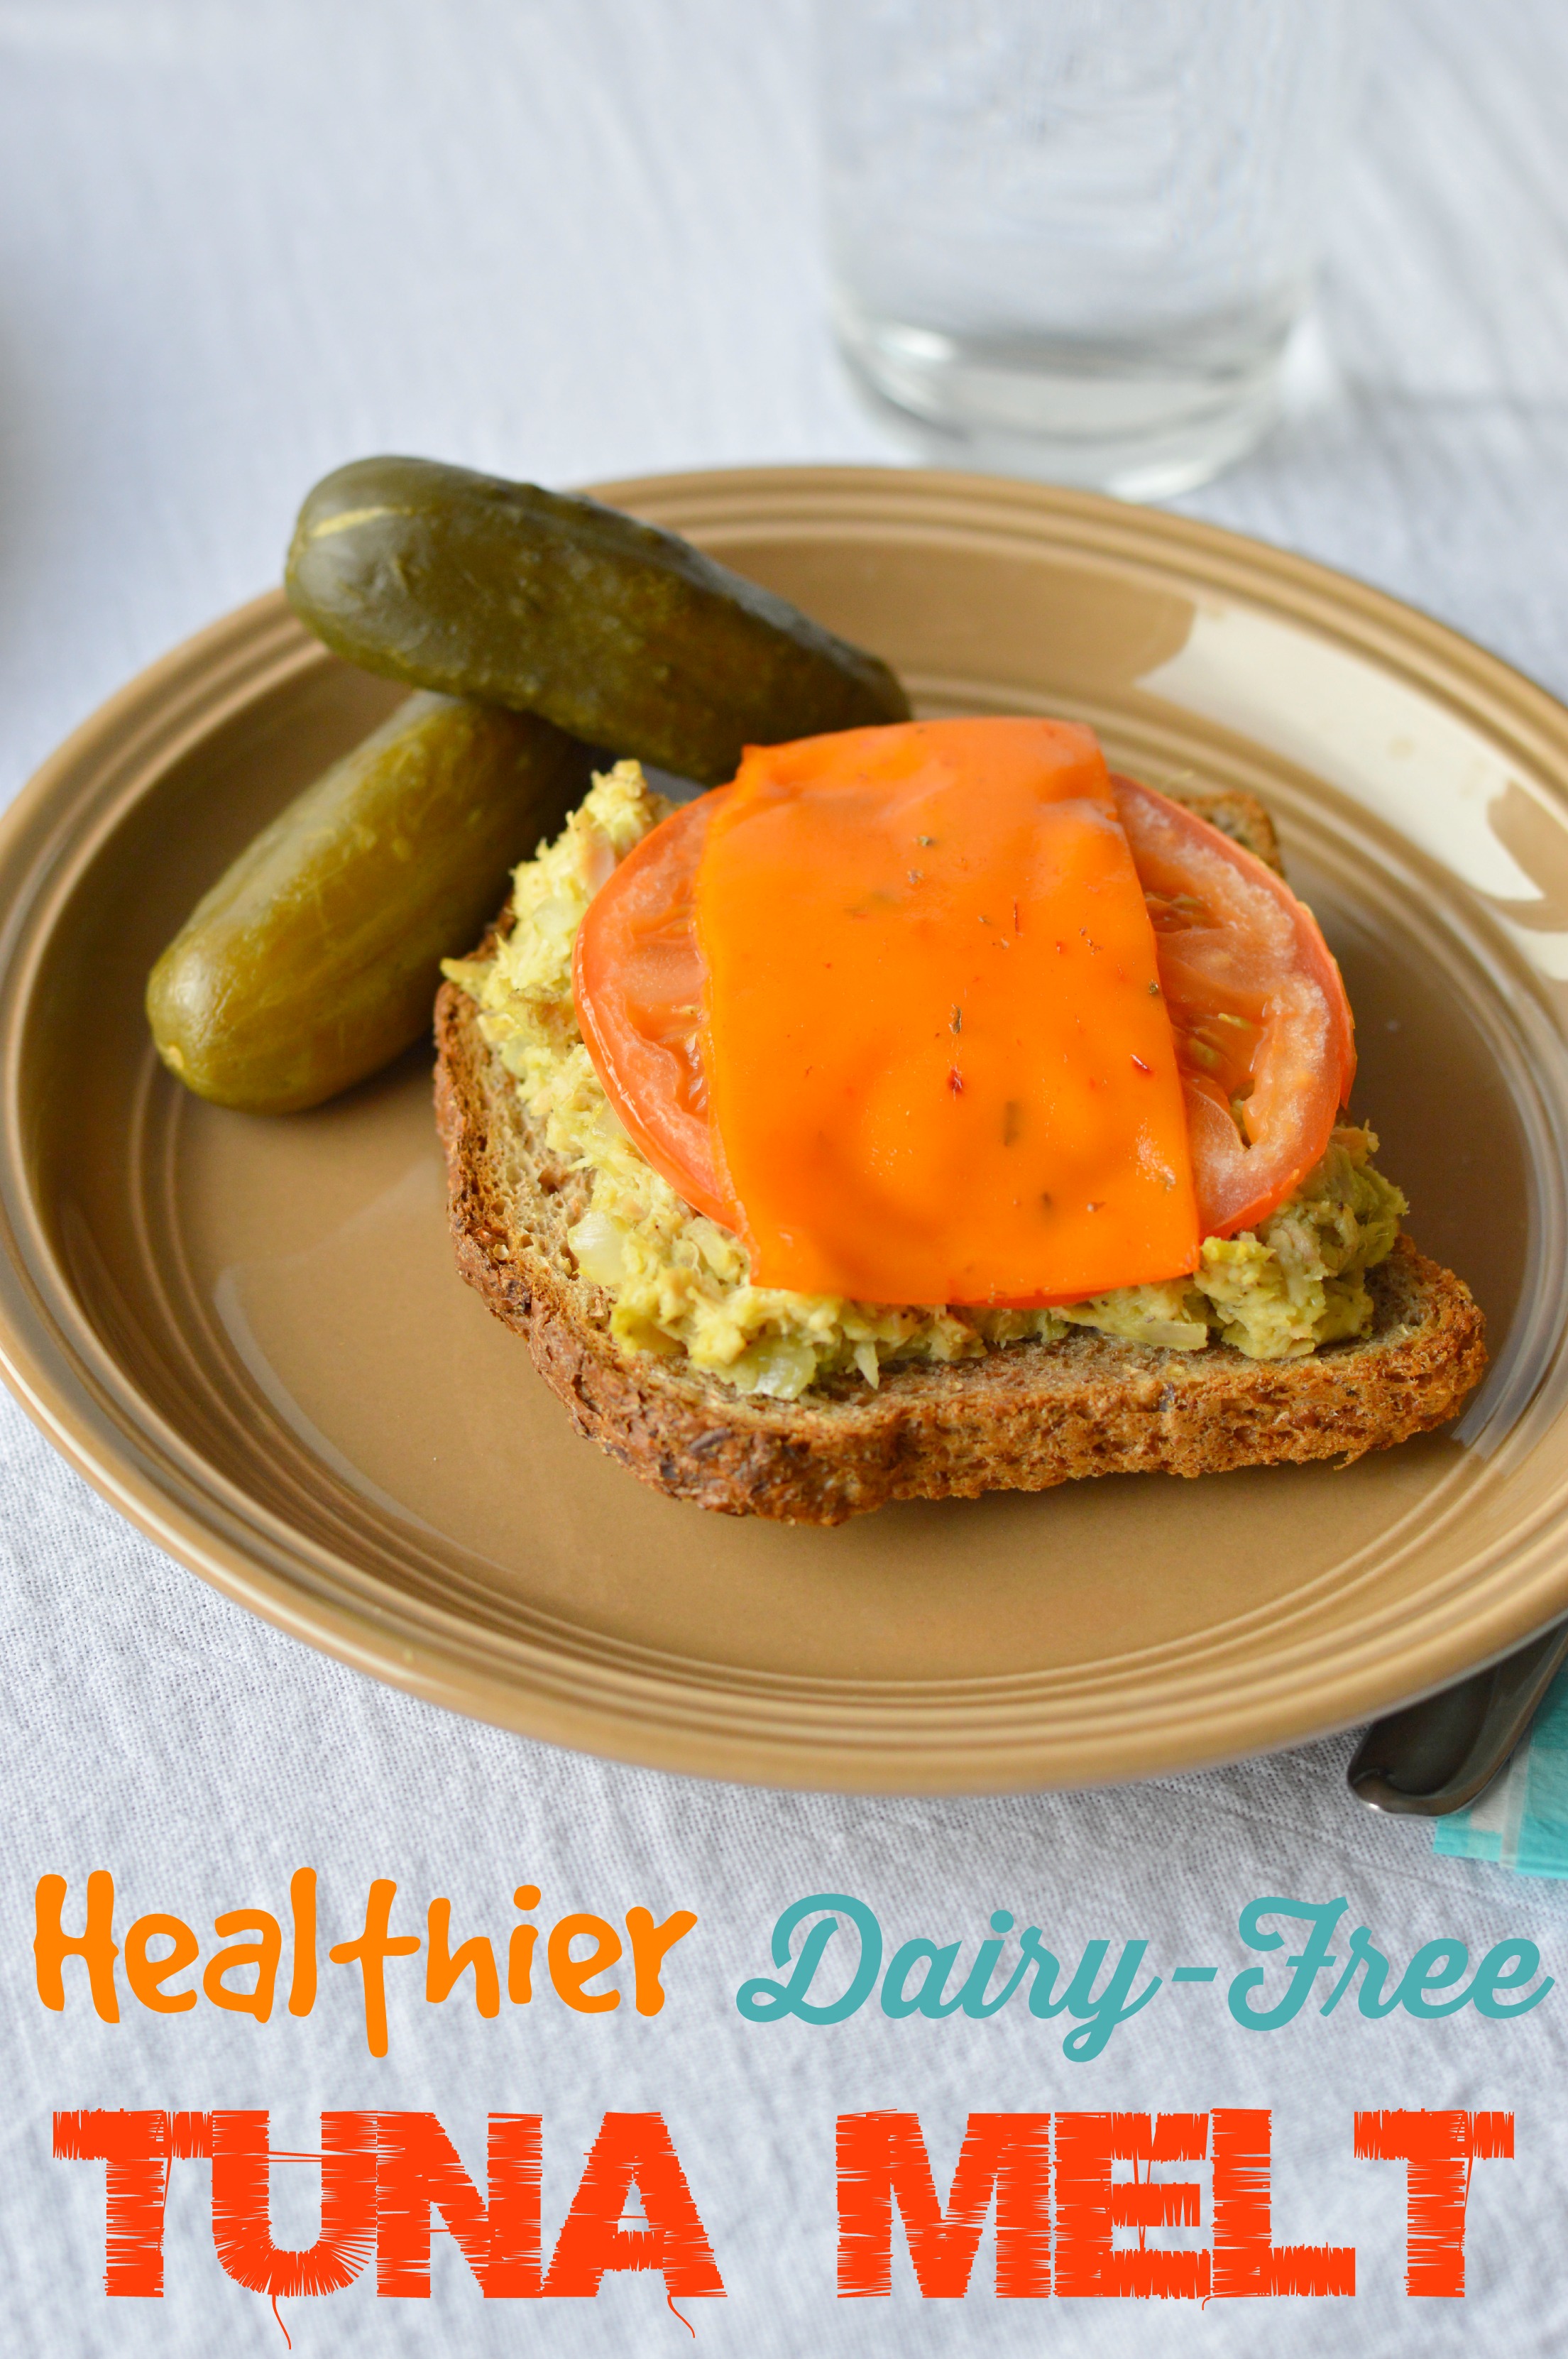 Healthier Dairy-Free Tuna Melt
Serves 2
Ingredients
5 oz can chunk white albacore tuna (in water with no added salt), drained
1/2 ripe avocado, mashed
1/2 tsp lemon juice
1 TB finely diced shallot
1/4 tsp black pepper
1/8 tsp fine sea salt
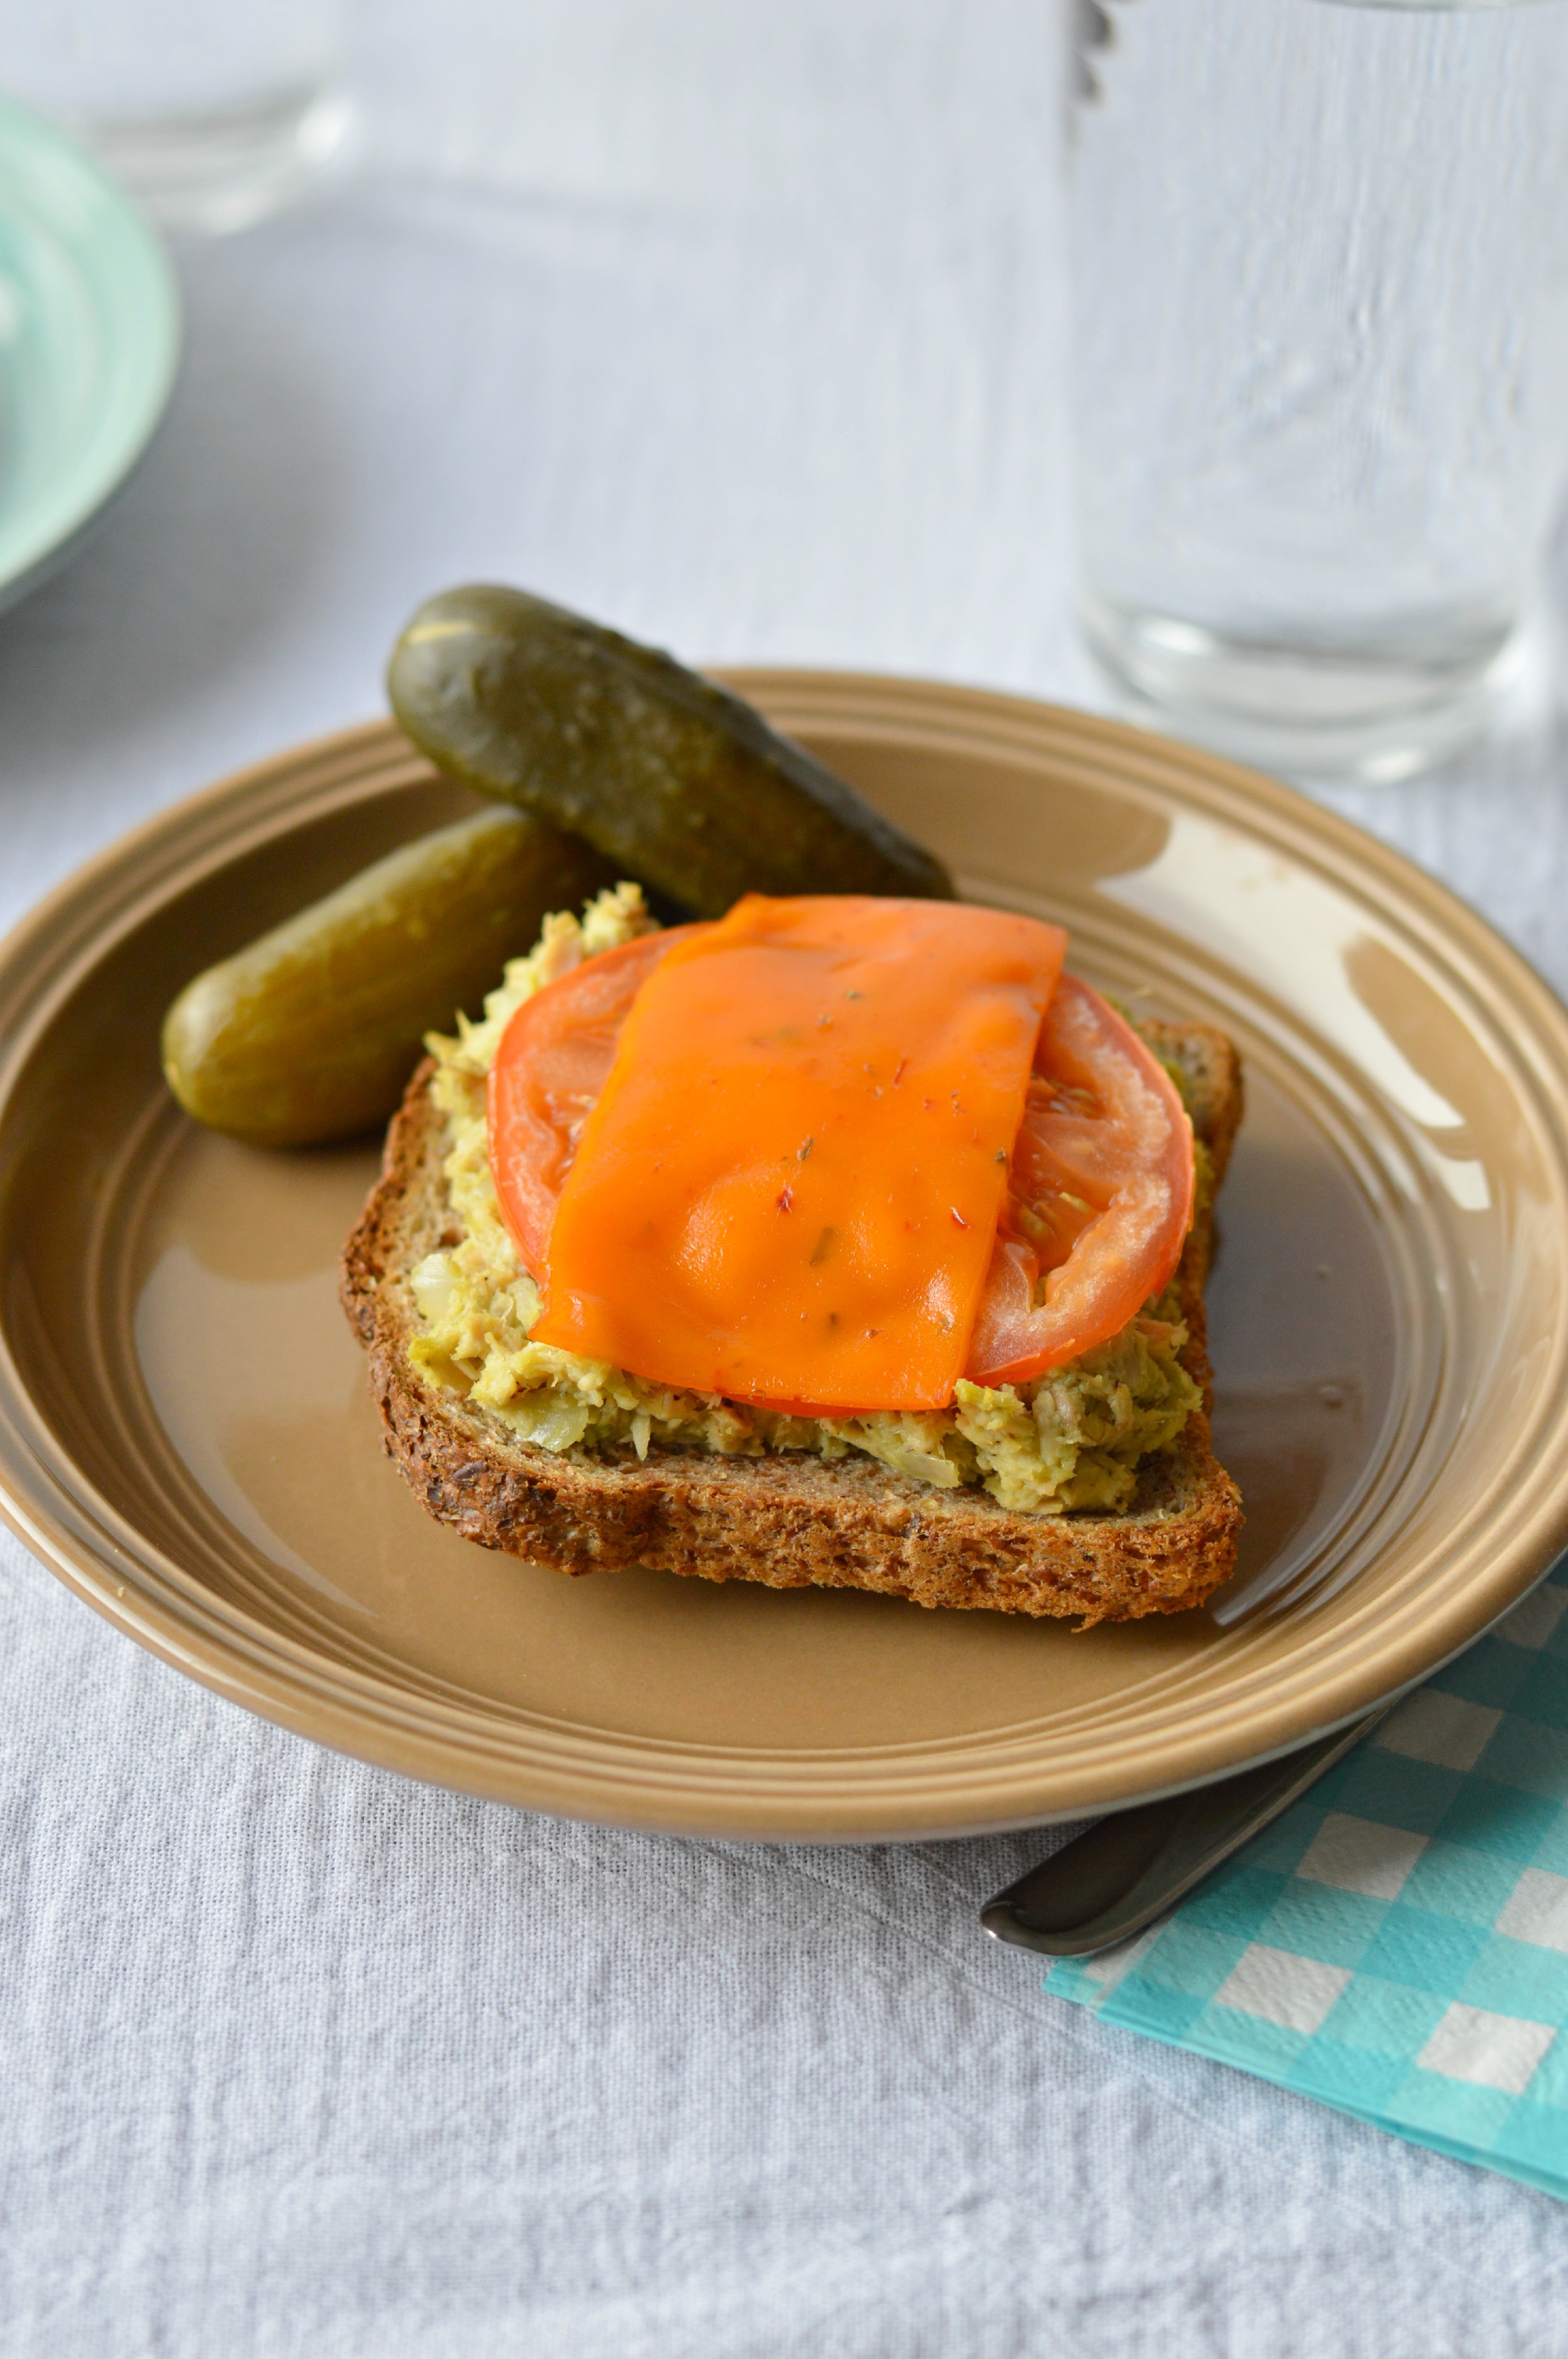
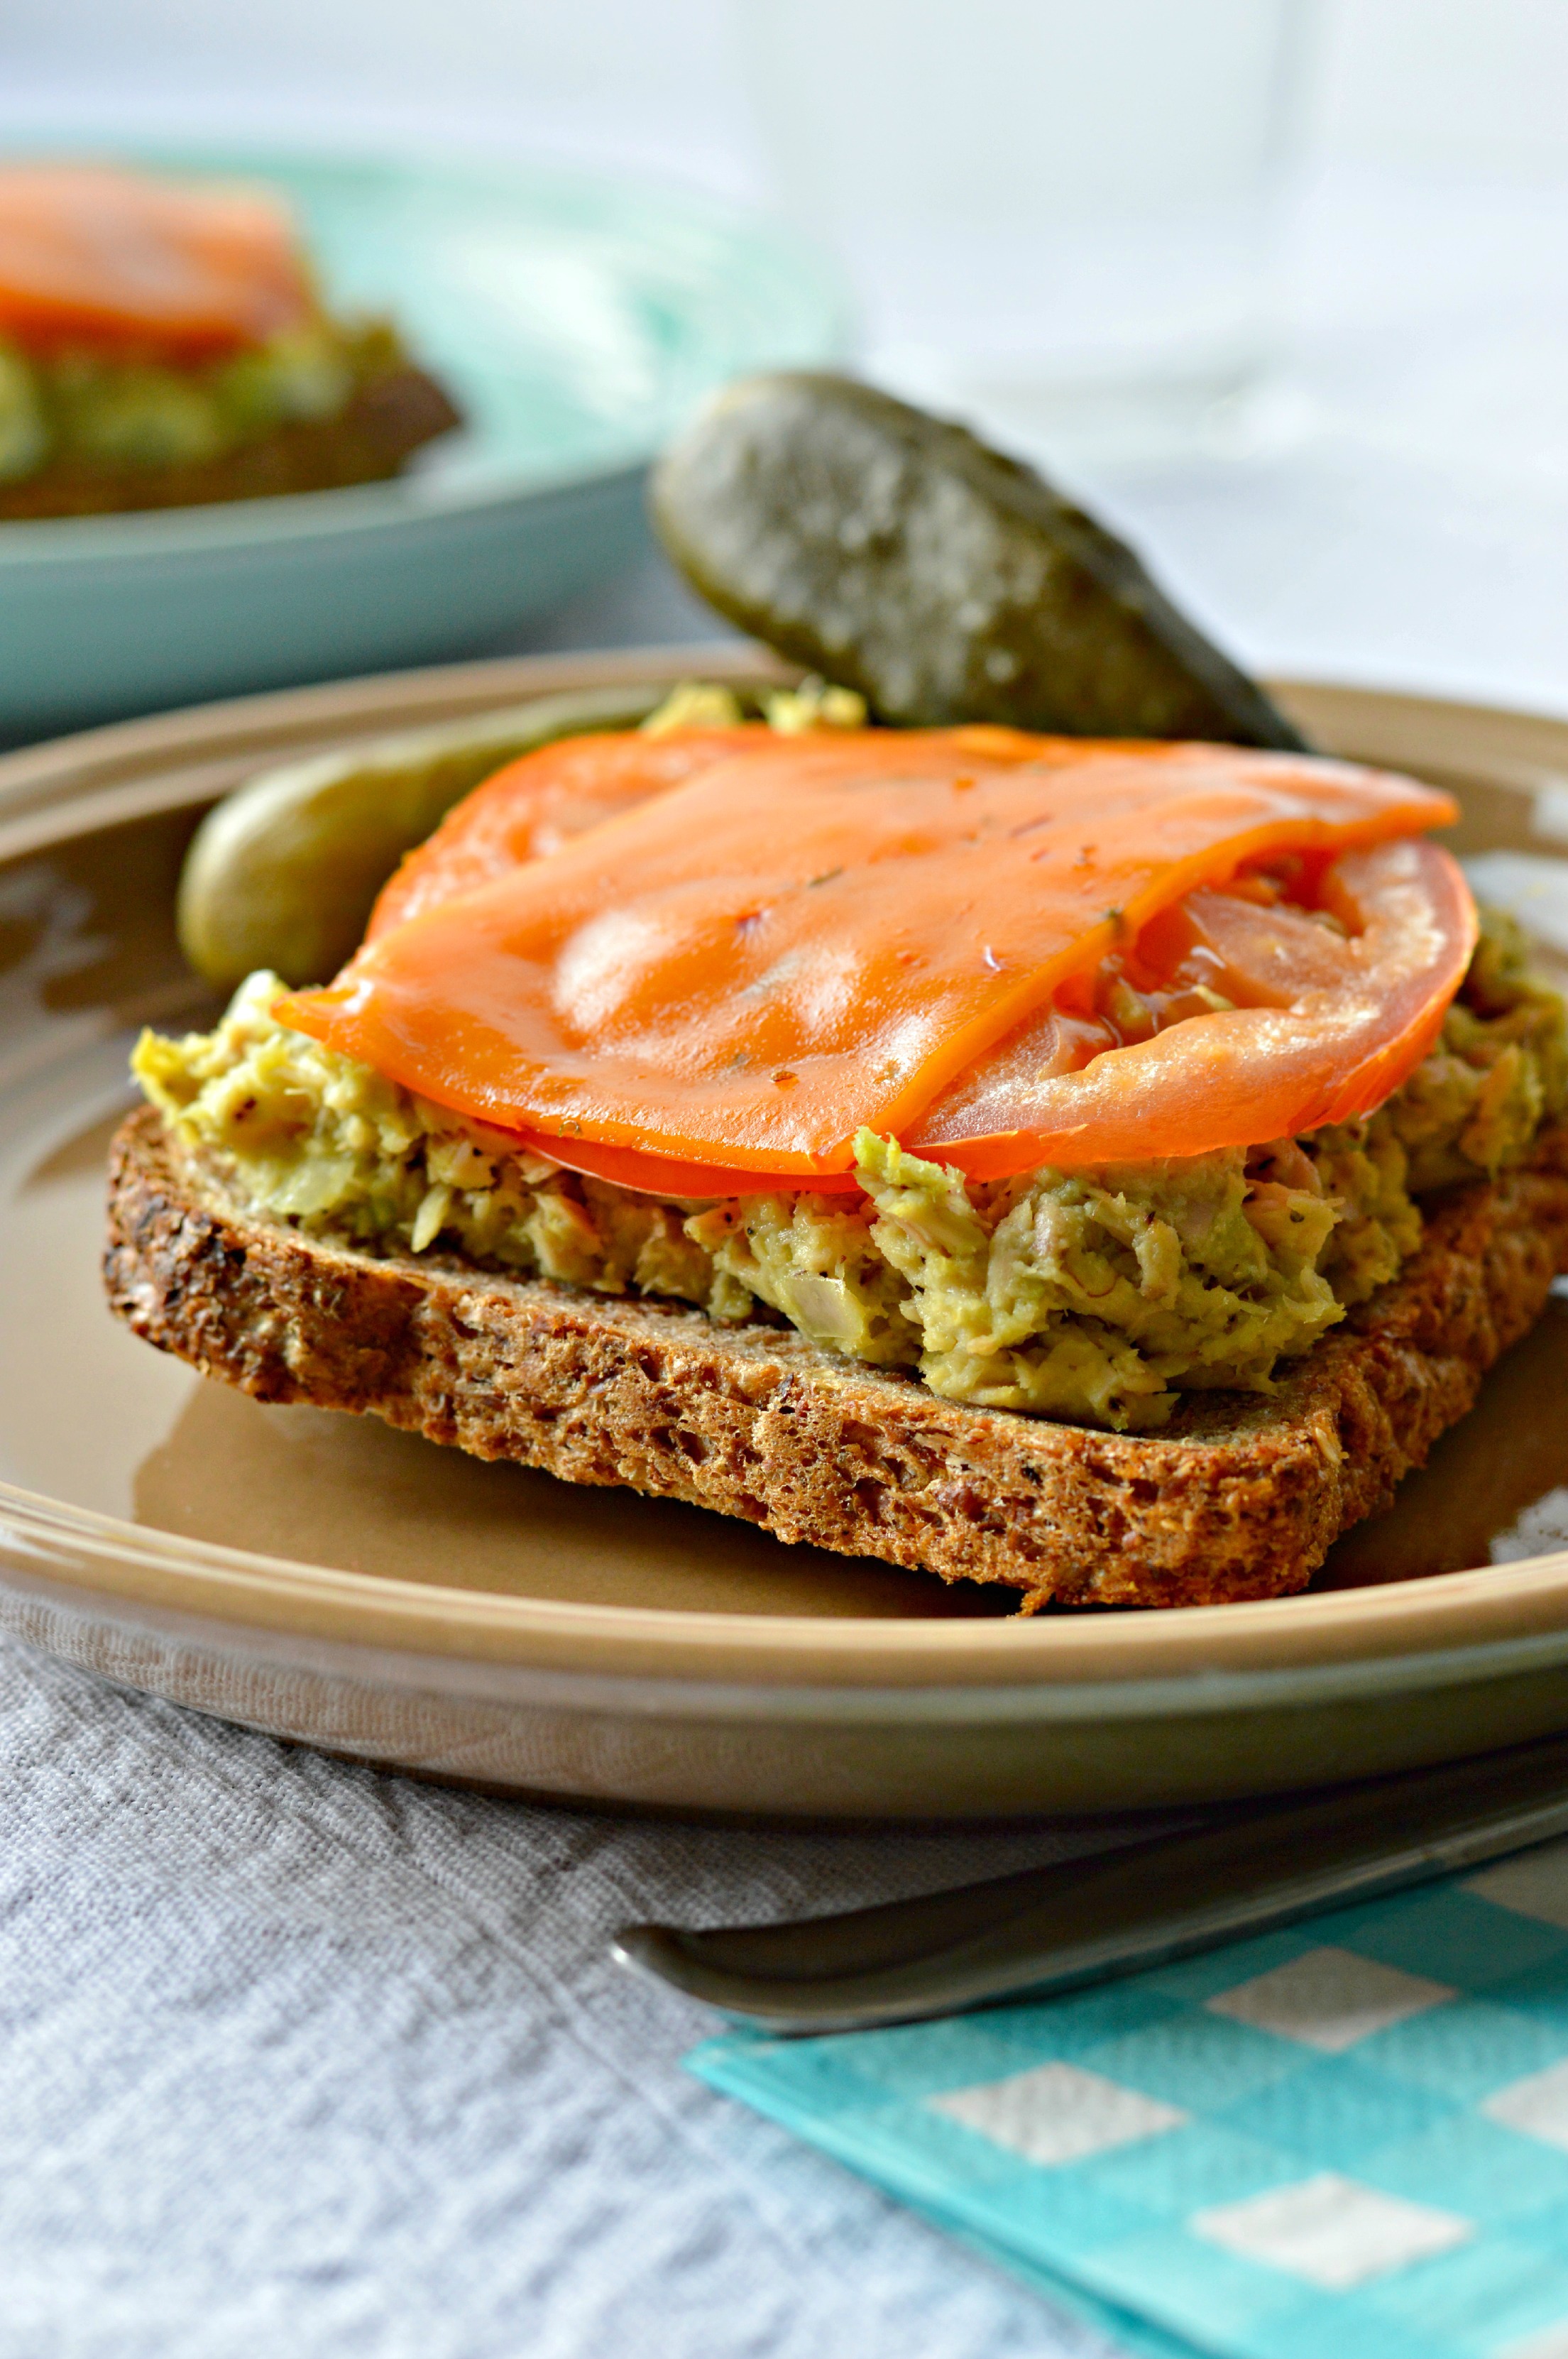
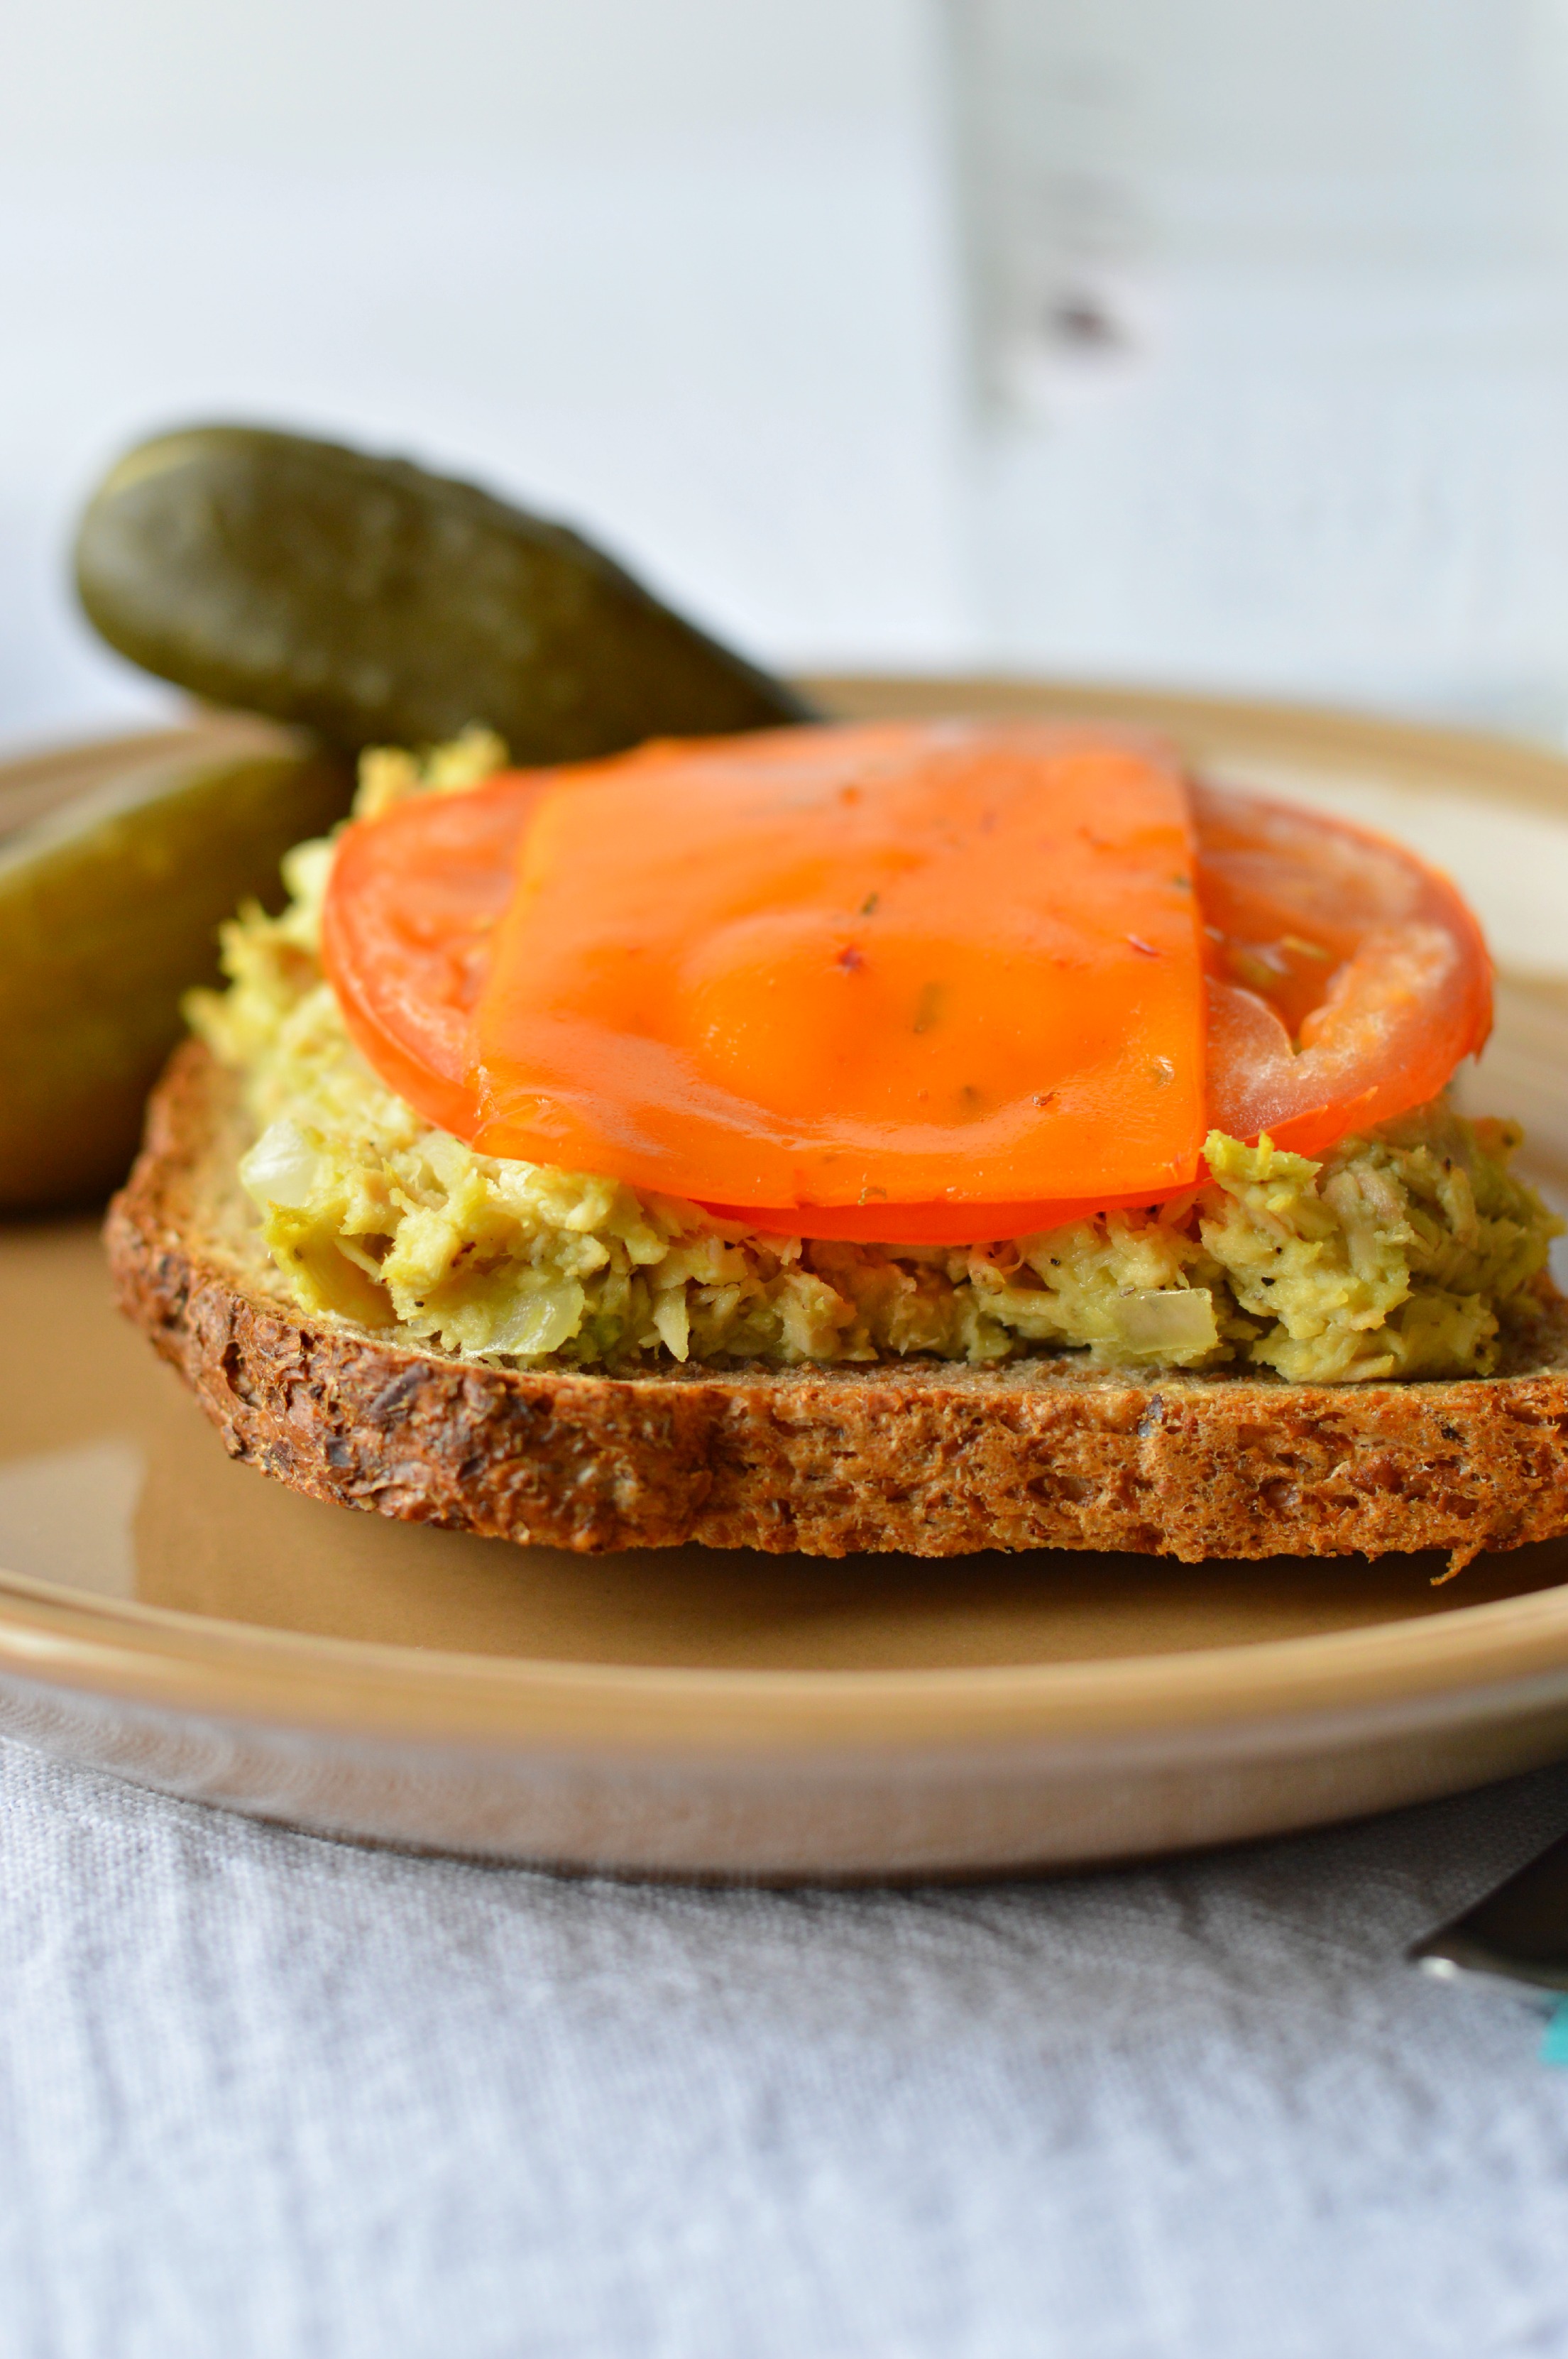
2 slices sprouted wheat bread (I used Ezekiel)
2 thin slices of tomato
1 to 2 slices dairy-free “cheese” (I love this brand)
Vegan butter, coconut oil, or olive oil cooking spray, optional
Directions
1. In a medium bowl, stir together tuna, avocado, lemon juice, shallots, black pepper, and sea salt until well combined.
2. Heat a large skillet over medium heat. If desired, spread one side of each slice of bread with either vegan butter or coconut oil, or spray with cooking spray. Place this side down into the heated skillet. Grill for approximately 3 minutes.
3. Lower the heat to medium-low. Scoop tuna mixture onto each slice of bread. Top the tuna with one tomato slice and the vegan “cheese.” I used one slice of “cheese” split between the two.
4. Cover the skillet with a lid (this helps the “cheese” to melt). Continue cooking for approximately 5 more minutes, or until the slices of bread are golden brown.
5. If desired, you can place the tuna melts into the oven under the broiler to melt the “cheese” more. I did this for about 2 minutes on low.
 This recipe makes two servings when plated alongside fruit or vegetables. Or, if you are an extra hungry person like me, you can just dig right into both slices! I would, however, recommend adding in the pickles on the side. It’s not a sandwich without some pickles.
 There you have it. My first seafood post here on Clean Eating Veggie Girl! I cannot imagine that these will happen weekly by any means, but do not be surprised if you find some popping up once or twice per month. Back to the veggie-filled posts tomorrow! You can also expect more photography experimentation in my posts from here on out. Now that I have started using manual mode, I need to tough it out and LEARN it.
Are you ready to try this healthier dairy-free tuna melt recipe? Please pin it and share it on Facebook and Twitter using the buttons below.