A step-by-step tutorial explaining how to make the perfect fried egg. Start practicing, and then enjoy eating fried eggs for breakfast, lunch, and brinner!
 I have always loved eggs, but we have been extra special BFFs these past 18 days. Preparing Whole 30-compliant lunches and dinners is not hard at all, but I have found that my creativity in the breakfast department is lacking a bit. I cannot eat toast. I cannot eat pancakes or waffles. I cannot eat oatmeal or breakfast bakes. So what does that leave? A lot more than you think … but also A LOT of eggs!
 Eggs are easy, delicious, healthy, and quite versatile. What’s not to like?
And while I enjoy omelets and scrambled eggs, my favorite way to cook my eggs is definitely to fry them. Sometimes I leave the yolk runny, sometimes I cook the yolk to medium hardness, and often times I enjoy the yolk fully cooked through. It just depends on my mood! Lately, however, they have been looking a lot like this:
 Fried, crispy, and with a well-cooked yolk. Don’t worry runny yolks, I still love ya. But lately, I am really feeling this.
Since my fried eggs have been popping up on Instagram like crazy, I have received quite a few comments about how perfect my eggs are cooked and requests from those wanting to know my cooking technique. When I find a good thing, I don’t like to keep it a secret. I want y’all to be eating the perfect eggs, too! It was only a matter of time before I photographed this step-by-step tutorial on exactly how I cook my eggs. And while my egg in this photograph does not look nearly as pretty as it normally does (ironic, eh?), you get the gist!
I moved back and forth between my stovetop and photography area for the sake of lighting and prettiness, but obviously you will be at your stove!
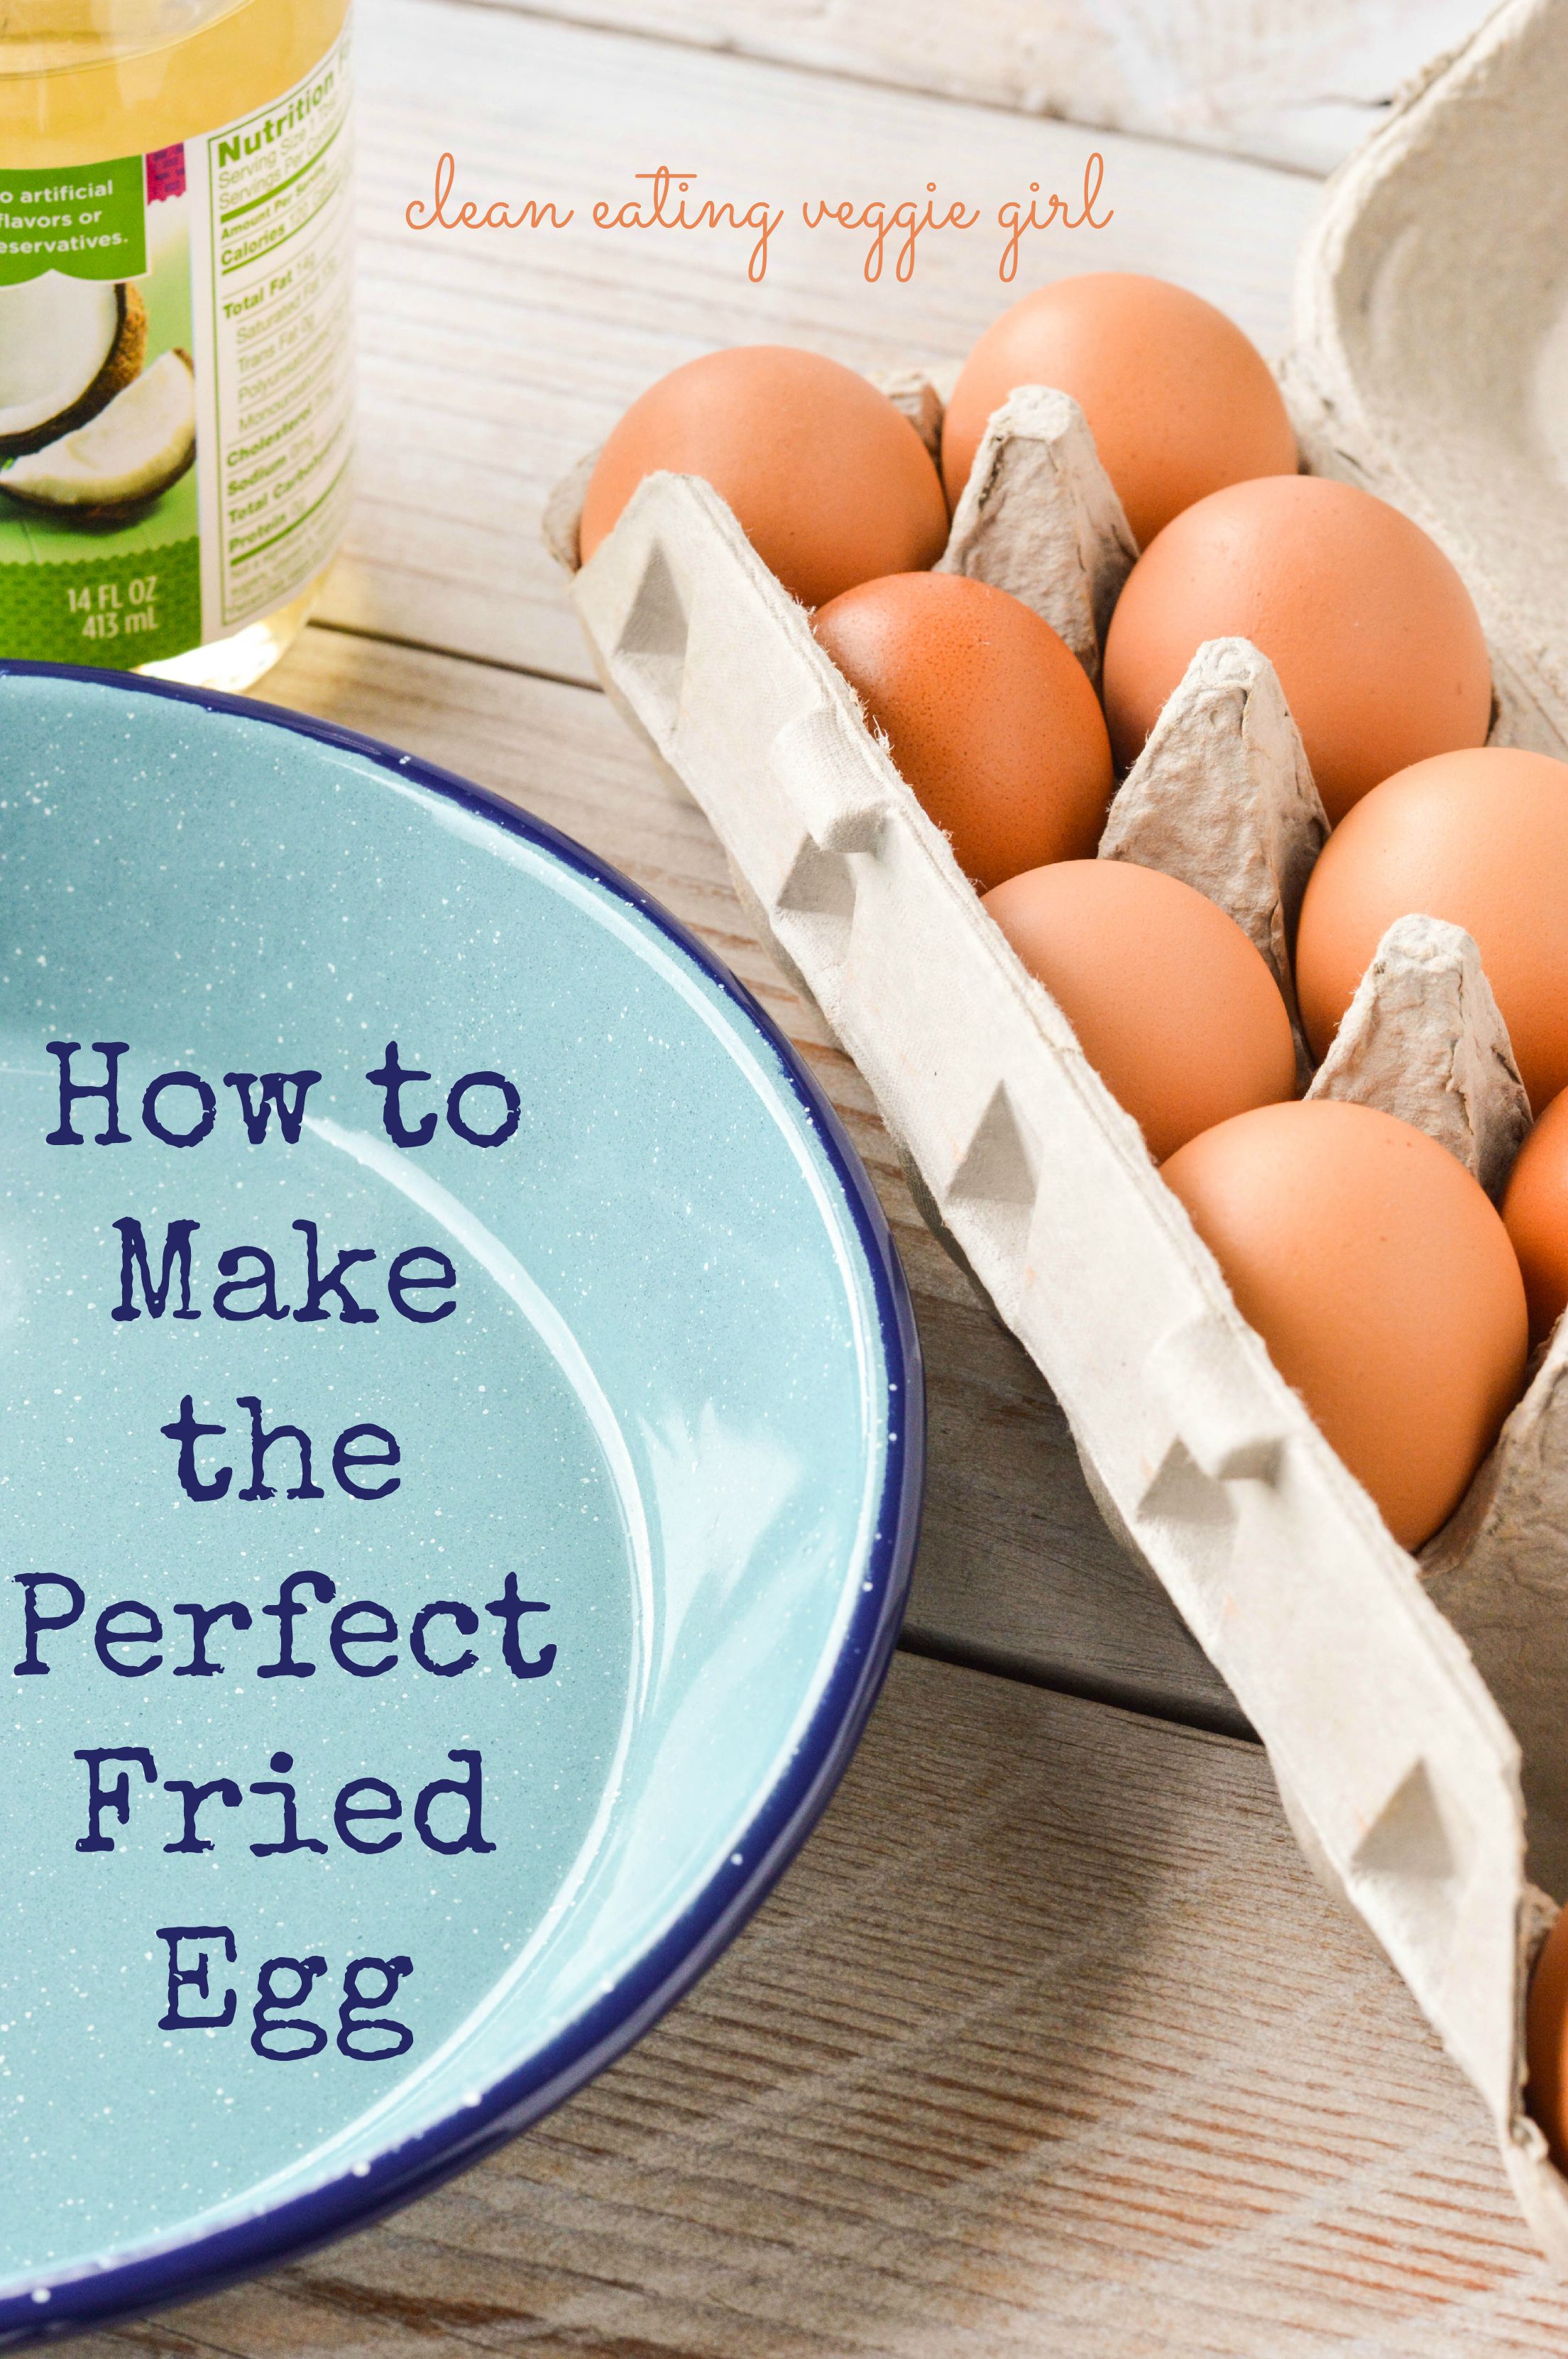
How to Make the Perfect Fried Egg
 Making the perfect fried egg requires four essentials: an egg (duh), coconut oil, a frying pan, and a lid. That’s it!
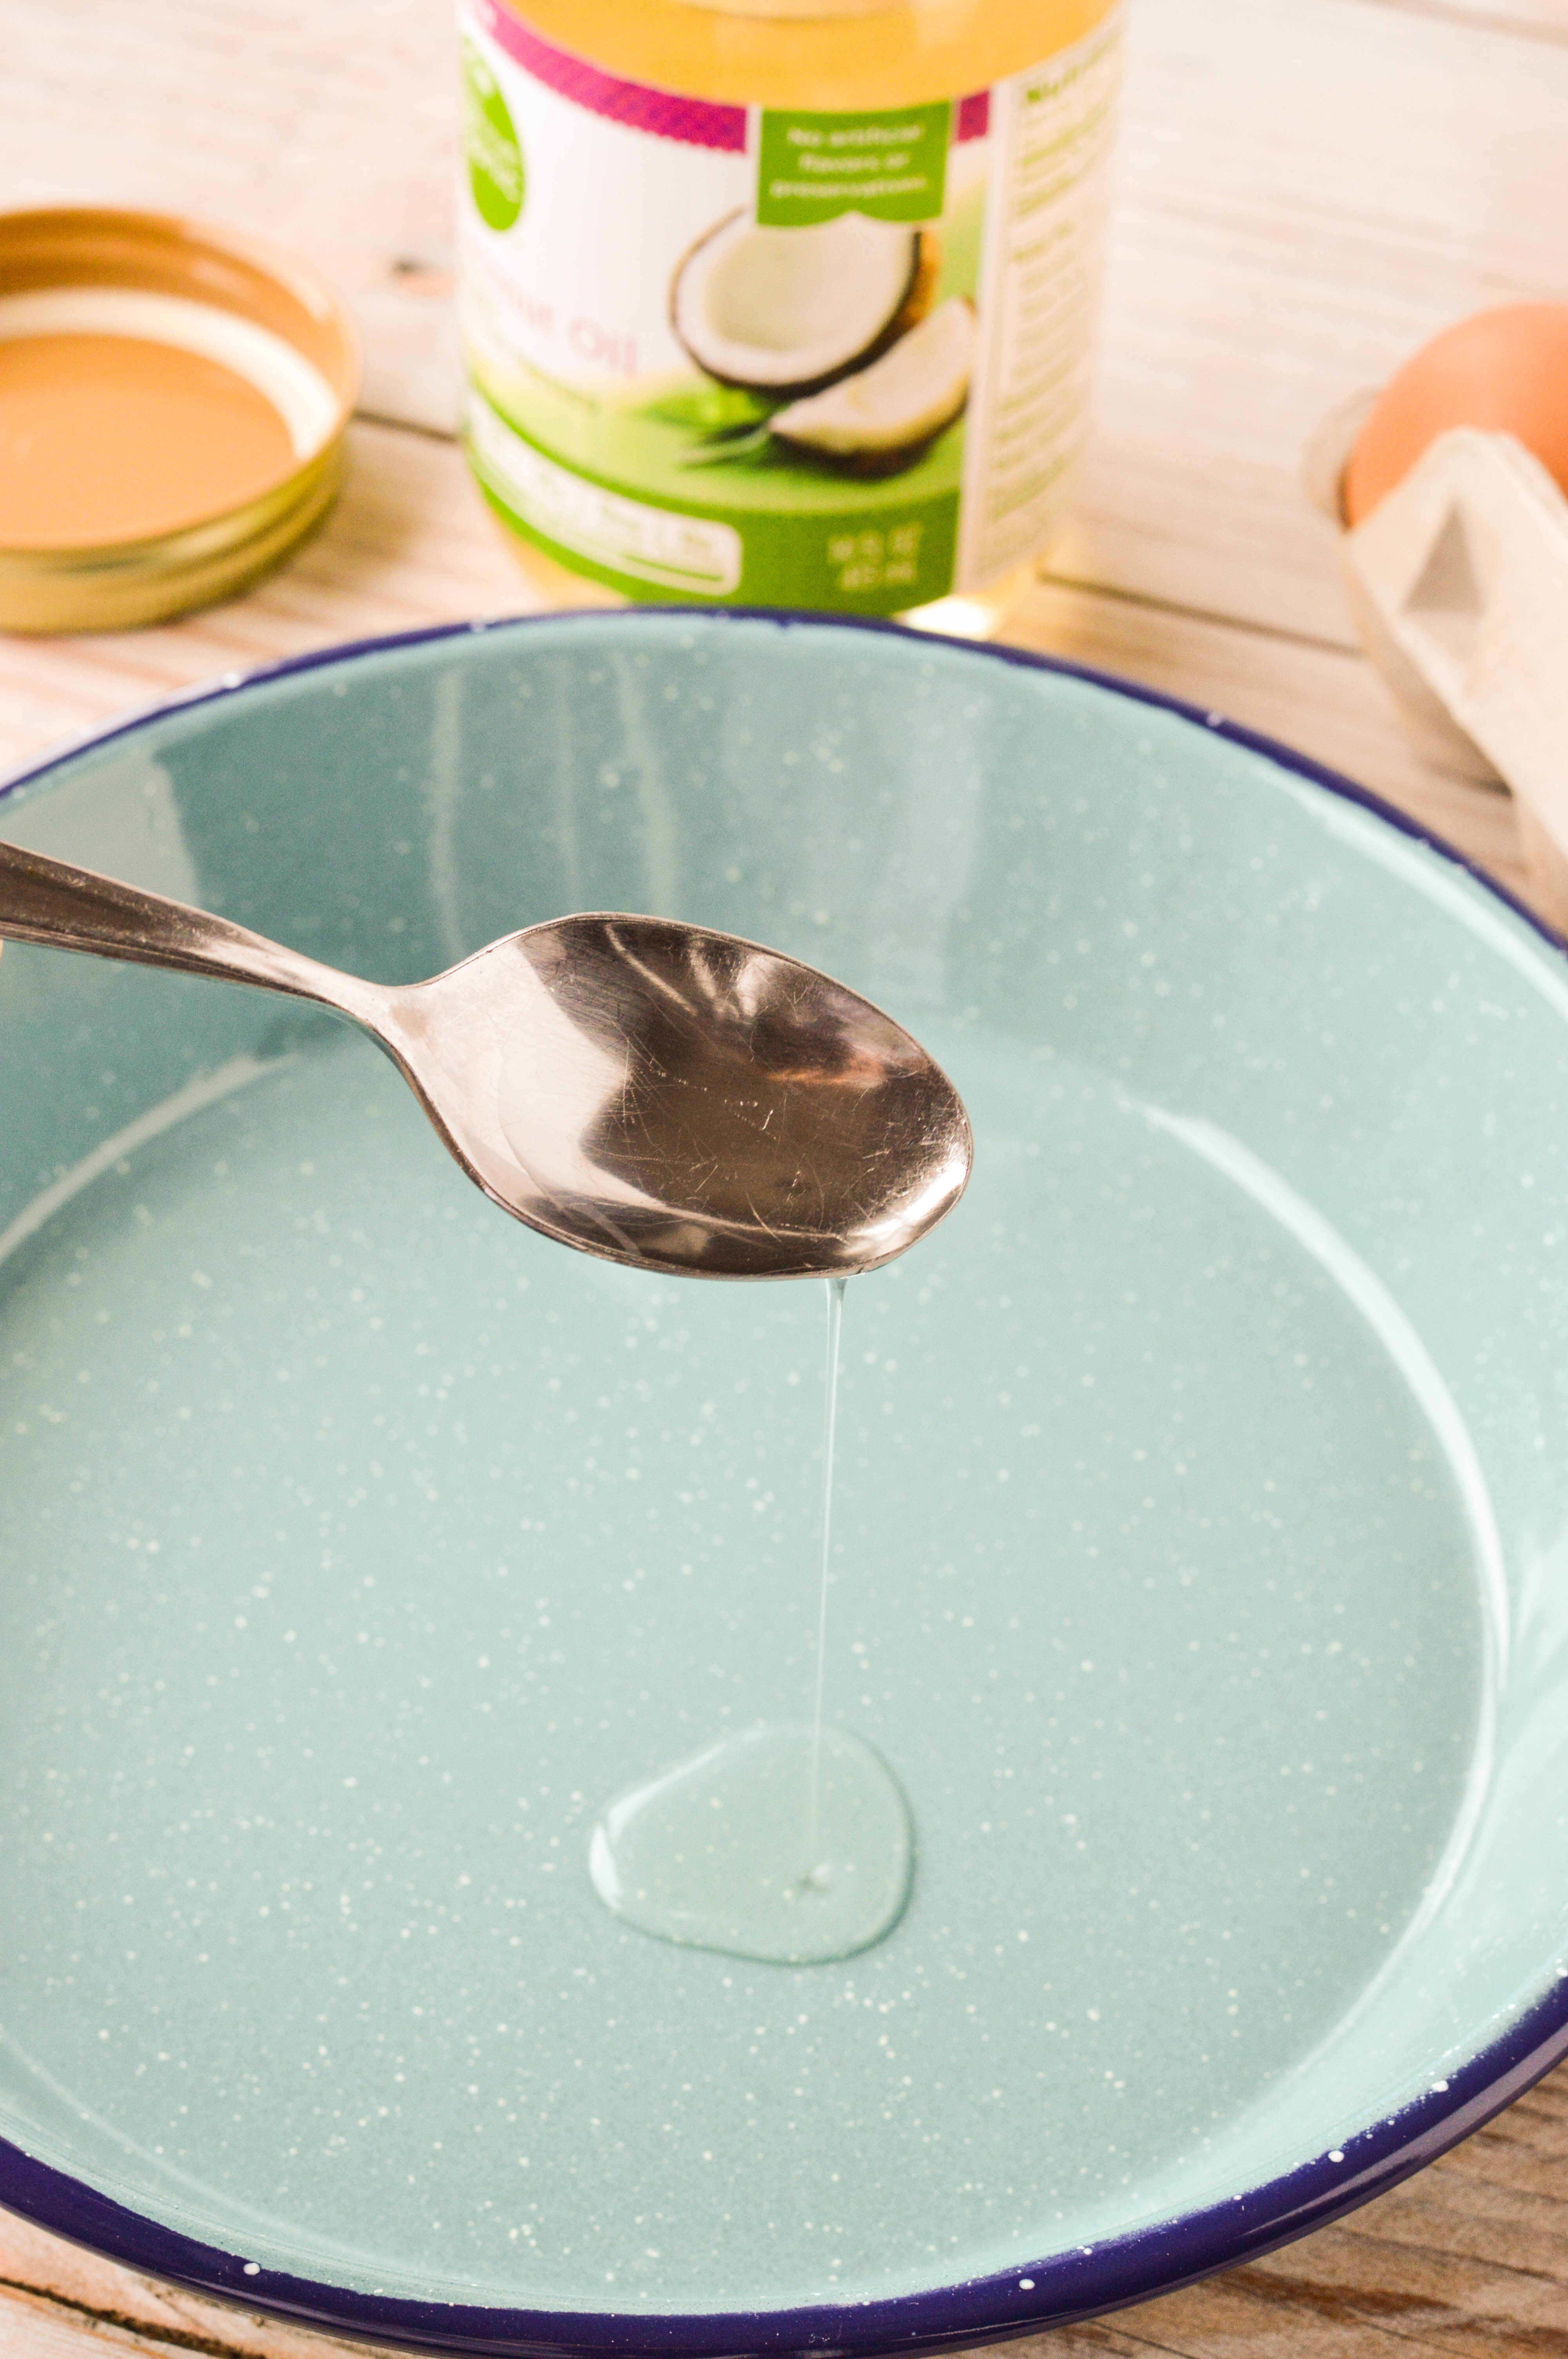 Begin my adding about one teaspoon of coconut oil to your frying pan. Heat it over medium-high heat.
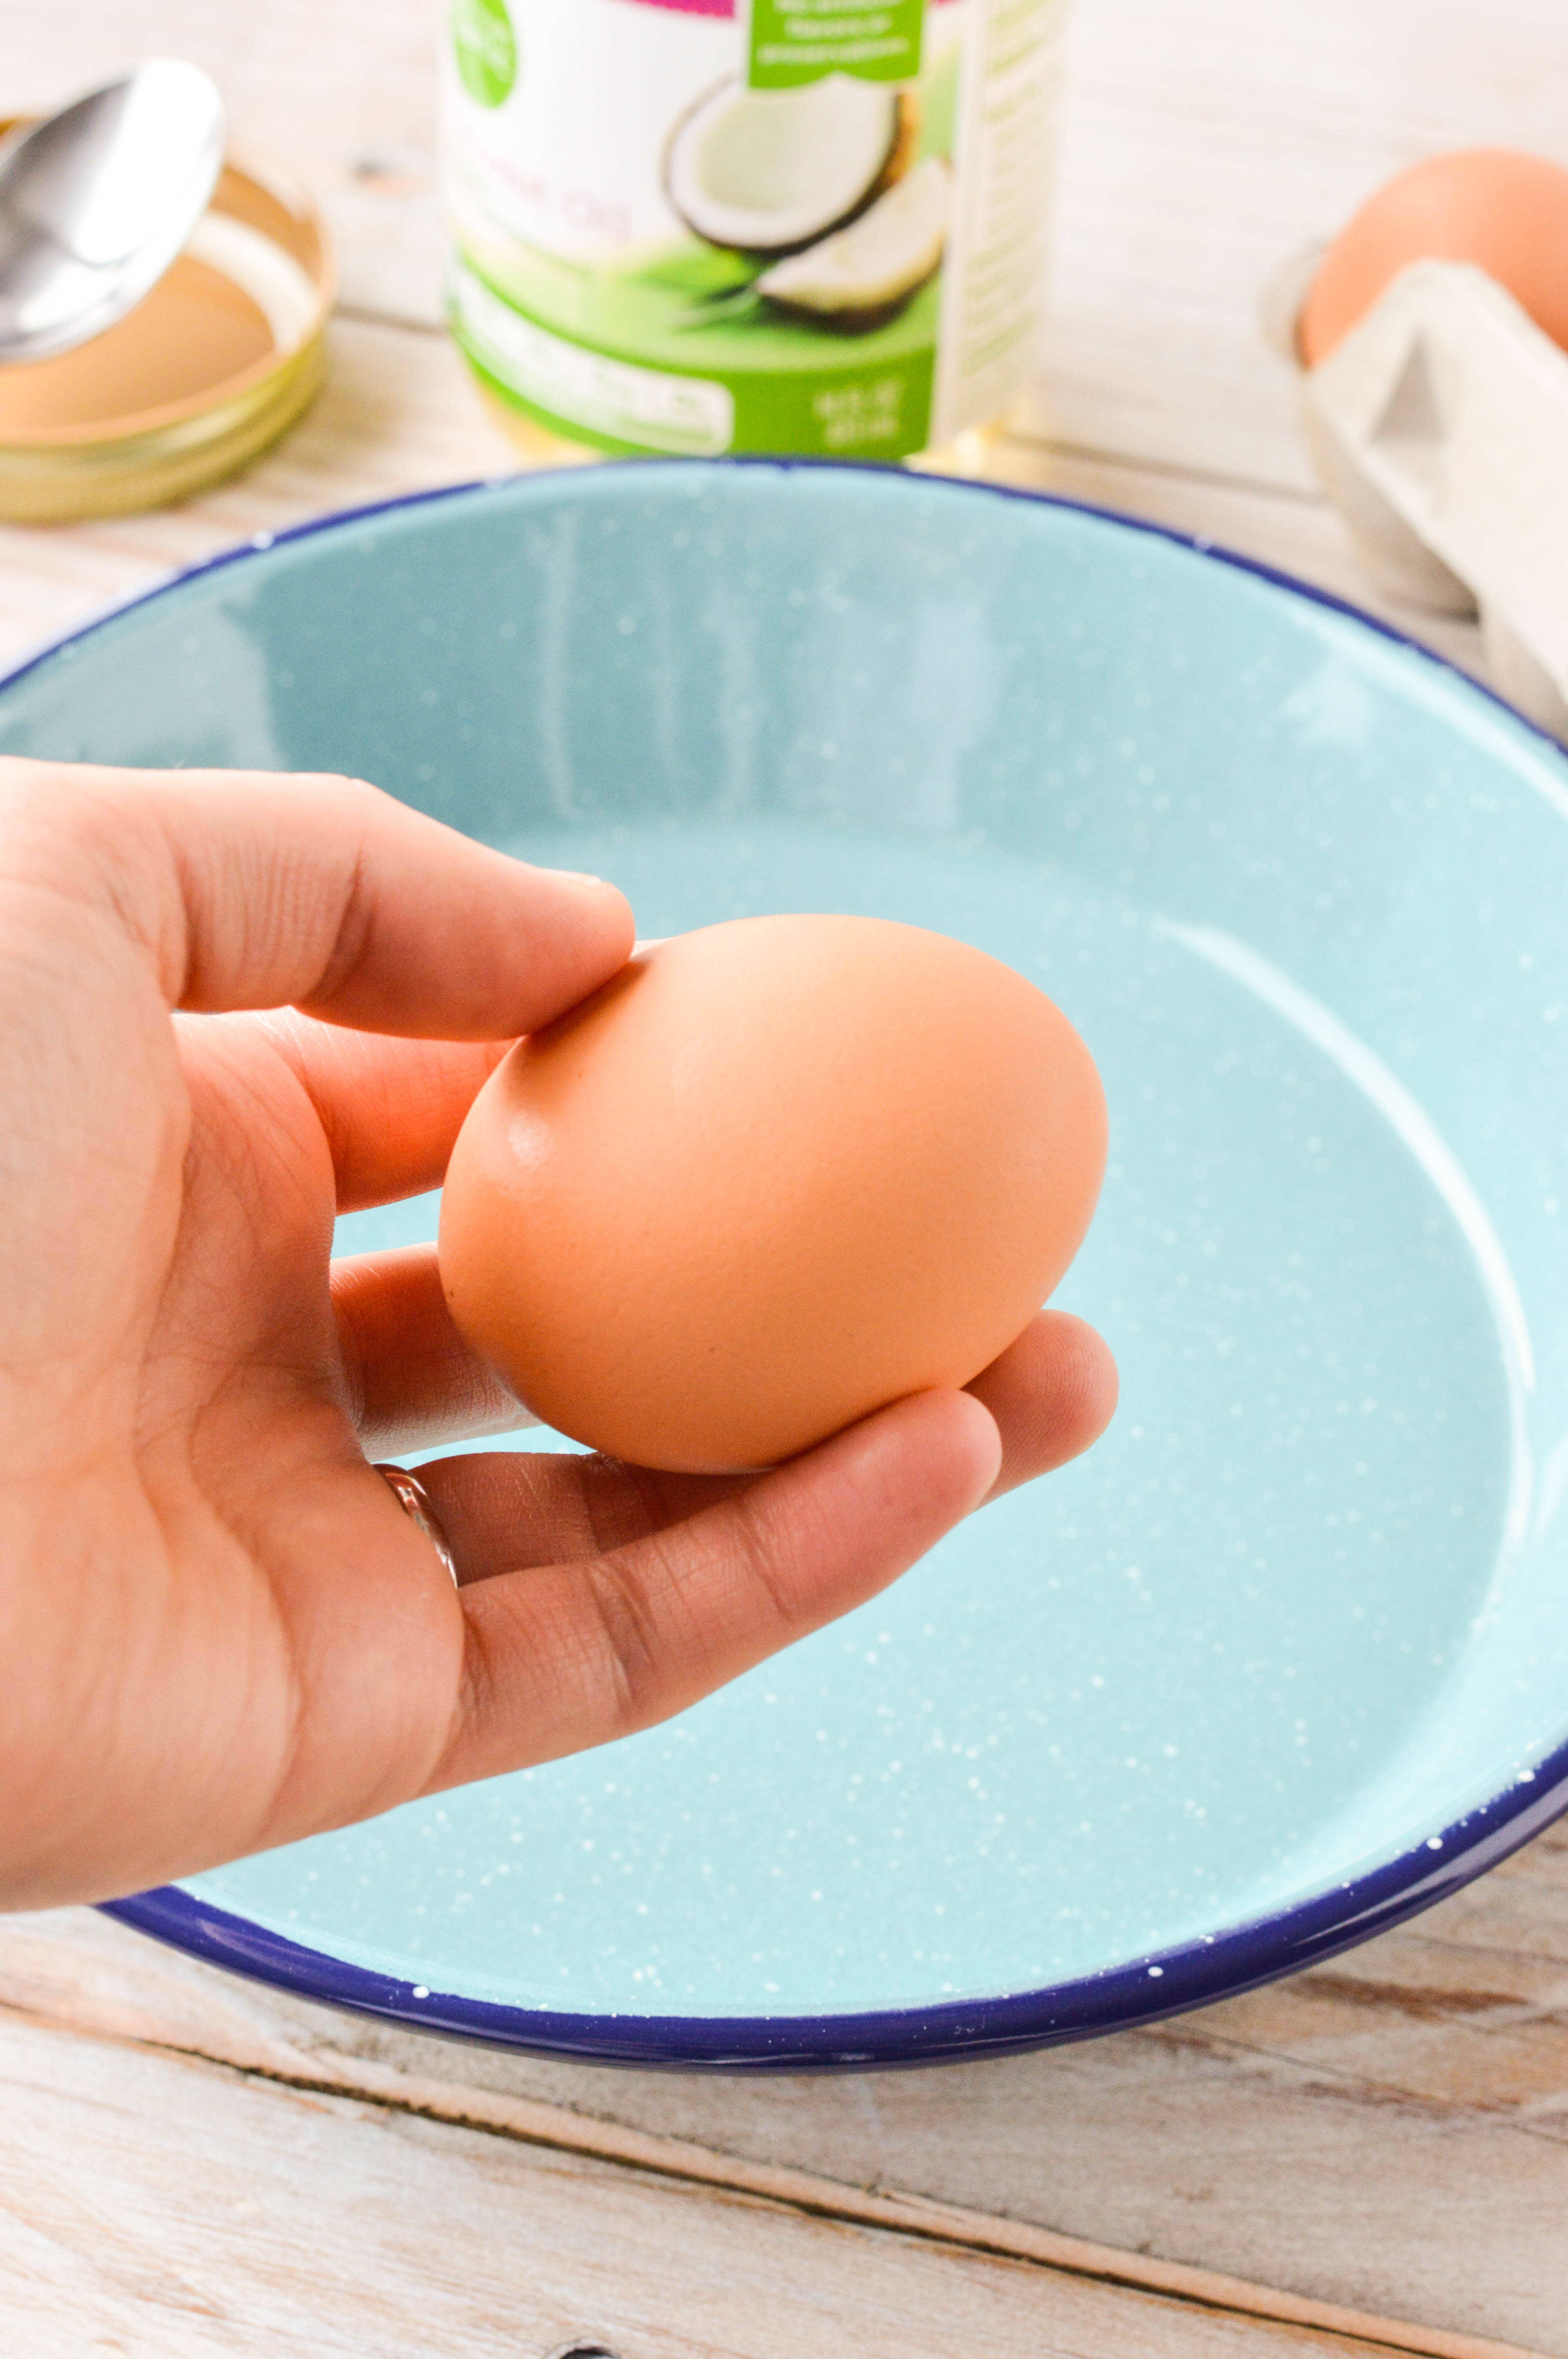
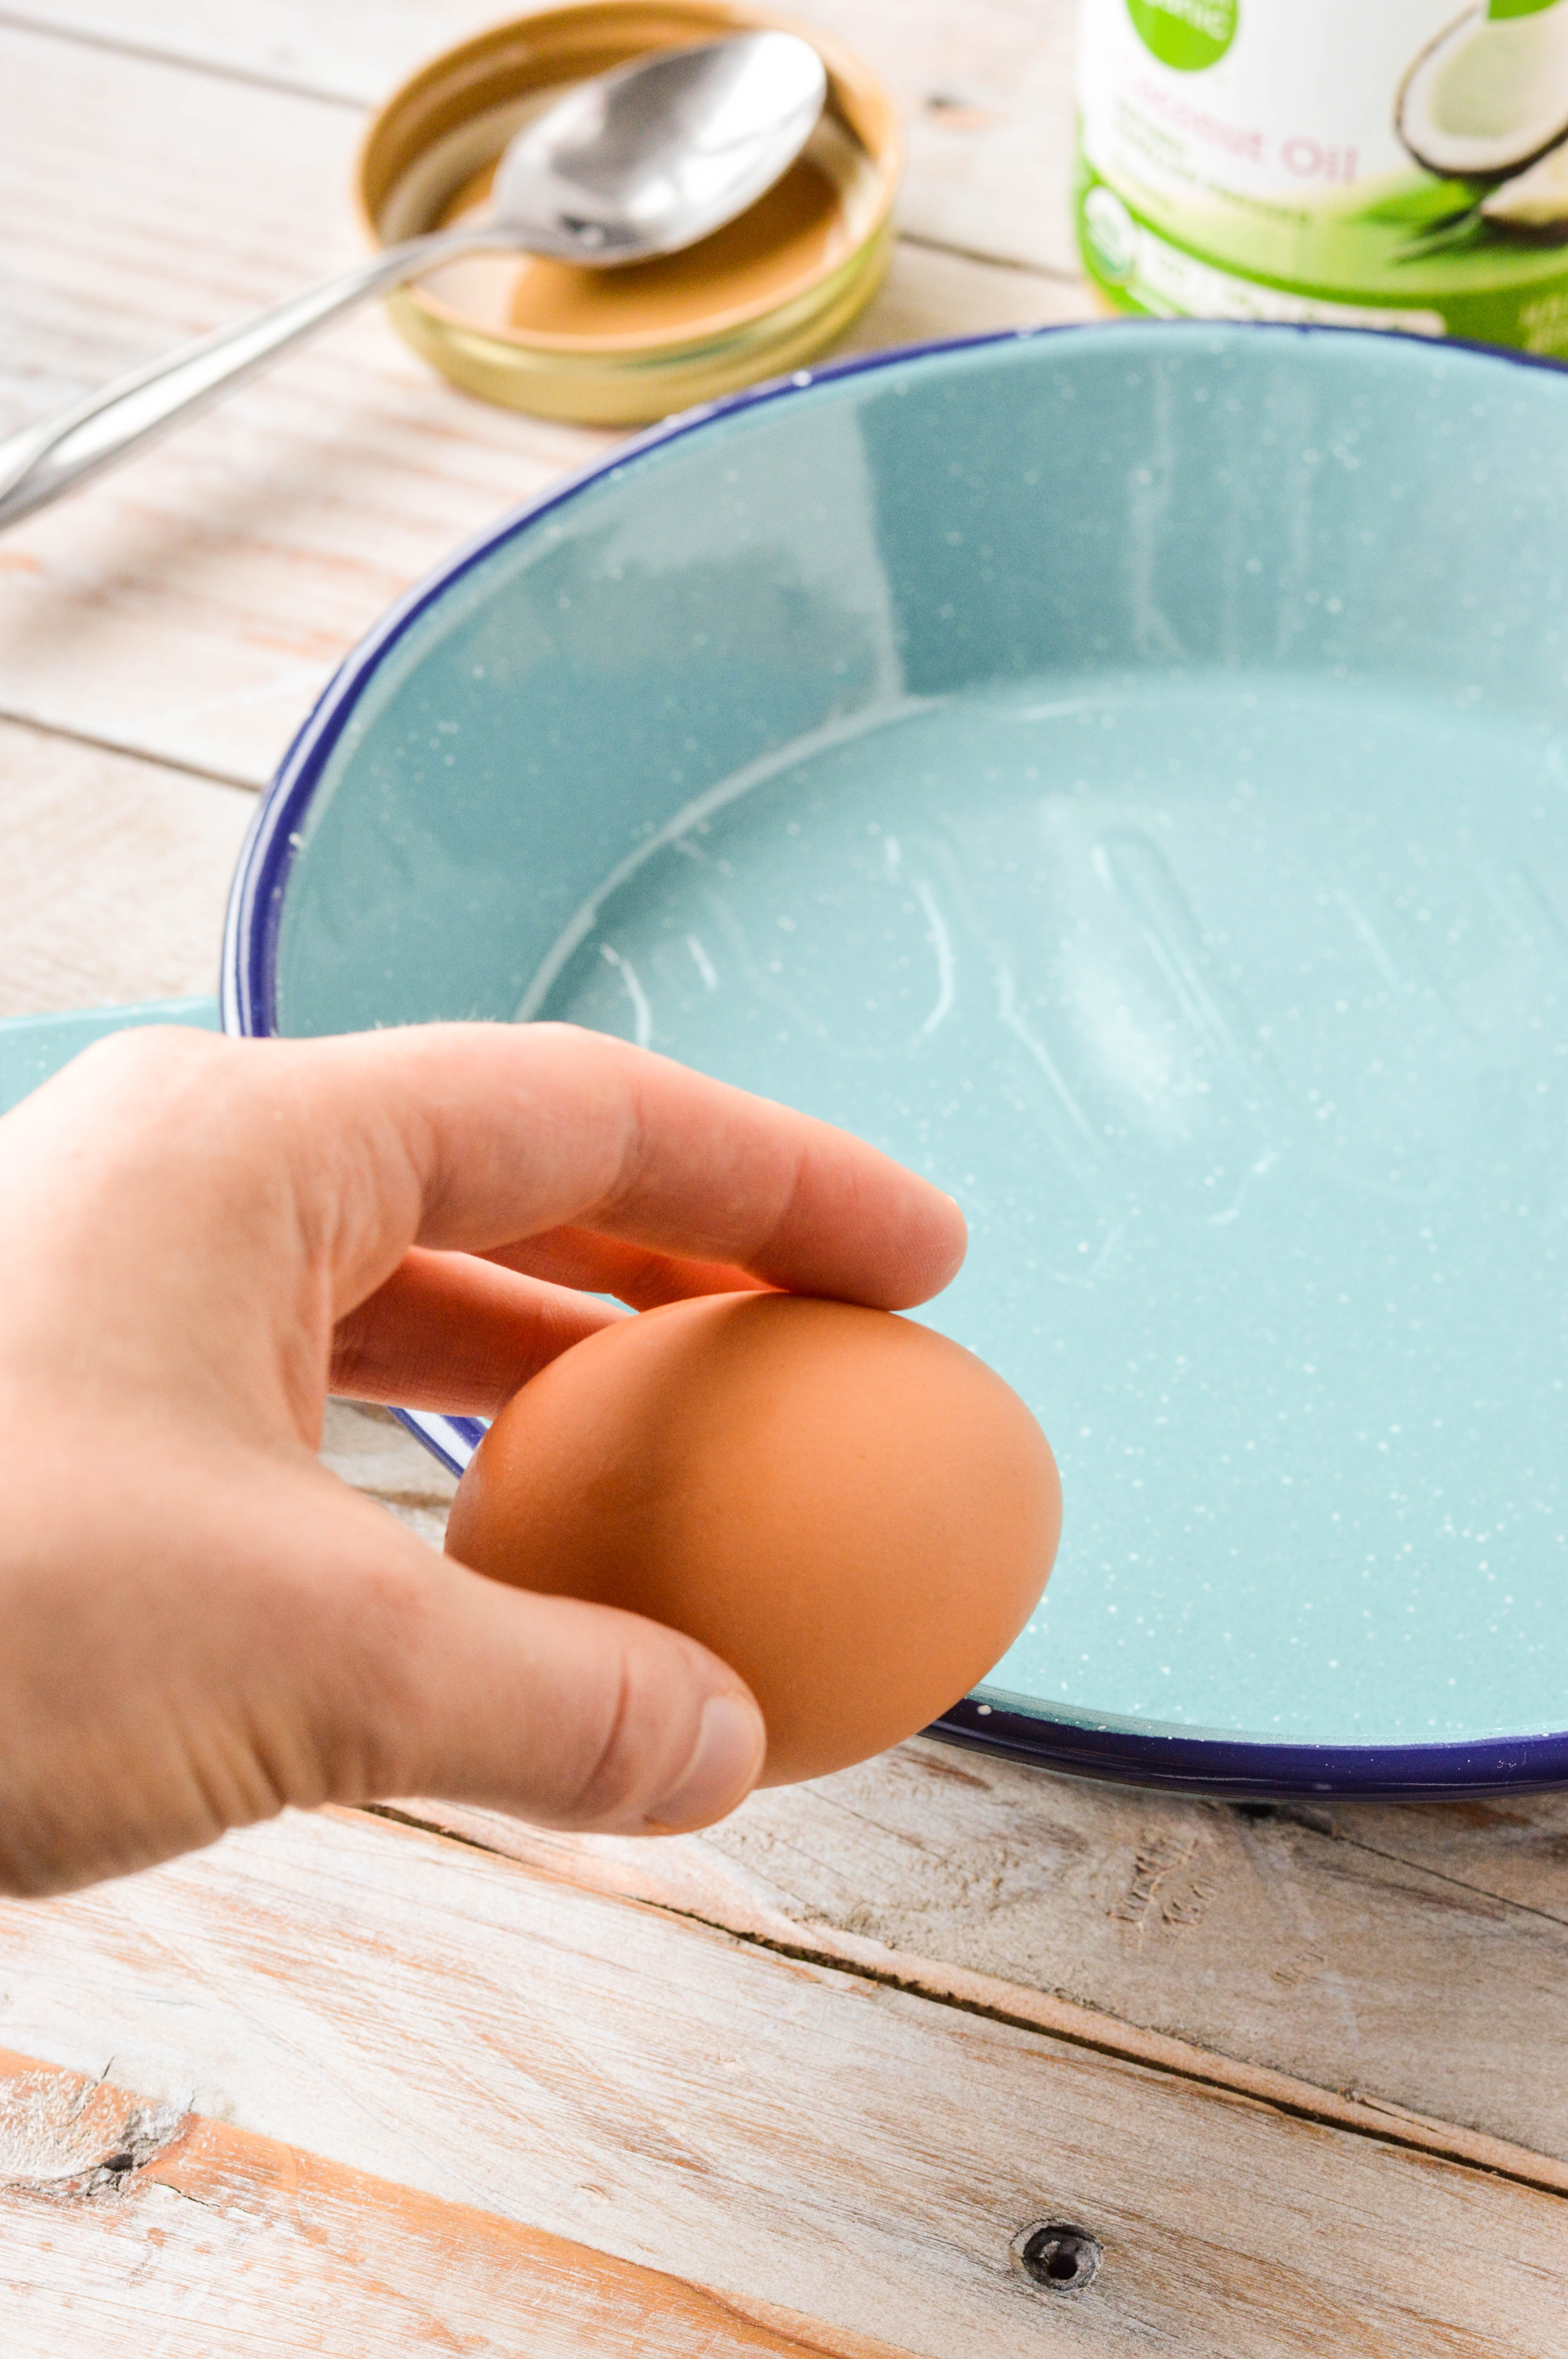 Once the pan is nice and hot, carefully crack the egg. You want to ensure that you do not break the yolk.
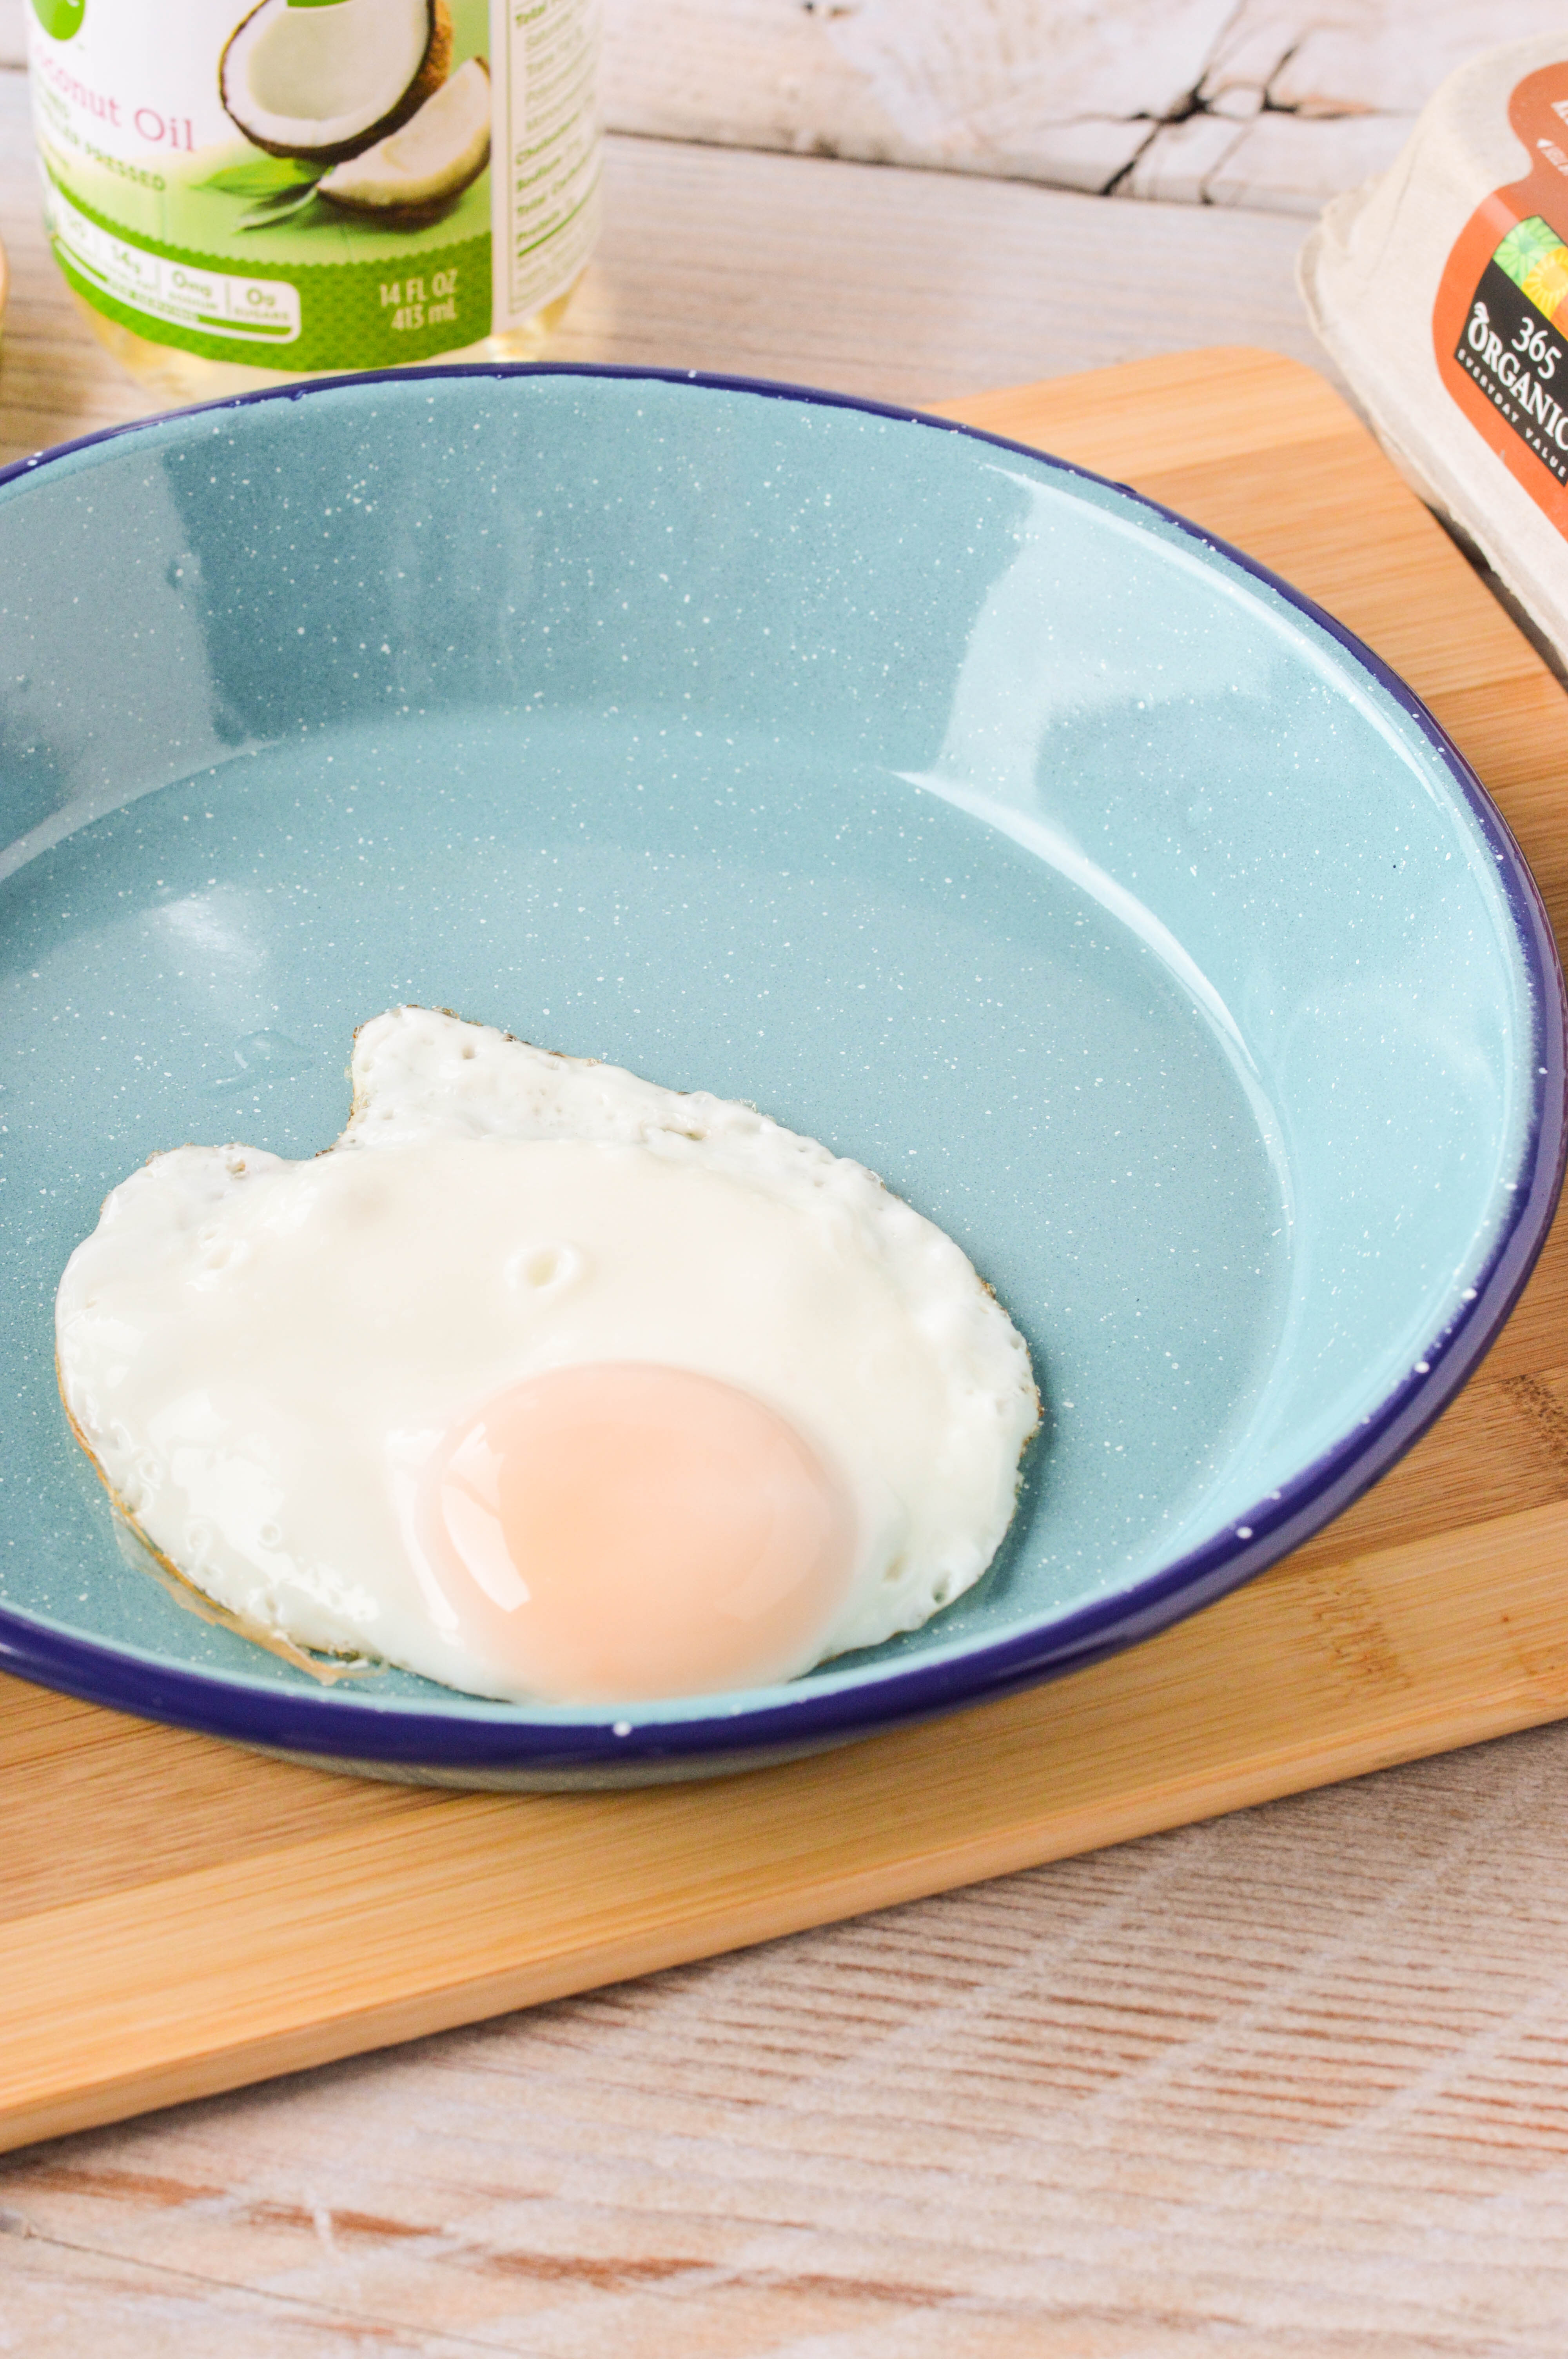
 It should look like this.
 Once the egg has been cracked, put the lid on! Aside from the coconut oil, the lid is the key to the perfectly fried egg. The lid does not have to fit the skillet, but it needs to fully cover the egg and keep air out. Another great reason to use a lid is to prevent oil splatter.
 Cook the egg for at least three to five minutes, or until the whites of the egg are firm. You can stop here if you want a runny egg, or you can keep on cooking for a medium or hard yolk. If you are not a runny egg fan, you’ll want to keep on reading!
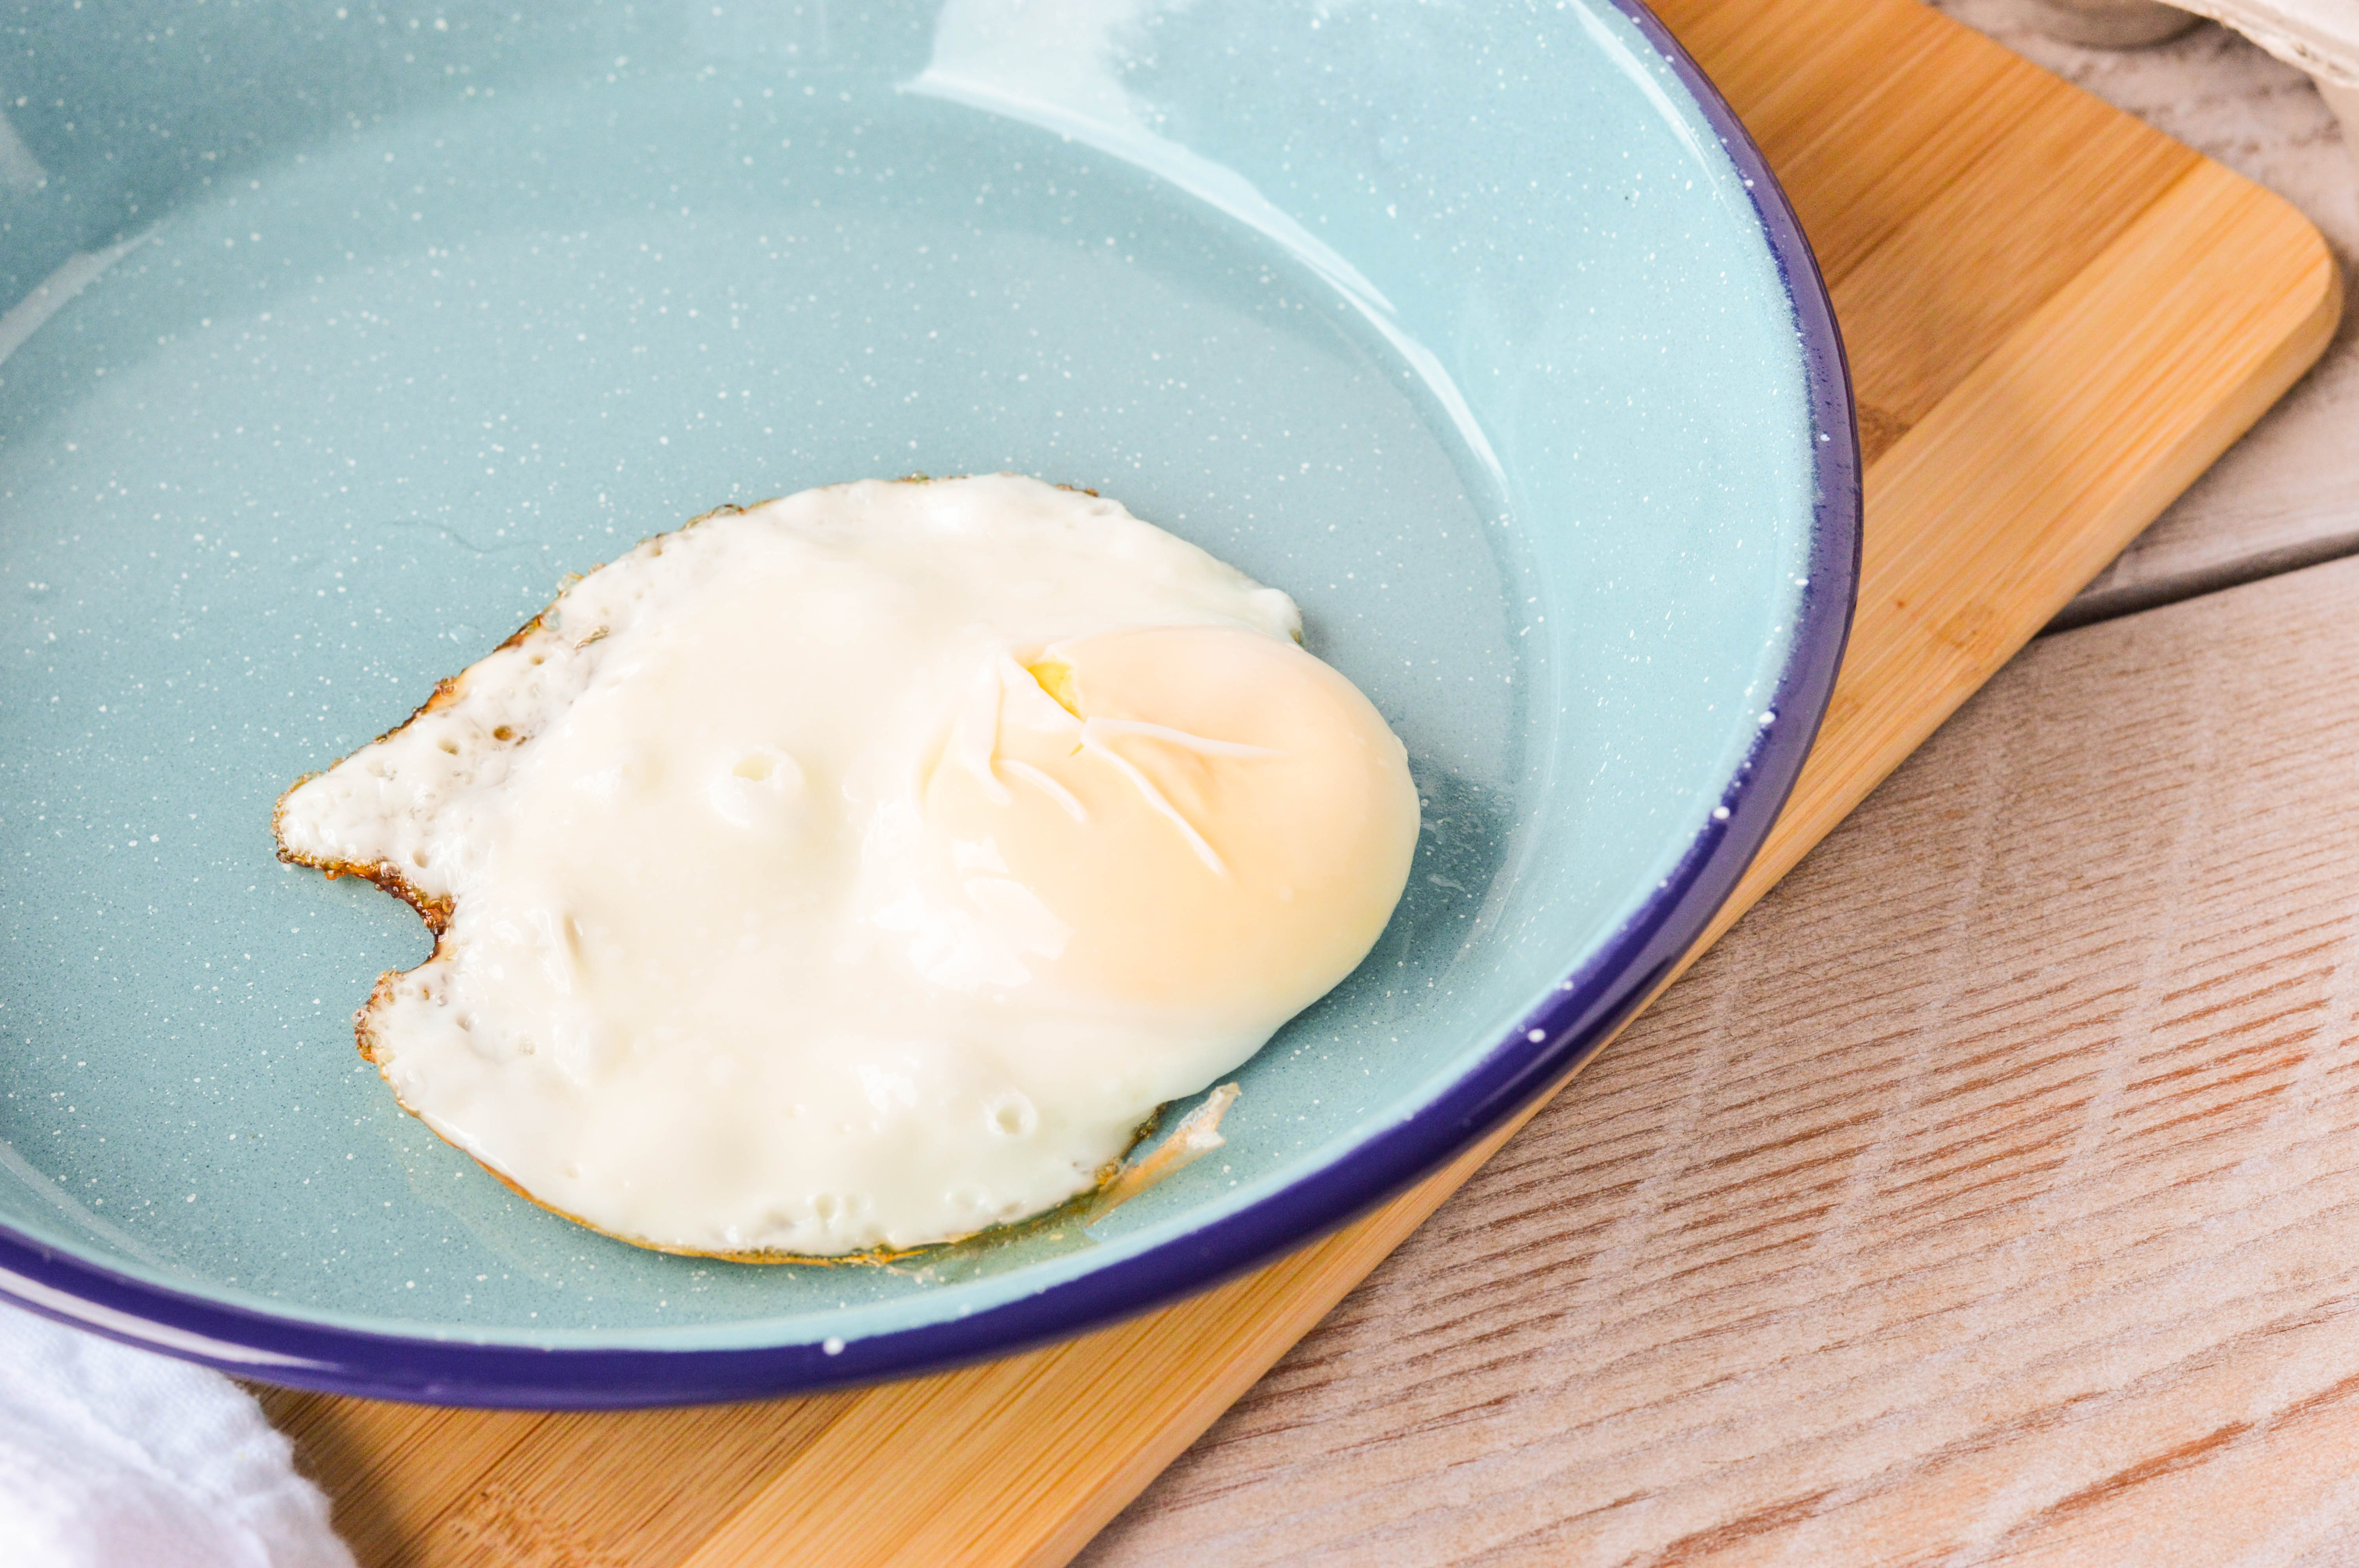
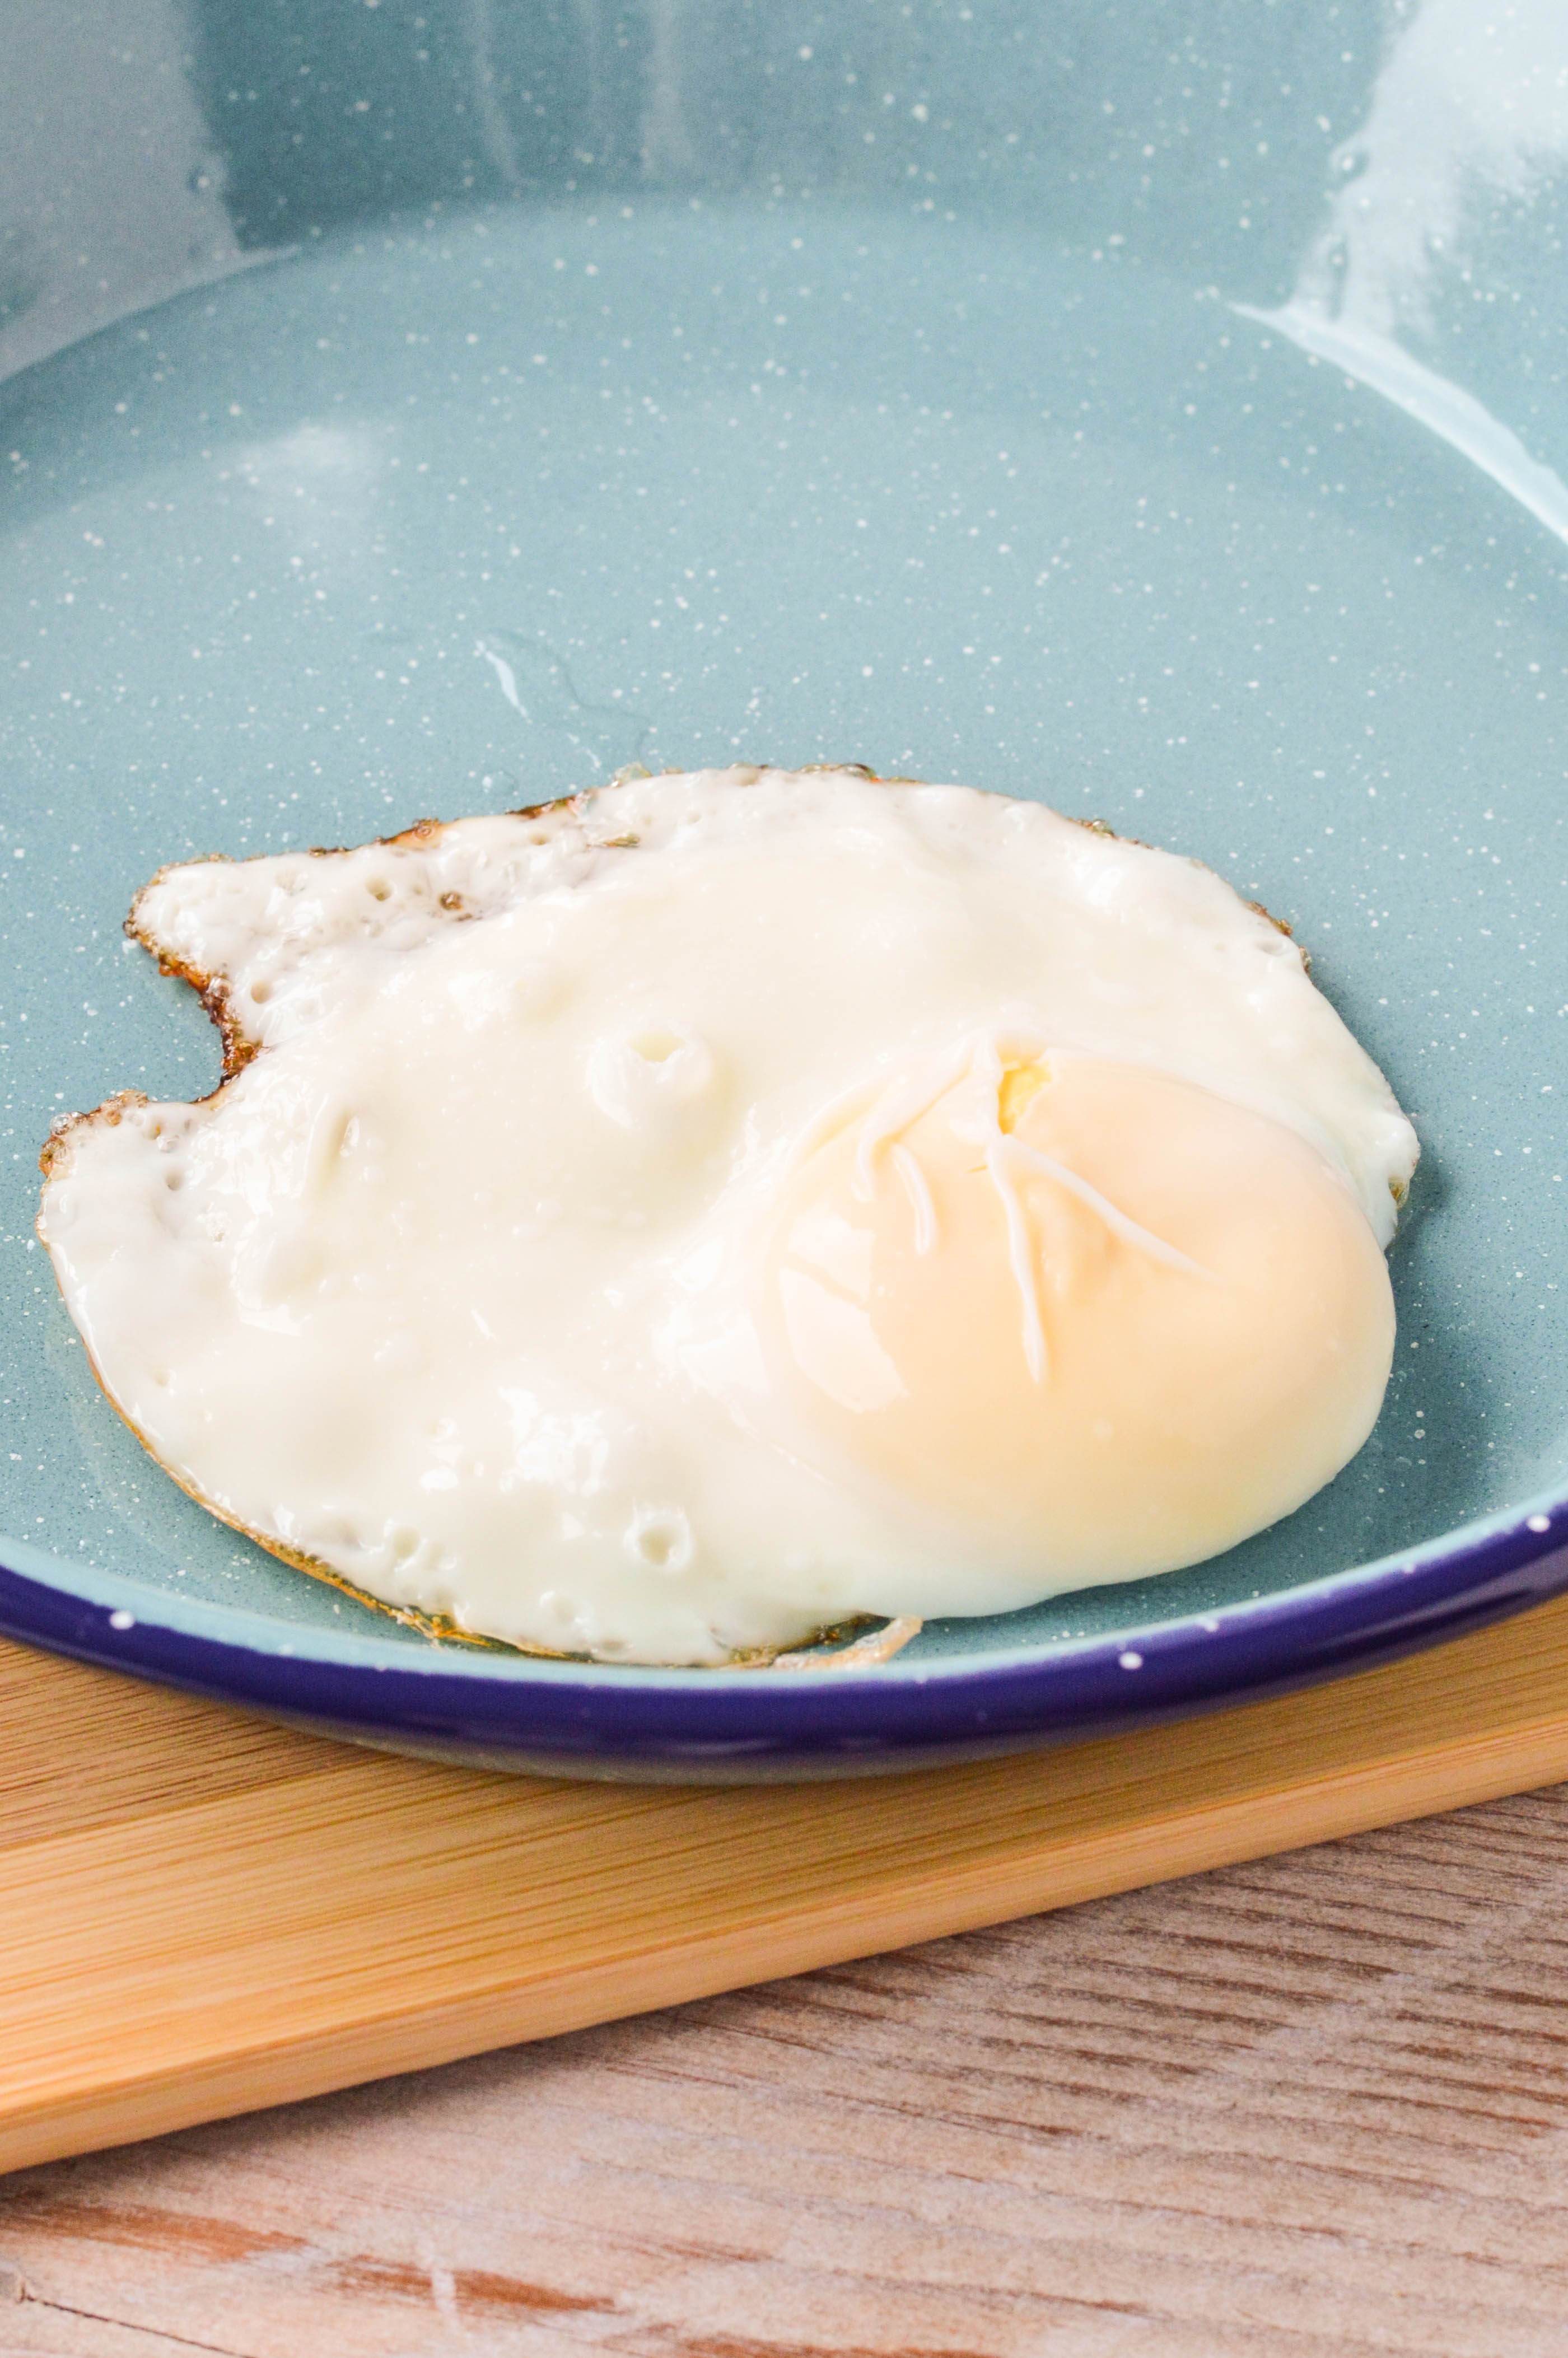 For this particular egg, I cooked it for an additional two to three minutes. This egg yolk was completely cooked through. You can always continue to fry it even longer if you like your eggs extra crispy. Another trick is to use more coconut oil for added crispness.
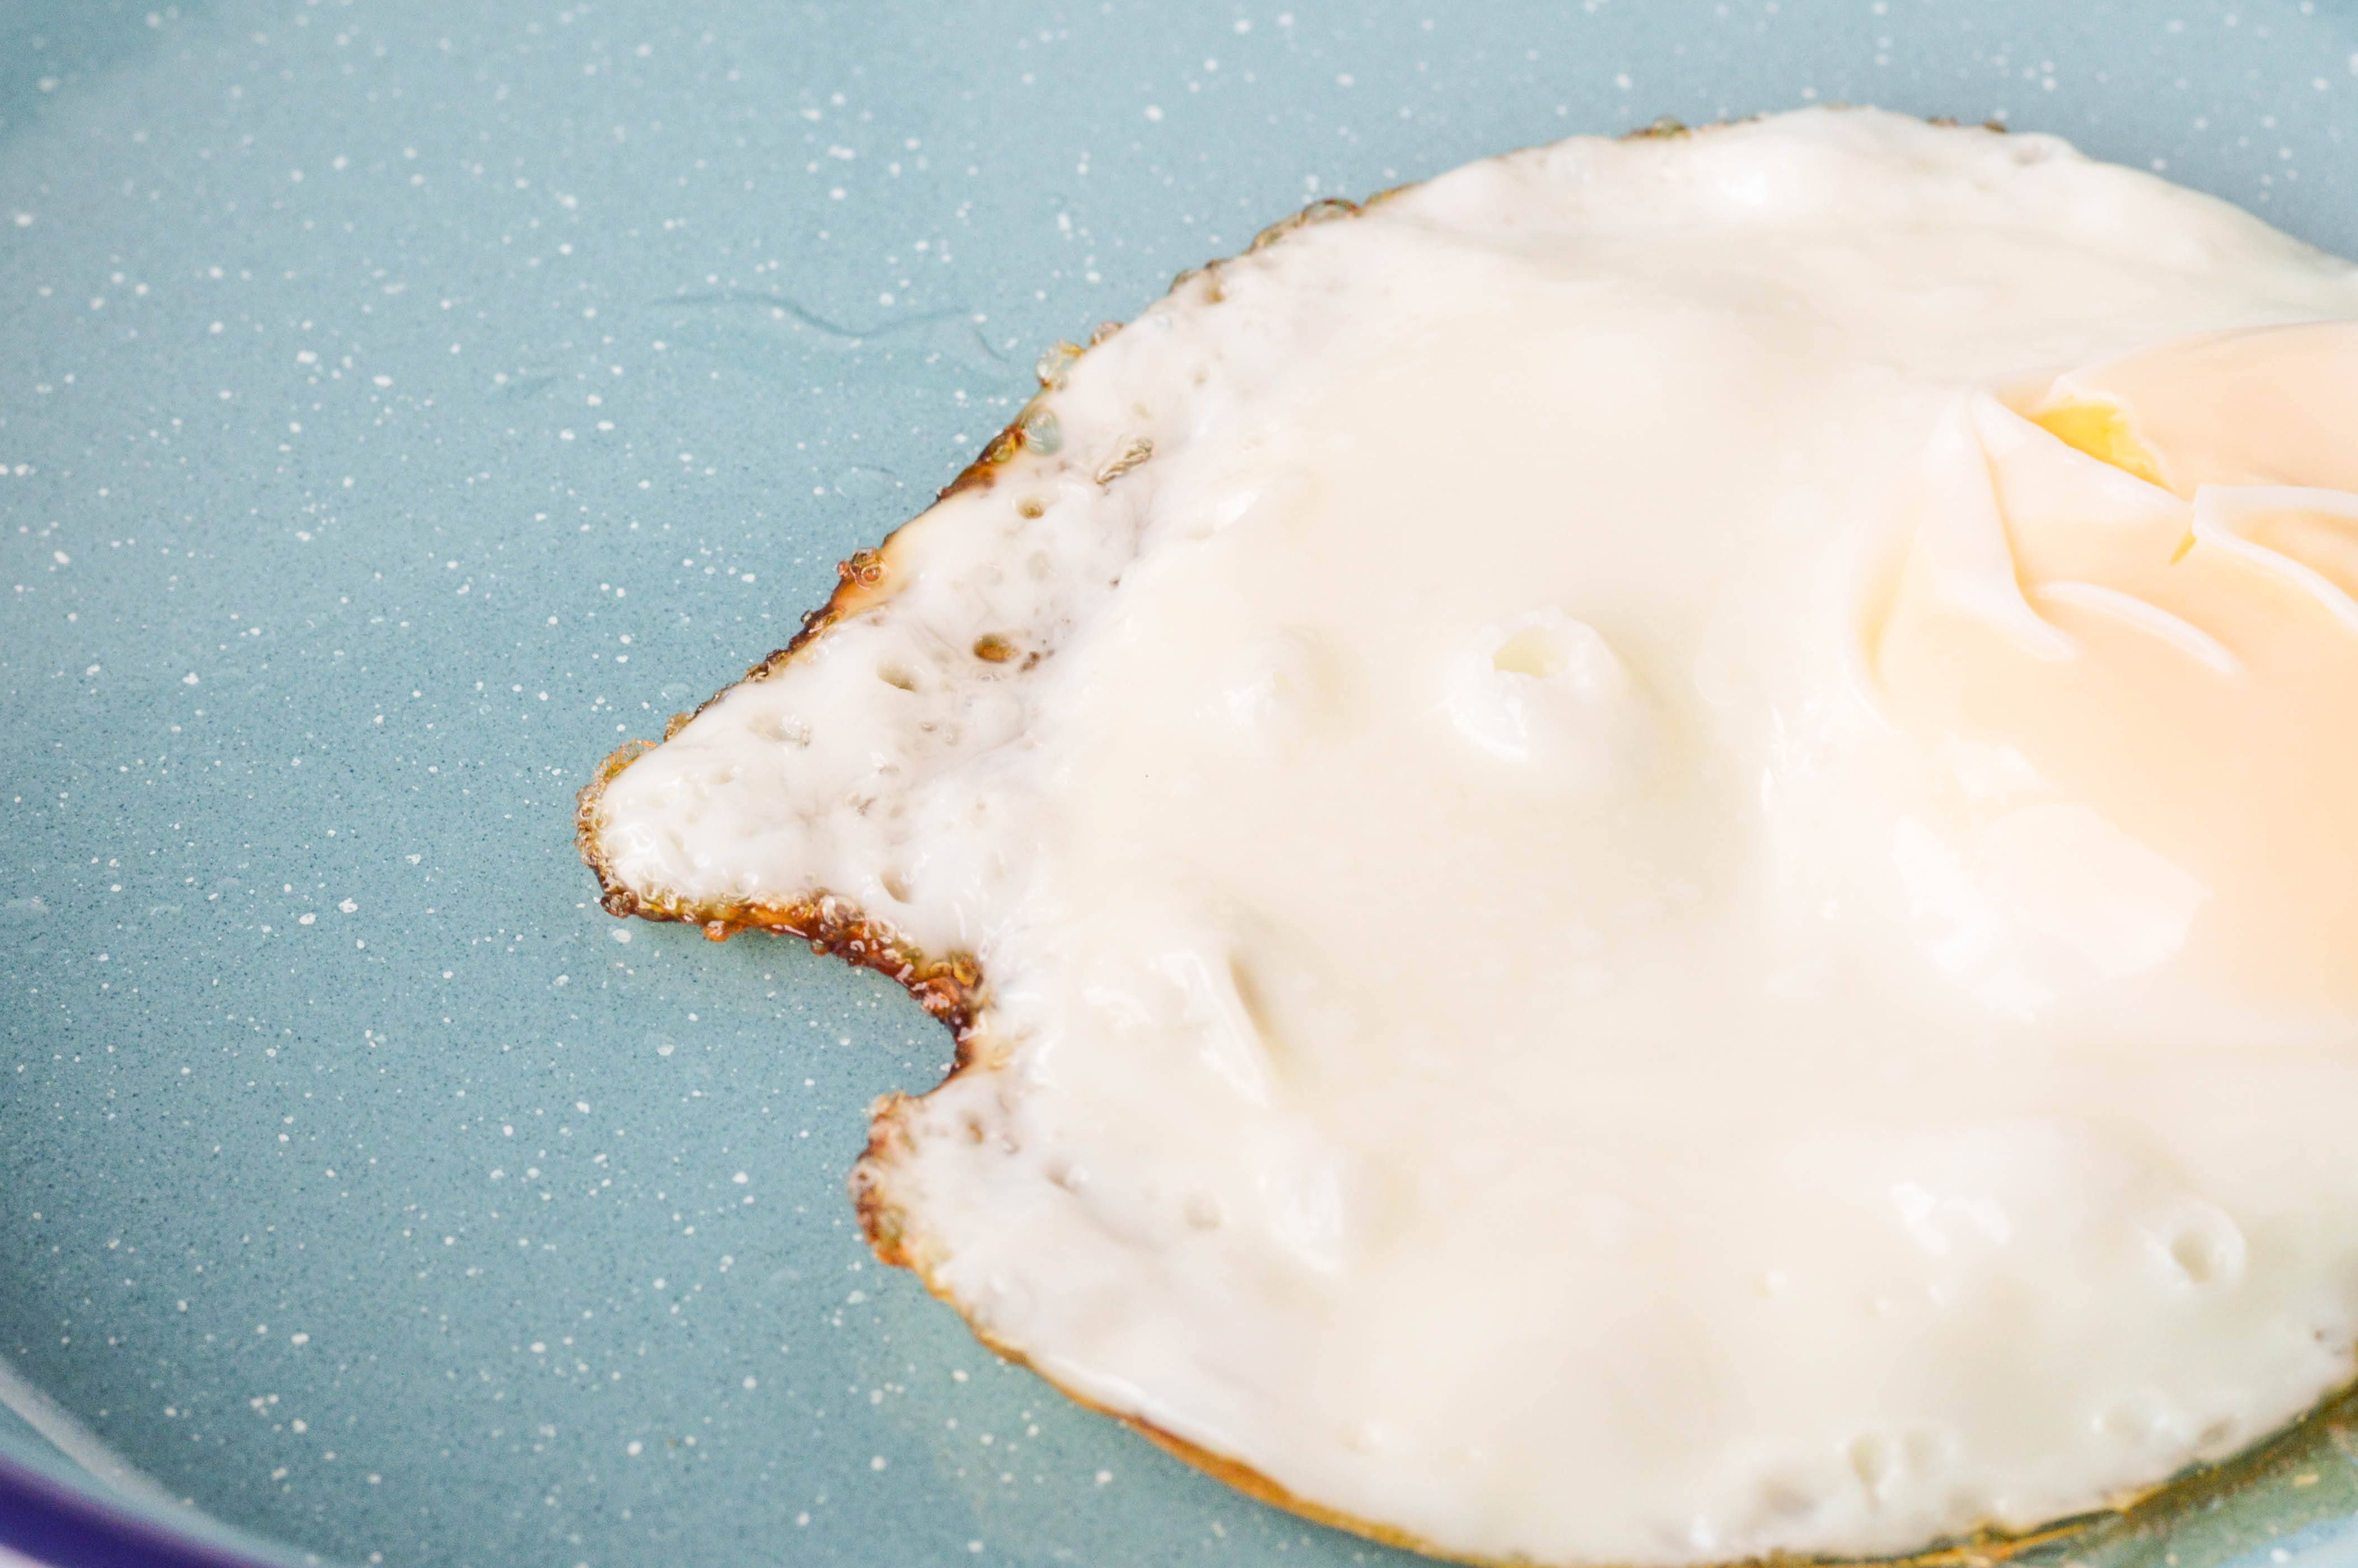 Just the way I have been loving them lately: with crispy edges! I have also been topping mine off with mustard or salsa. Most ketchups are a no-no on the Whole 30, so I am happy to have other condiment options that I love.
I hope this tutorial helps you get more delicious fried eggs into your life! I’d love to hear your tips and tricks for cooking eggs in the comments below.
How to Make the Perfect Fried Egg #breakfast #Whole30 #vegetarian Click To Tweet