My photography has changed over the past couple of years since I started this blog.
Am I a professional? No.
But while I may not be a professional food photographer, my pictures sure have taken a turn for the better. While I still have a lot to work on and I am continually trying my best to learn more about photography, I am proud of how far I have come in a fairly short amount of time.
When I sat down to think about how and why my photography has changed over these past two years, I discovered that some of the things I have changed have been rather simple. Guess what? These are also things that you can easily do yourself! Following are My Simple Food Photography Tips that anyone can do- even those with little time to dedicate to the practice. And yes, most of these truly are simple!
(I do use a DSLR camera, but have only been using it for approximately three months. Even without a DSLR camera, your food photography can be improved- something that I discovered while I was still taking pictures on my non-iPhone).
14 Simple Way to Improve your Food Photography
1. It is all about the lighting.
 For the longest time I took pictures in my kitchen basked in florescent lighting. But after doing my research, I learned that natural lighting is ideal for food photography. After trying out my apartment patio (which was a fail since it is covered), I realized that I have the most perfect window in my bedroom- North facing and all. Use natural lighting whenever possible. This includes taking pictures outside when you can. Oh, and do your best when Winter hits and there are only a few hours of “good” light available to you. I generally find that photographing around 1:00 in the afternoon is ideal for me. Find what works best for you and your space, and plan ahead when you can.
2. Do not use your camera’s flash.
I used the flash on my camera for at least the first year that I had this blog. When I accidentally started using my camera without the flash, I realized that my pictures were so much better. You may be tempted to use the “auto” button on your camera (which I do utilize for non-food related photos), but I highly encourage you to either use your manual settings or the “no flash” setting depending on what type of camera you have.
3. Mix up your angles.
Move around your object of interest when taking pictures. Things get boring when all 10 photographs that you post are from the exact same angle. This is something that I am working on improving myself. We can get stuck on an angle that “works,” but it turns out a whole lot of other angles work well too and provide unique and exciting photographs!
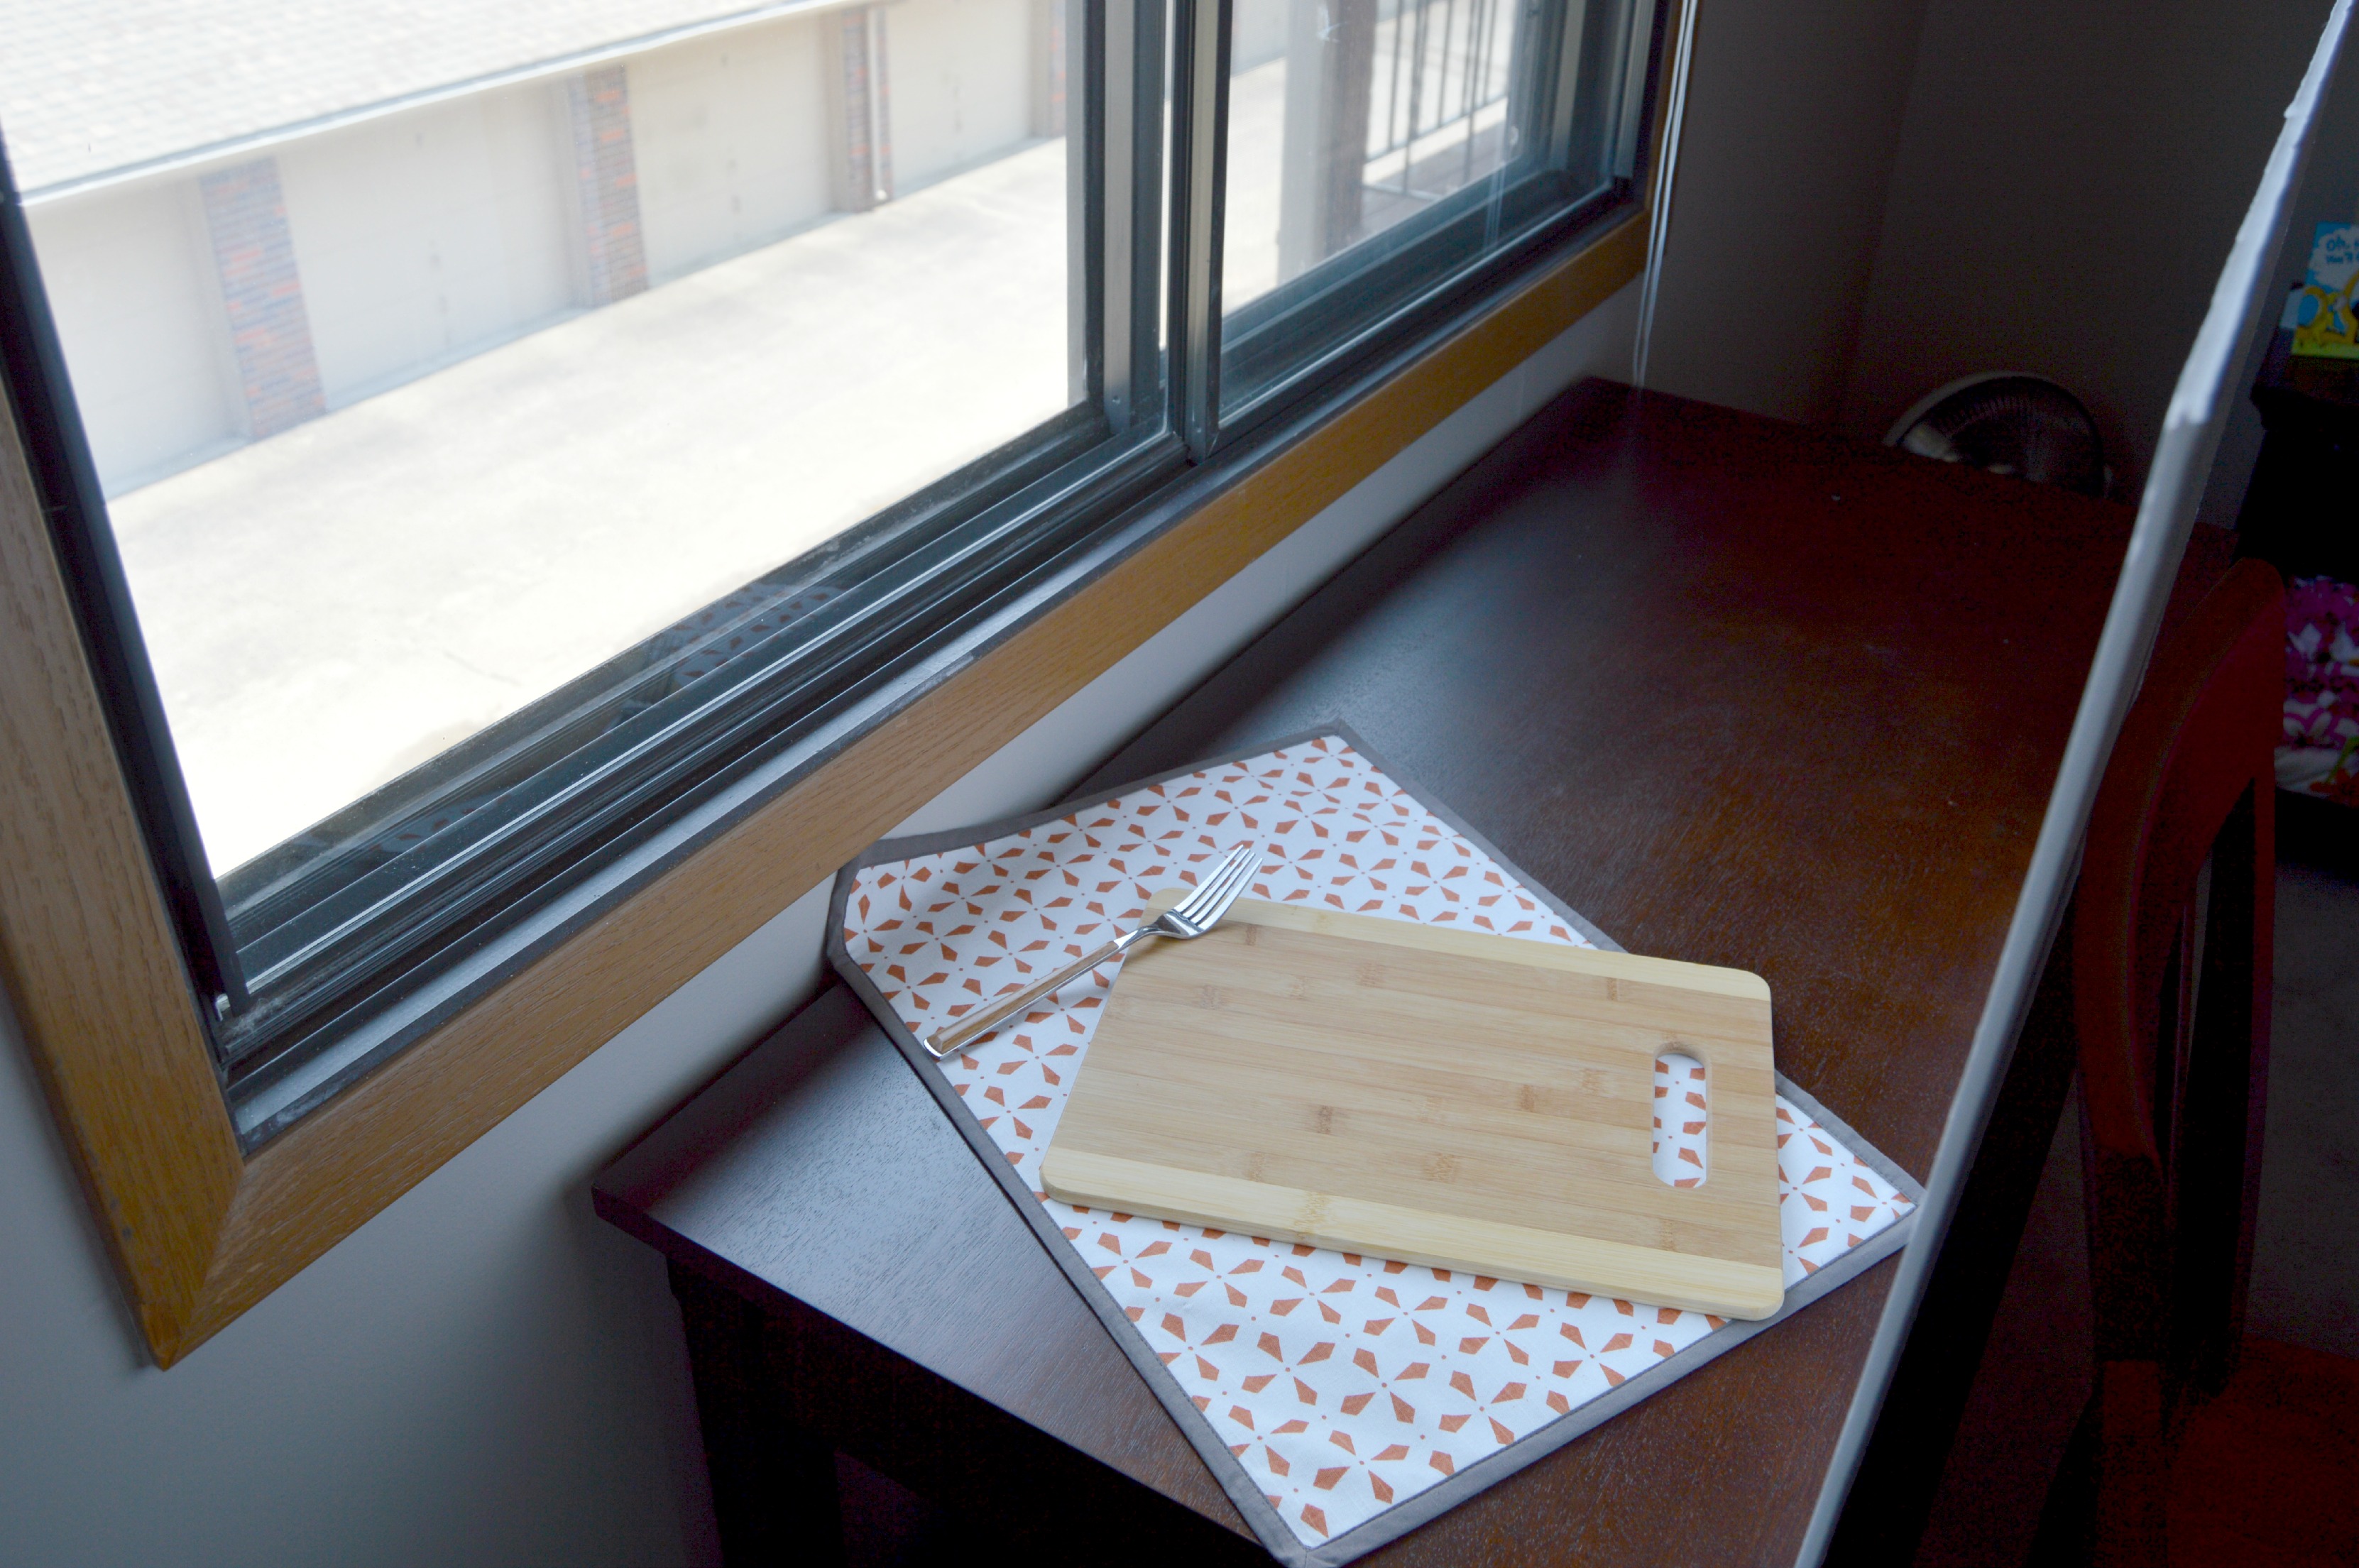
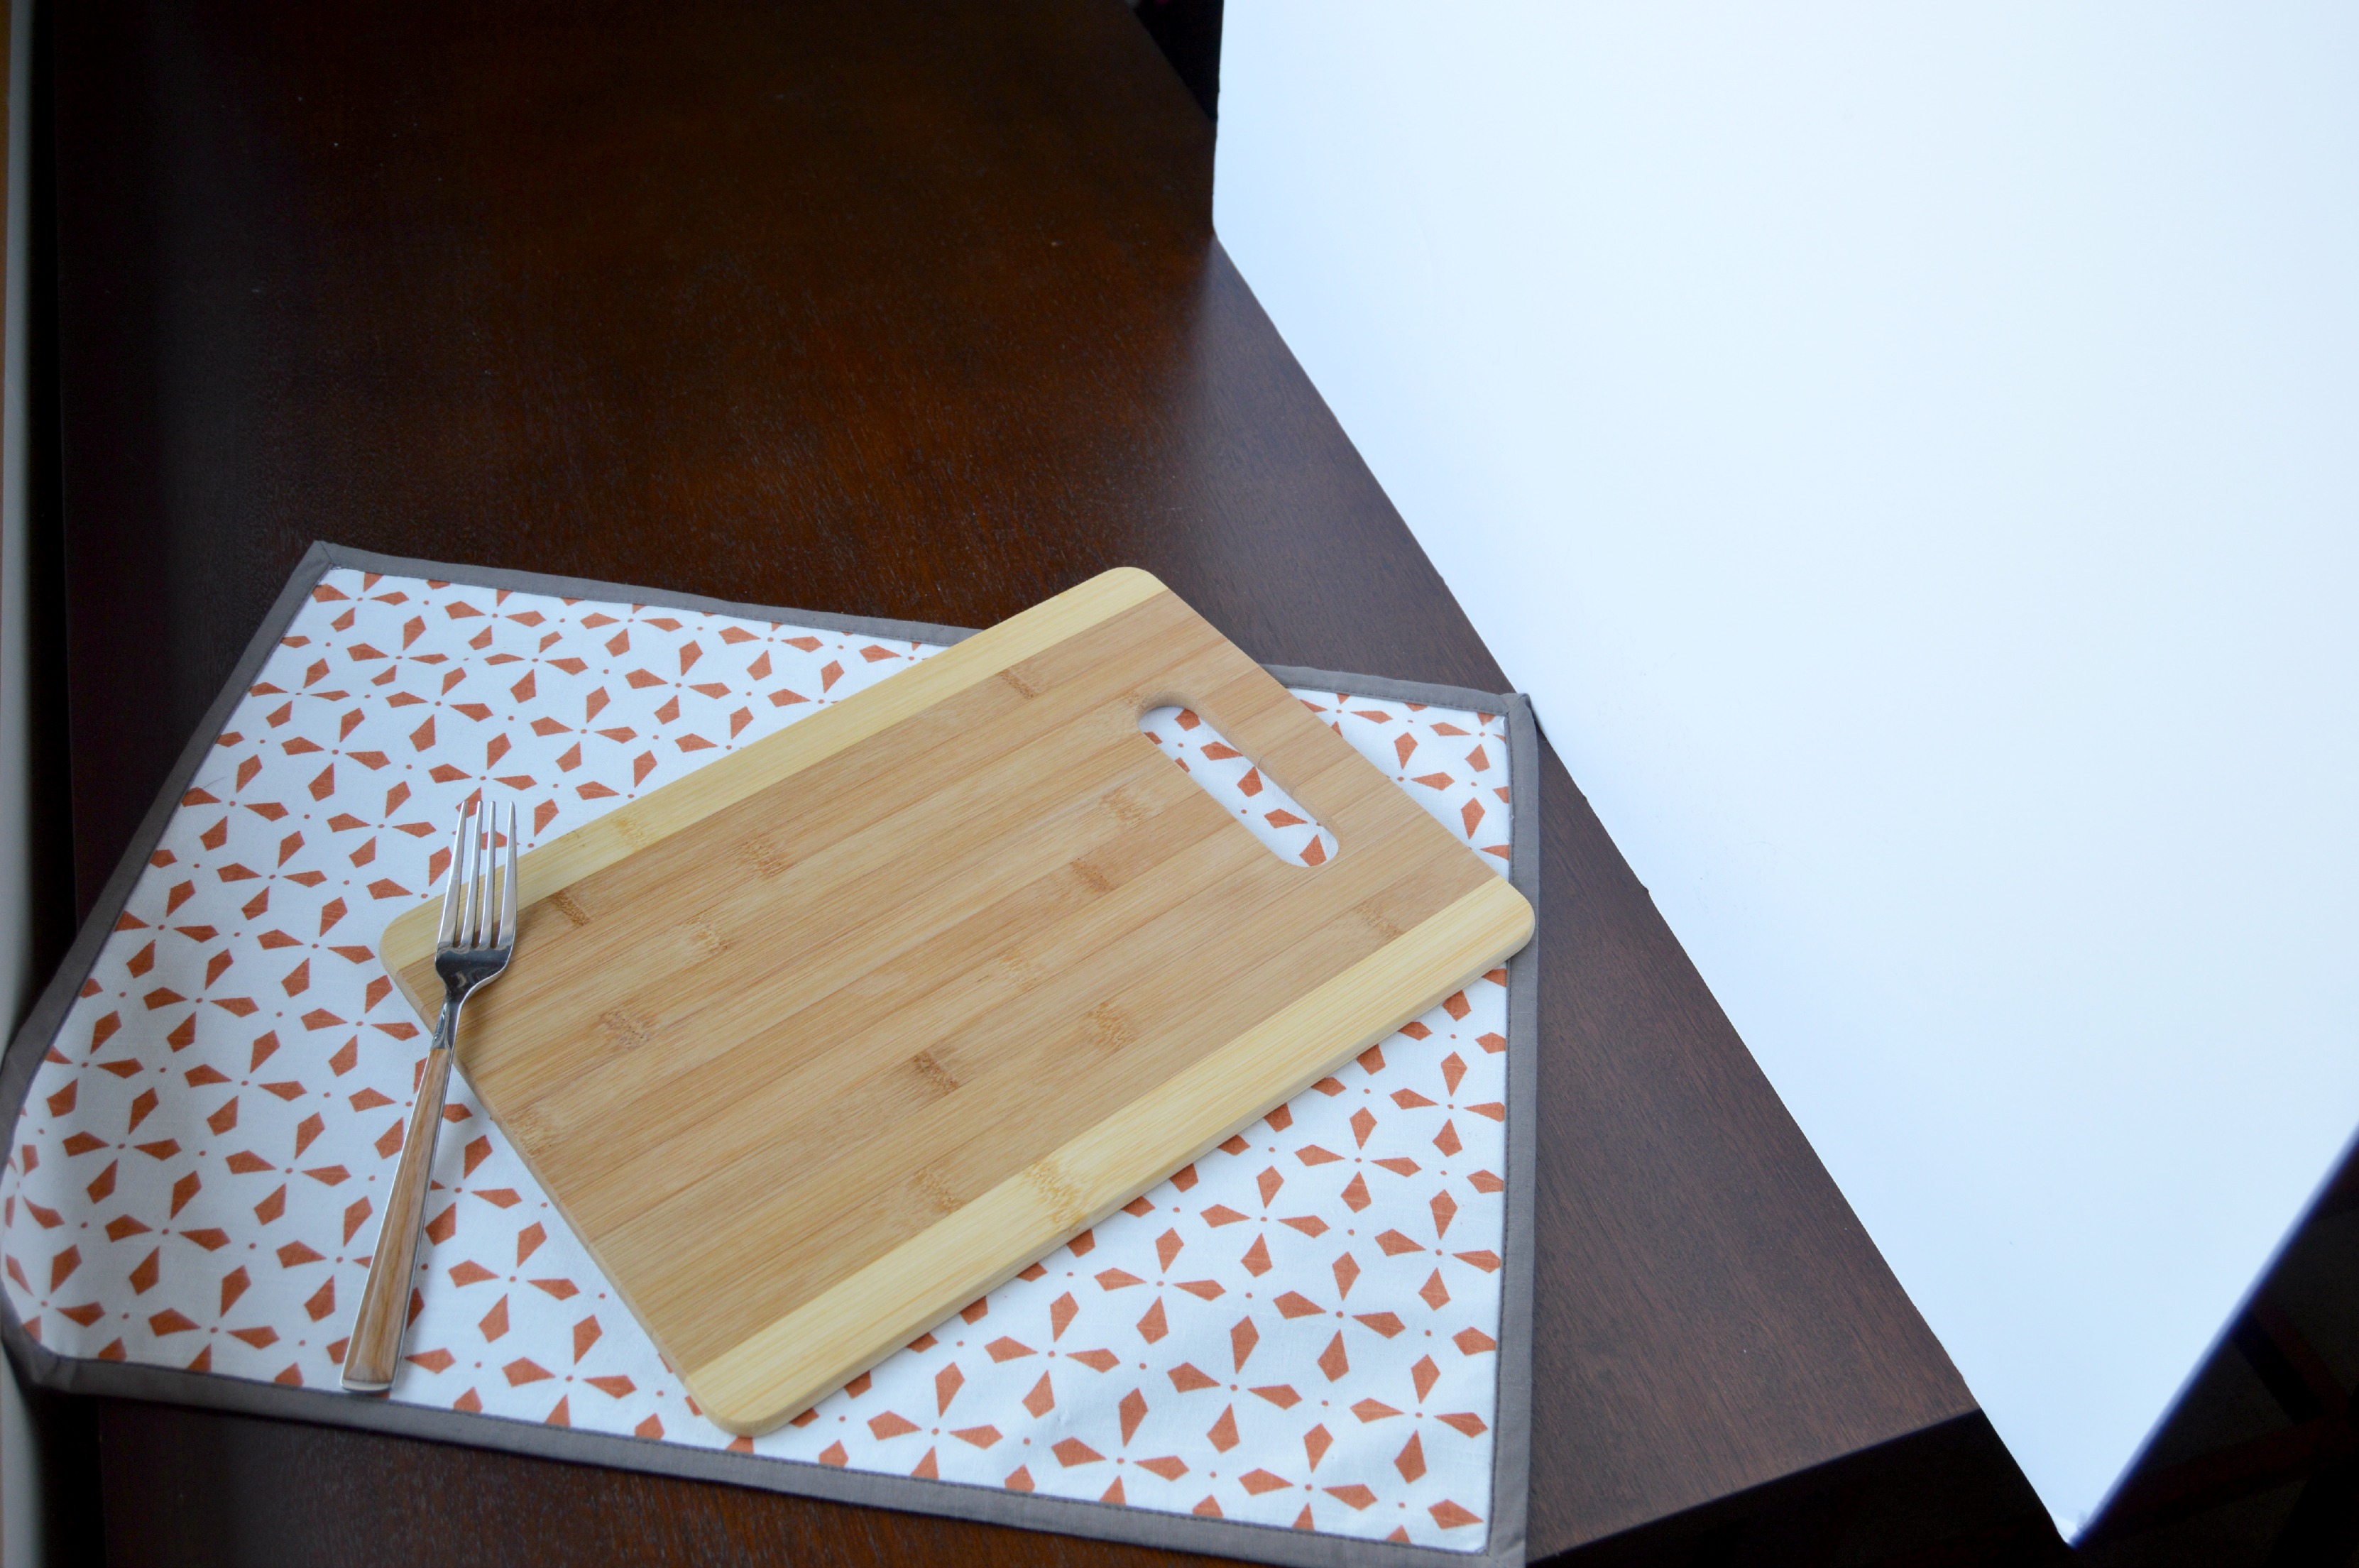
4. Change your backgrounds.
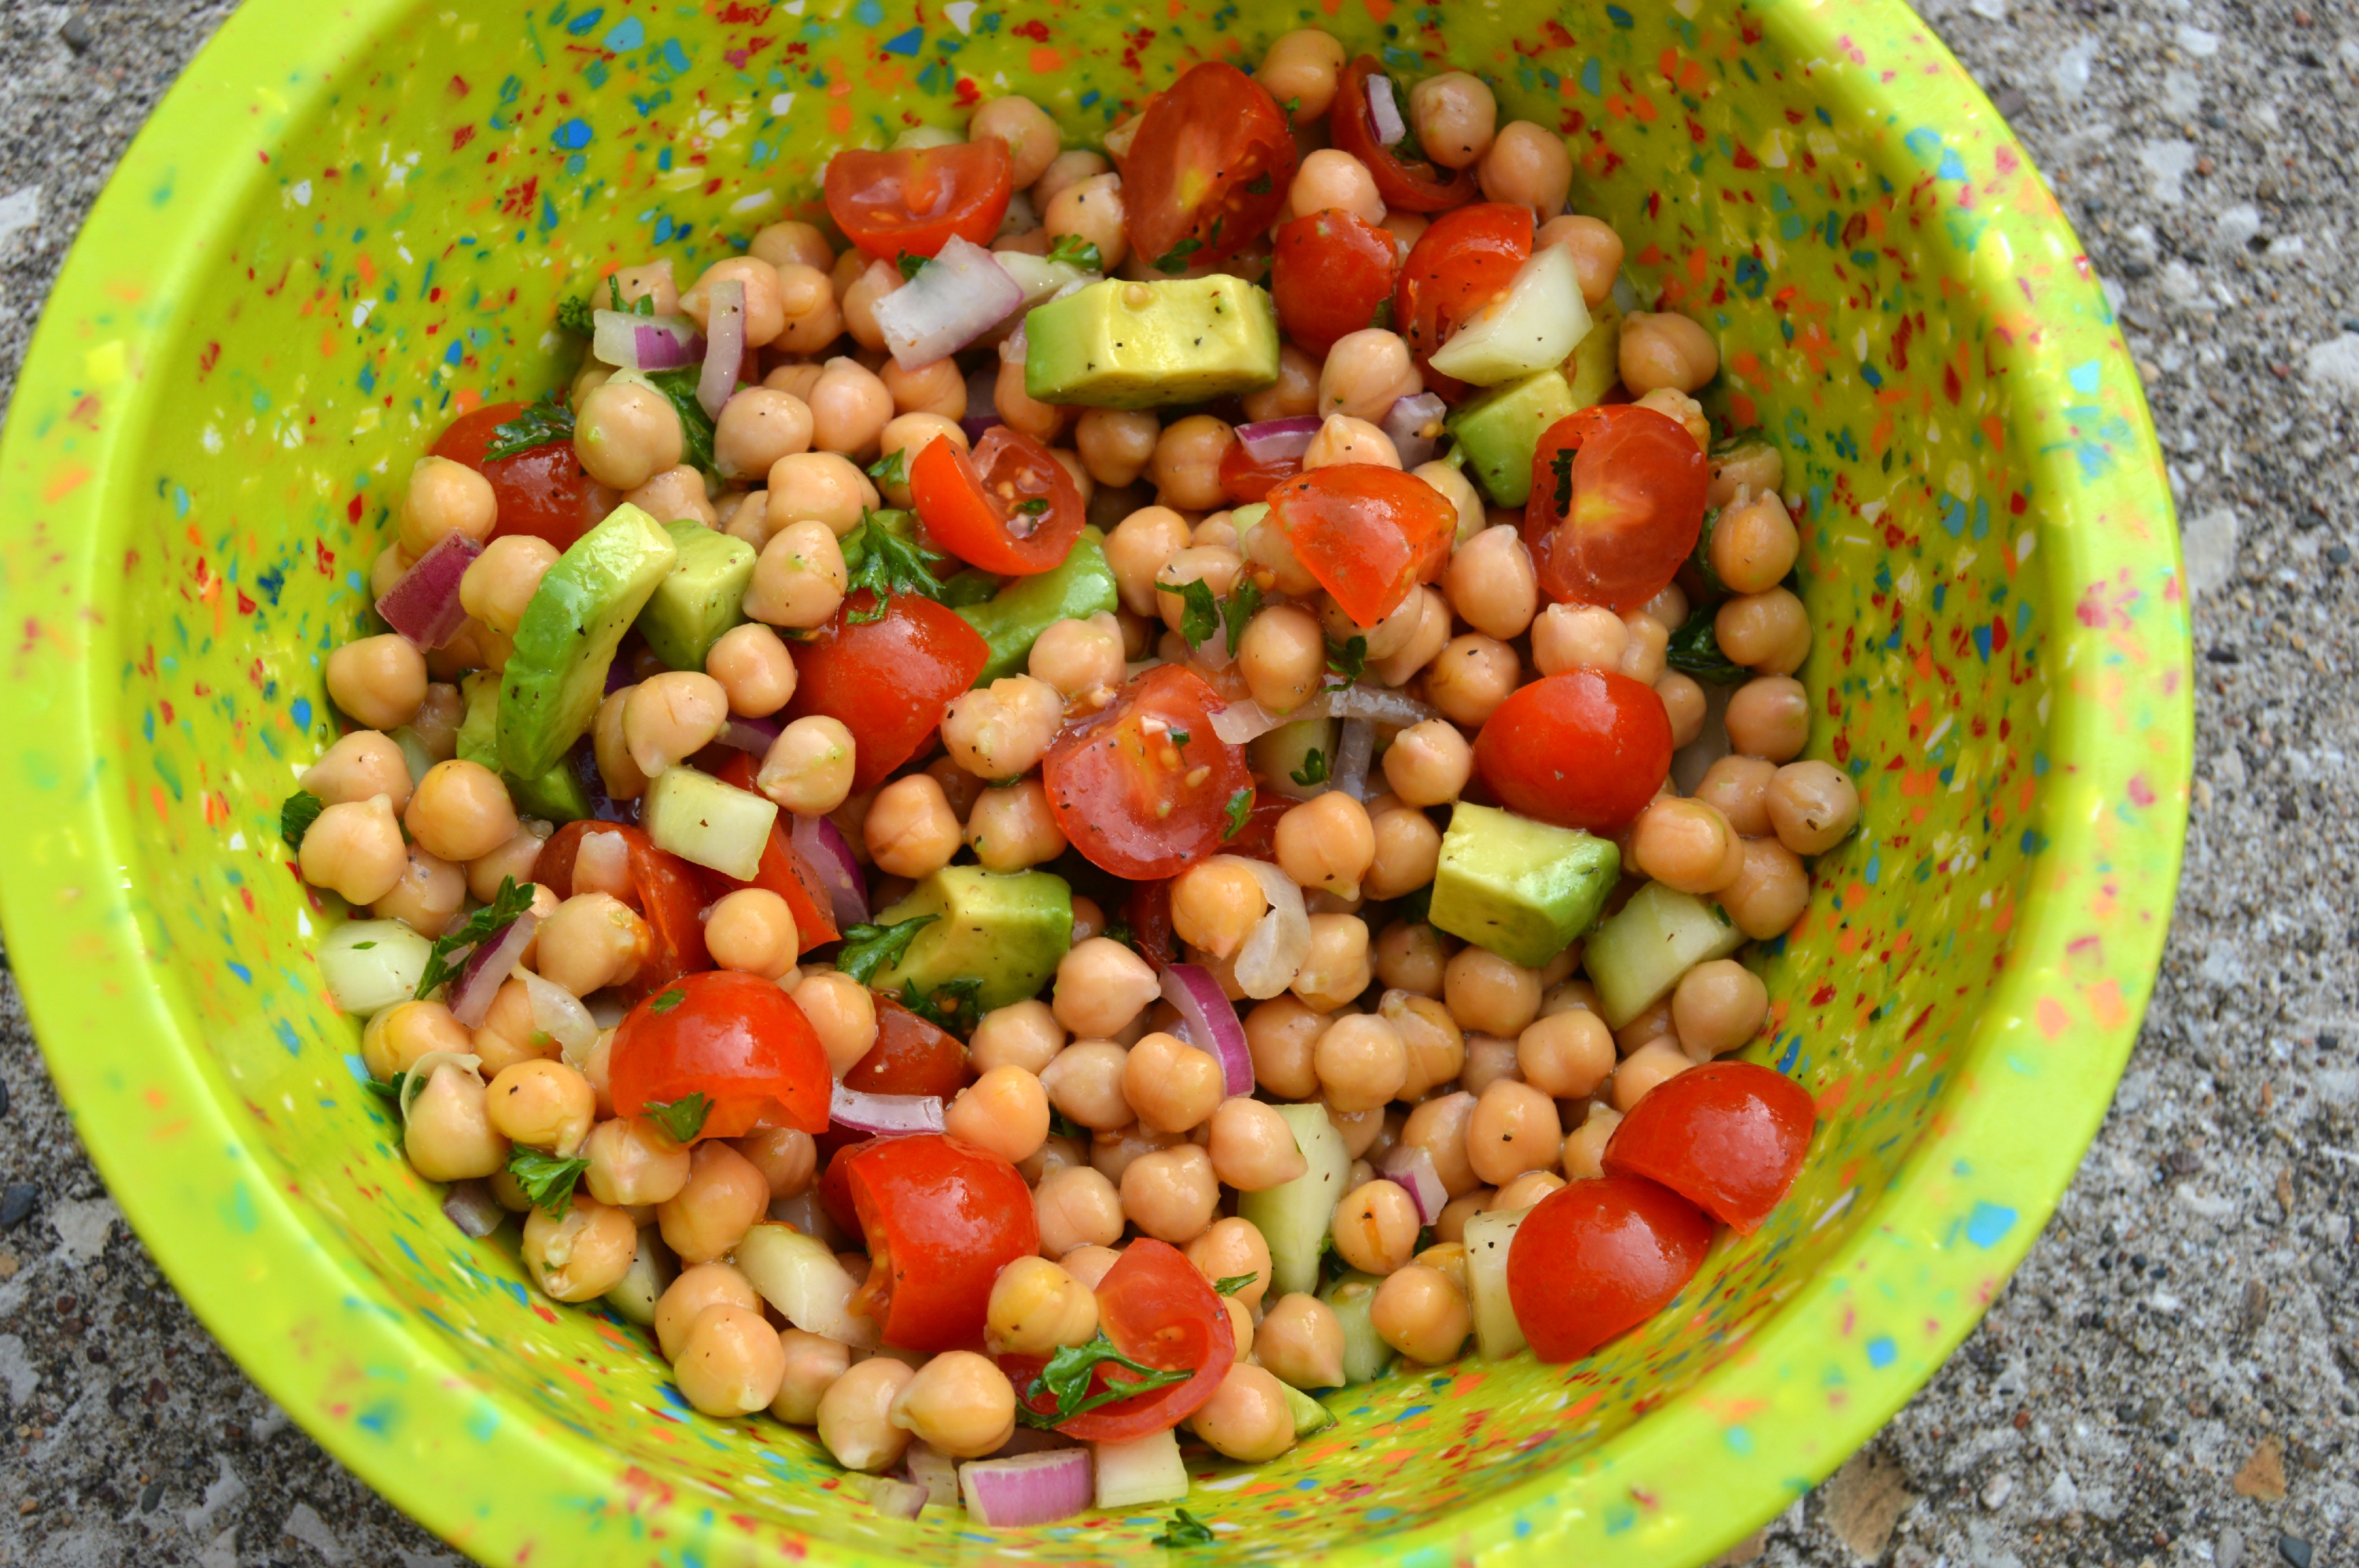 Keep things interesting by varying the background that you use while taking pictures. Get creative on this one and use what is at your disposal. A lot of my pictures are taken on a brown desk or a tan-colored wooden cutting board. For the picture above, however, I mixed things up a bit and took the picture outside. My background was concrete and different and I followed #1 by maximizing the use of natural light available to me.
5. Focus!
Yes, focus on what you are doing, but what I really mean is to use the focus guidelines on your camera (this is most pertinent to those with a DSLR camera). It sounds simple but this is something that I sometimes forget to spend enough time on.
6. Simple white is nice.
 Colored and patterned plates are nice. But white dishes are generally the best when it comes to food photography. White dishes minimize possible distractions and they really make the food pop!
7. A white poster board is perfect for directing light.
 So you have that gorgeous natural light coming through the window? Control and direct it in the ways that you want by bouncing it off of a white poster board. These only cost about $2.00 so they are incredibly cost effective.
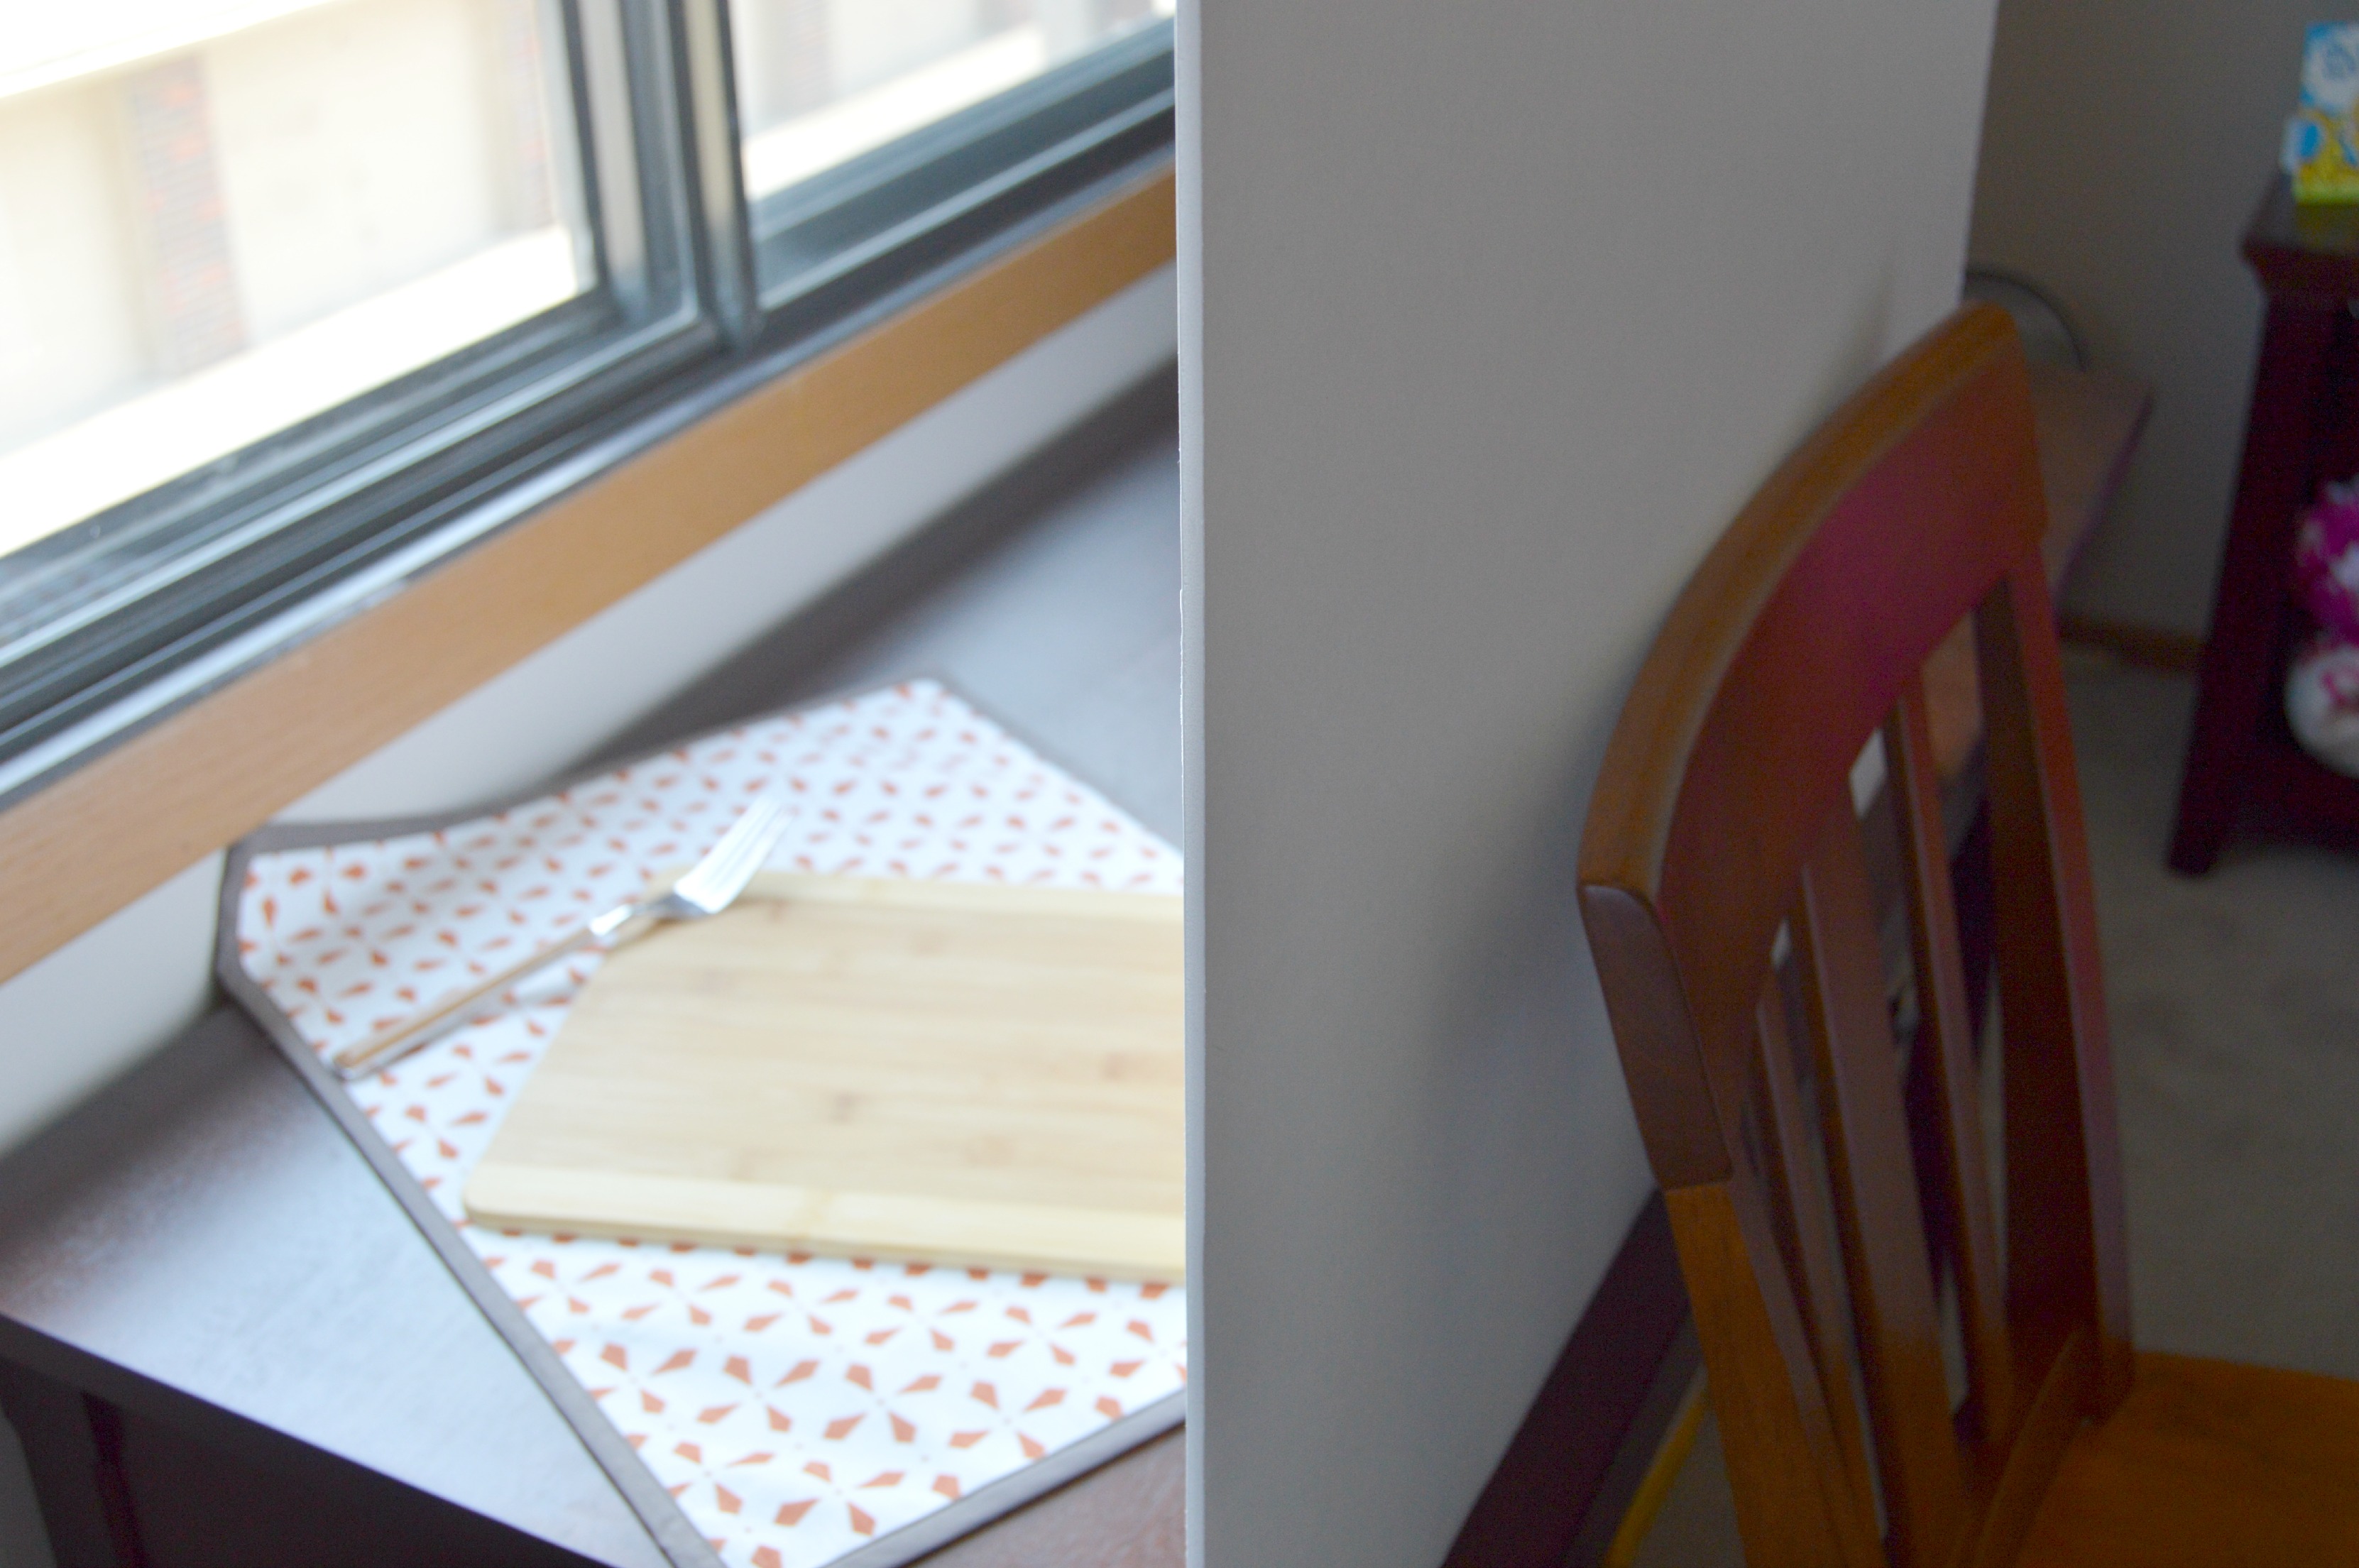 I prop my poster board up with one of my kitchen chairs.
8. Use fun (but not distracting) props.
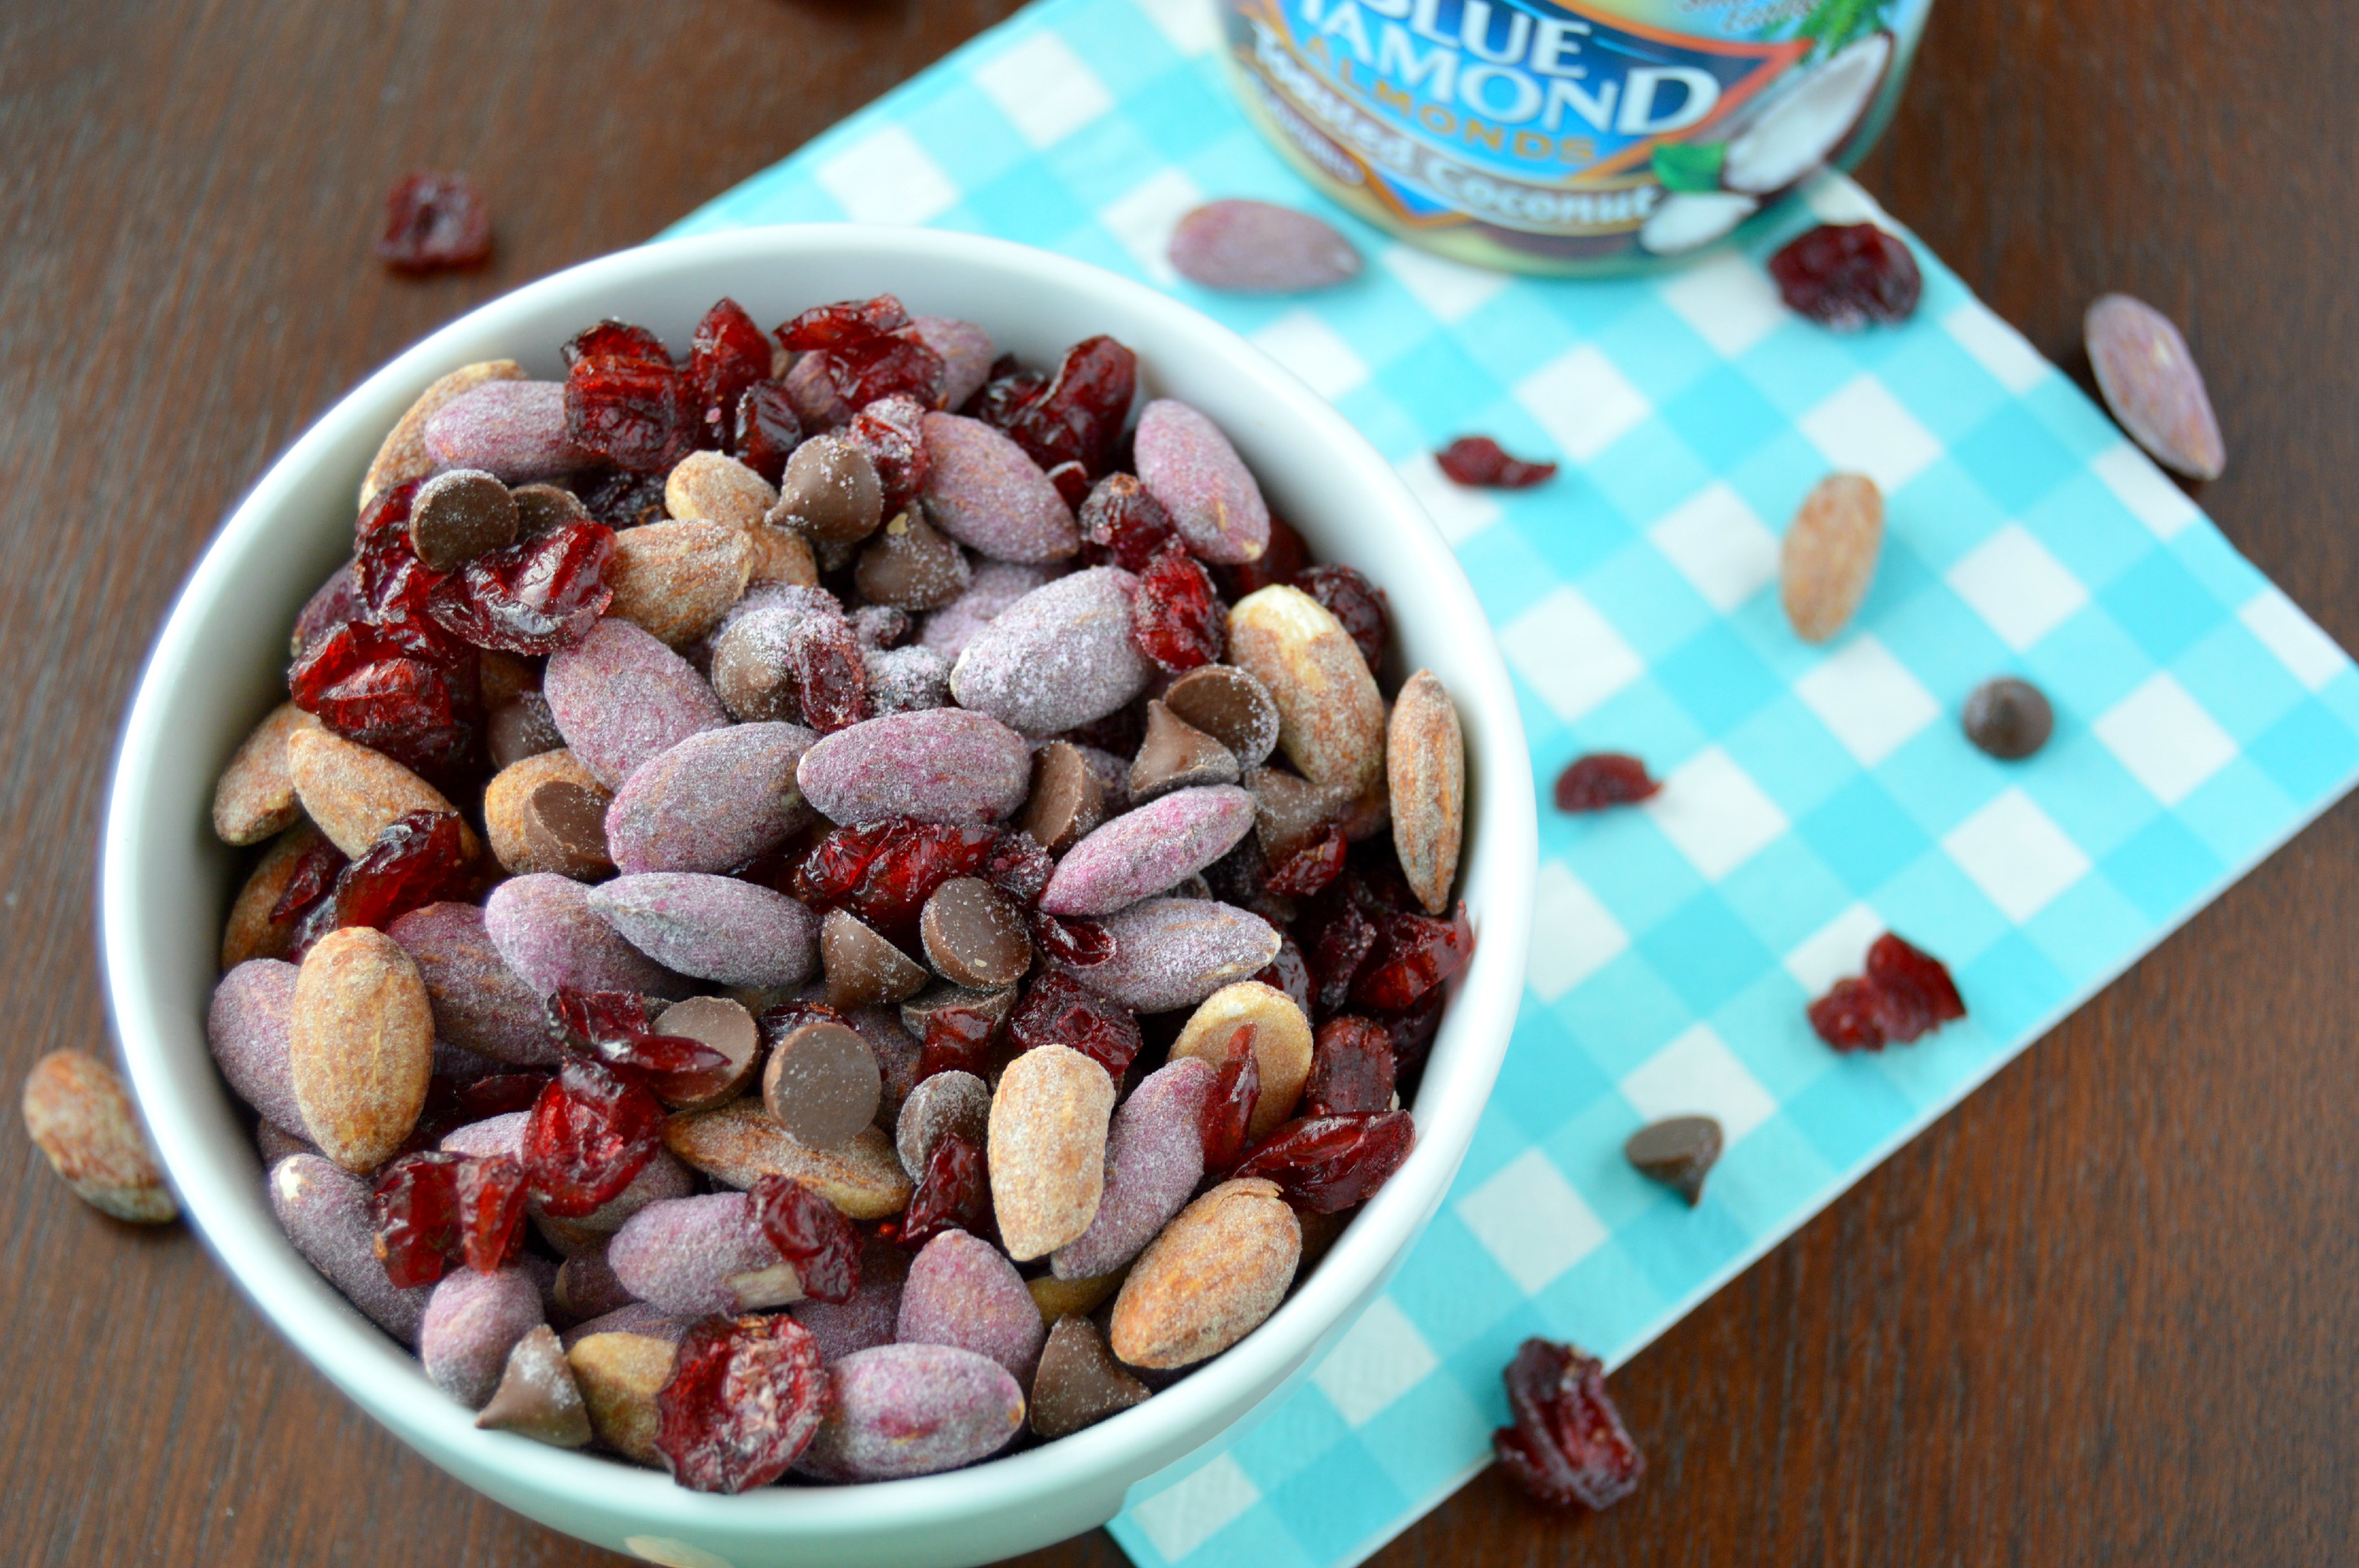
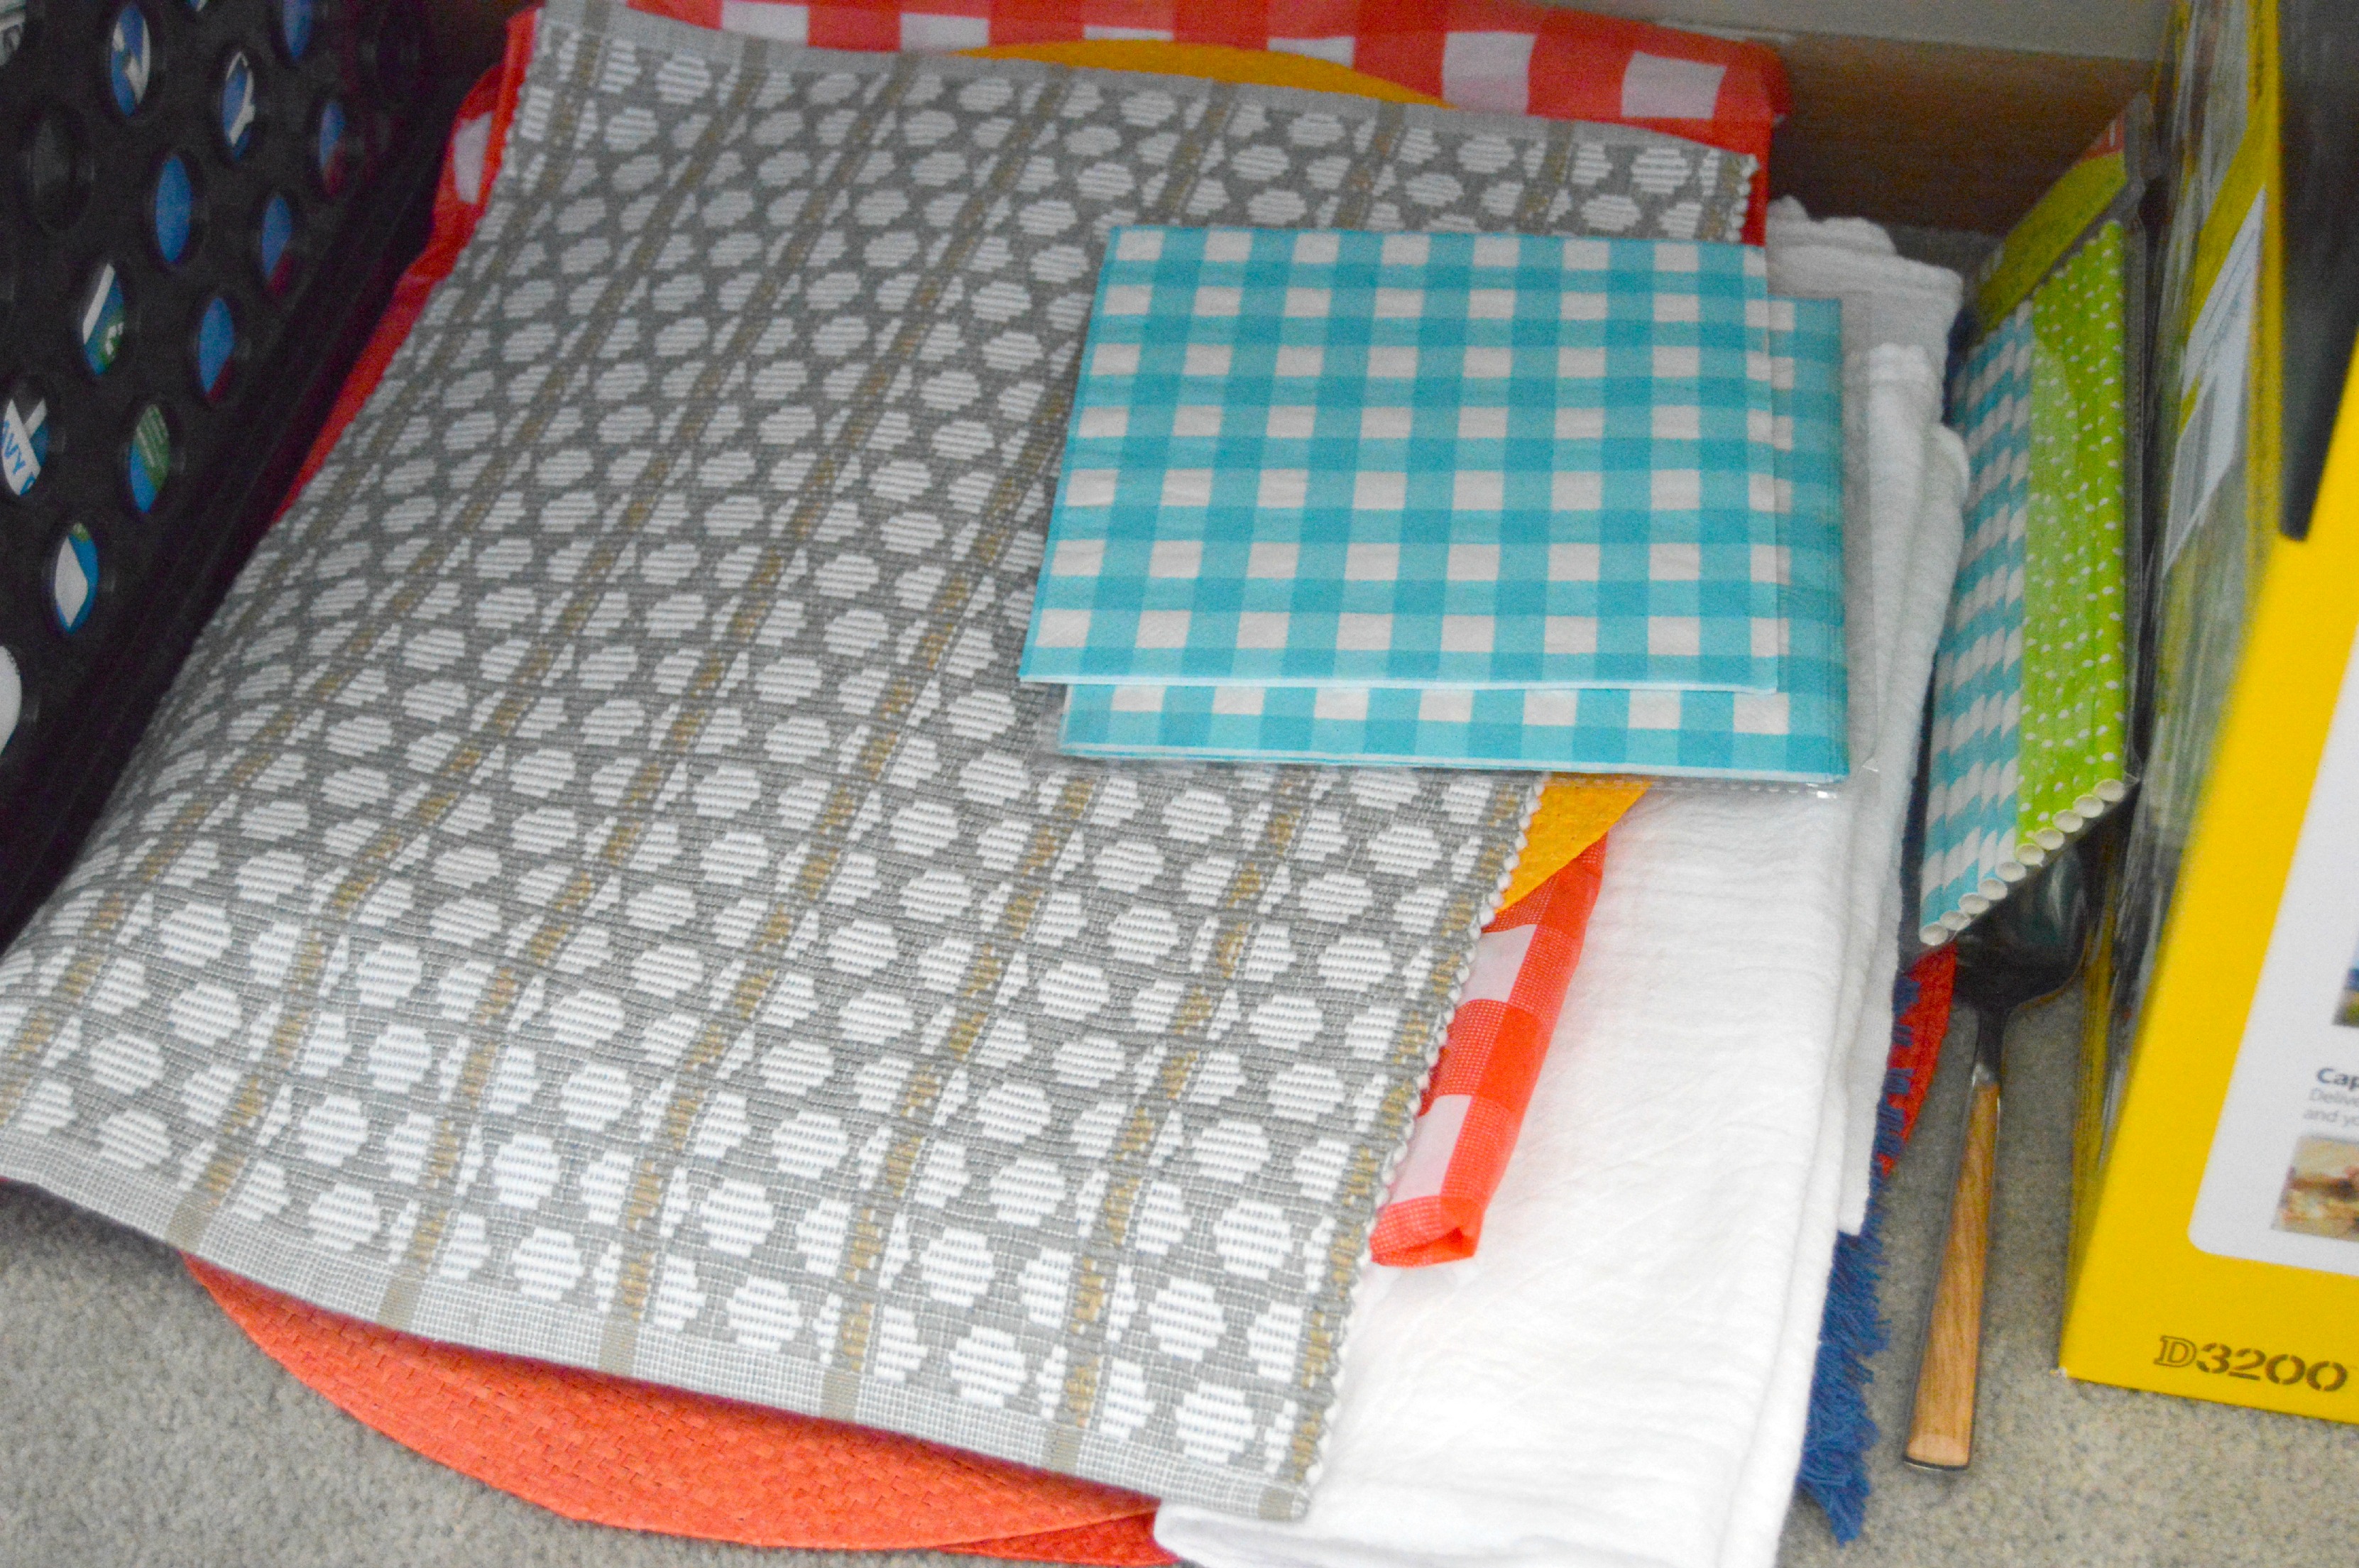 I have an entire stack of various placemats, napkins, tablecloths, straws, silverware, etc. sitting under my photography desk. These add character and excitement to your photos (when used minimally). Try to mix these up often so that your photographs are not taken using the same placemat every time. I recommend checking the clearance sections of places like Target, World Market, TJ Maxx, etc. for such items.
9. Some foods photograph better cold.
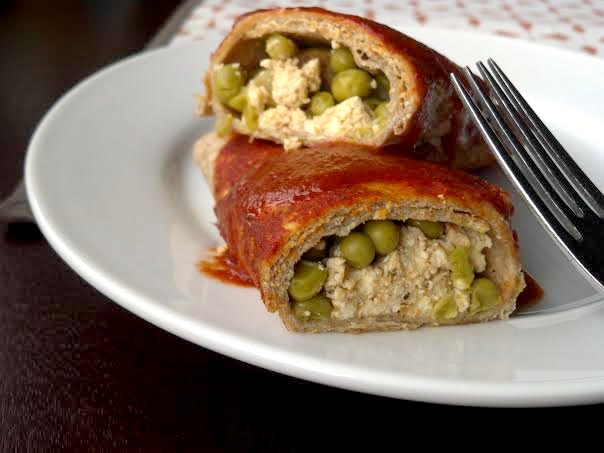 Remember these? And remember how I told you that I photographed these Cheese and Potato Enchiladas cold? It turns out many foods photograph better as cold leftovers. These are a perfect example. Another food that I find photographs better cold is soup- though this is one I am still trying to master.
10. Odd numbers are best.
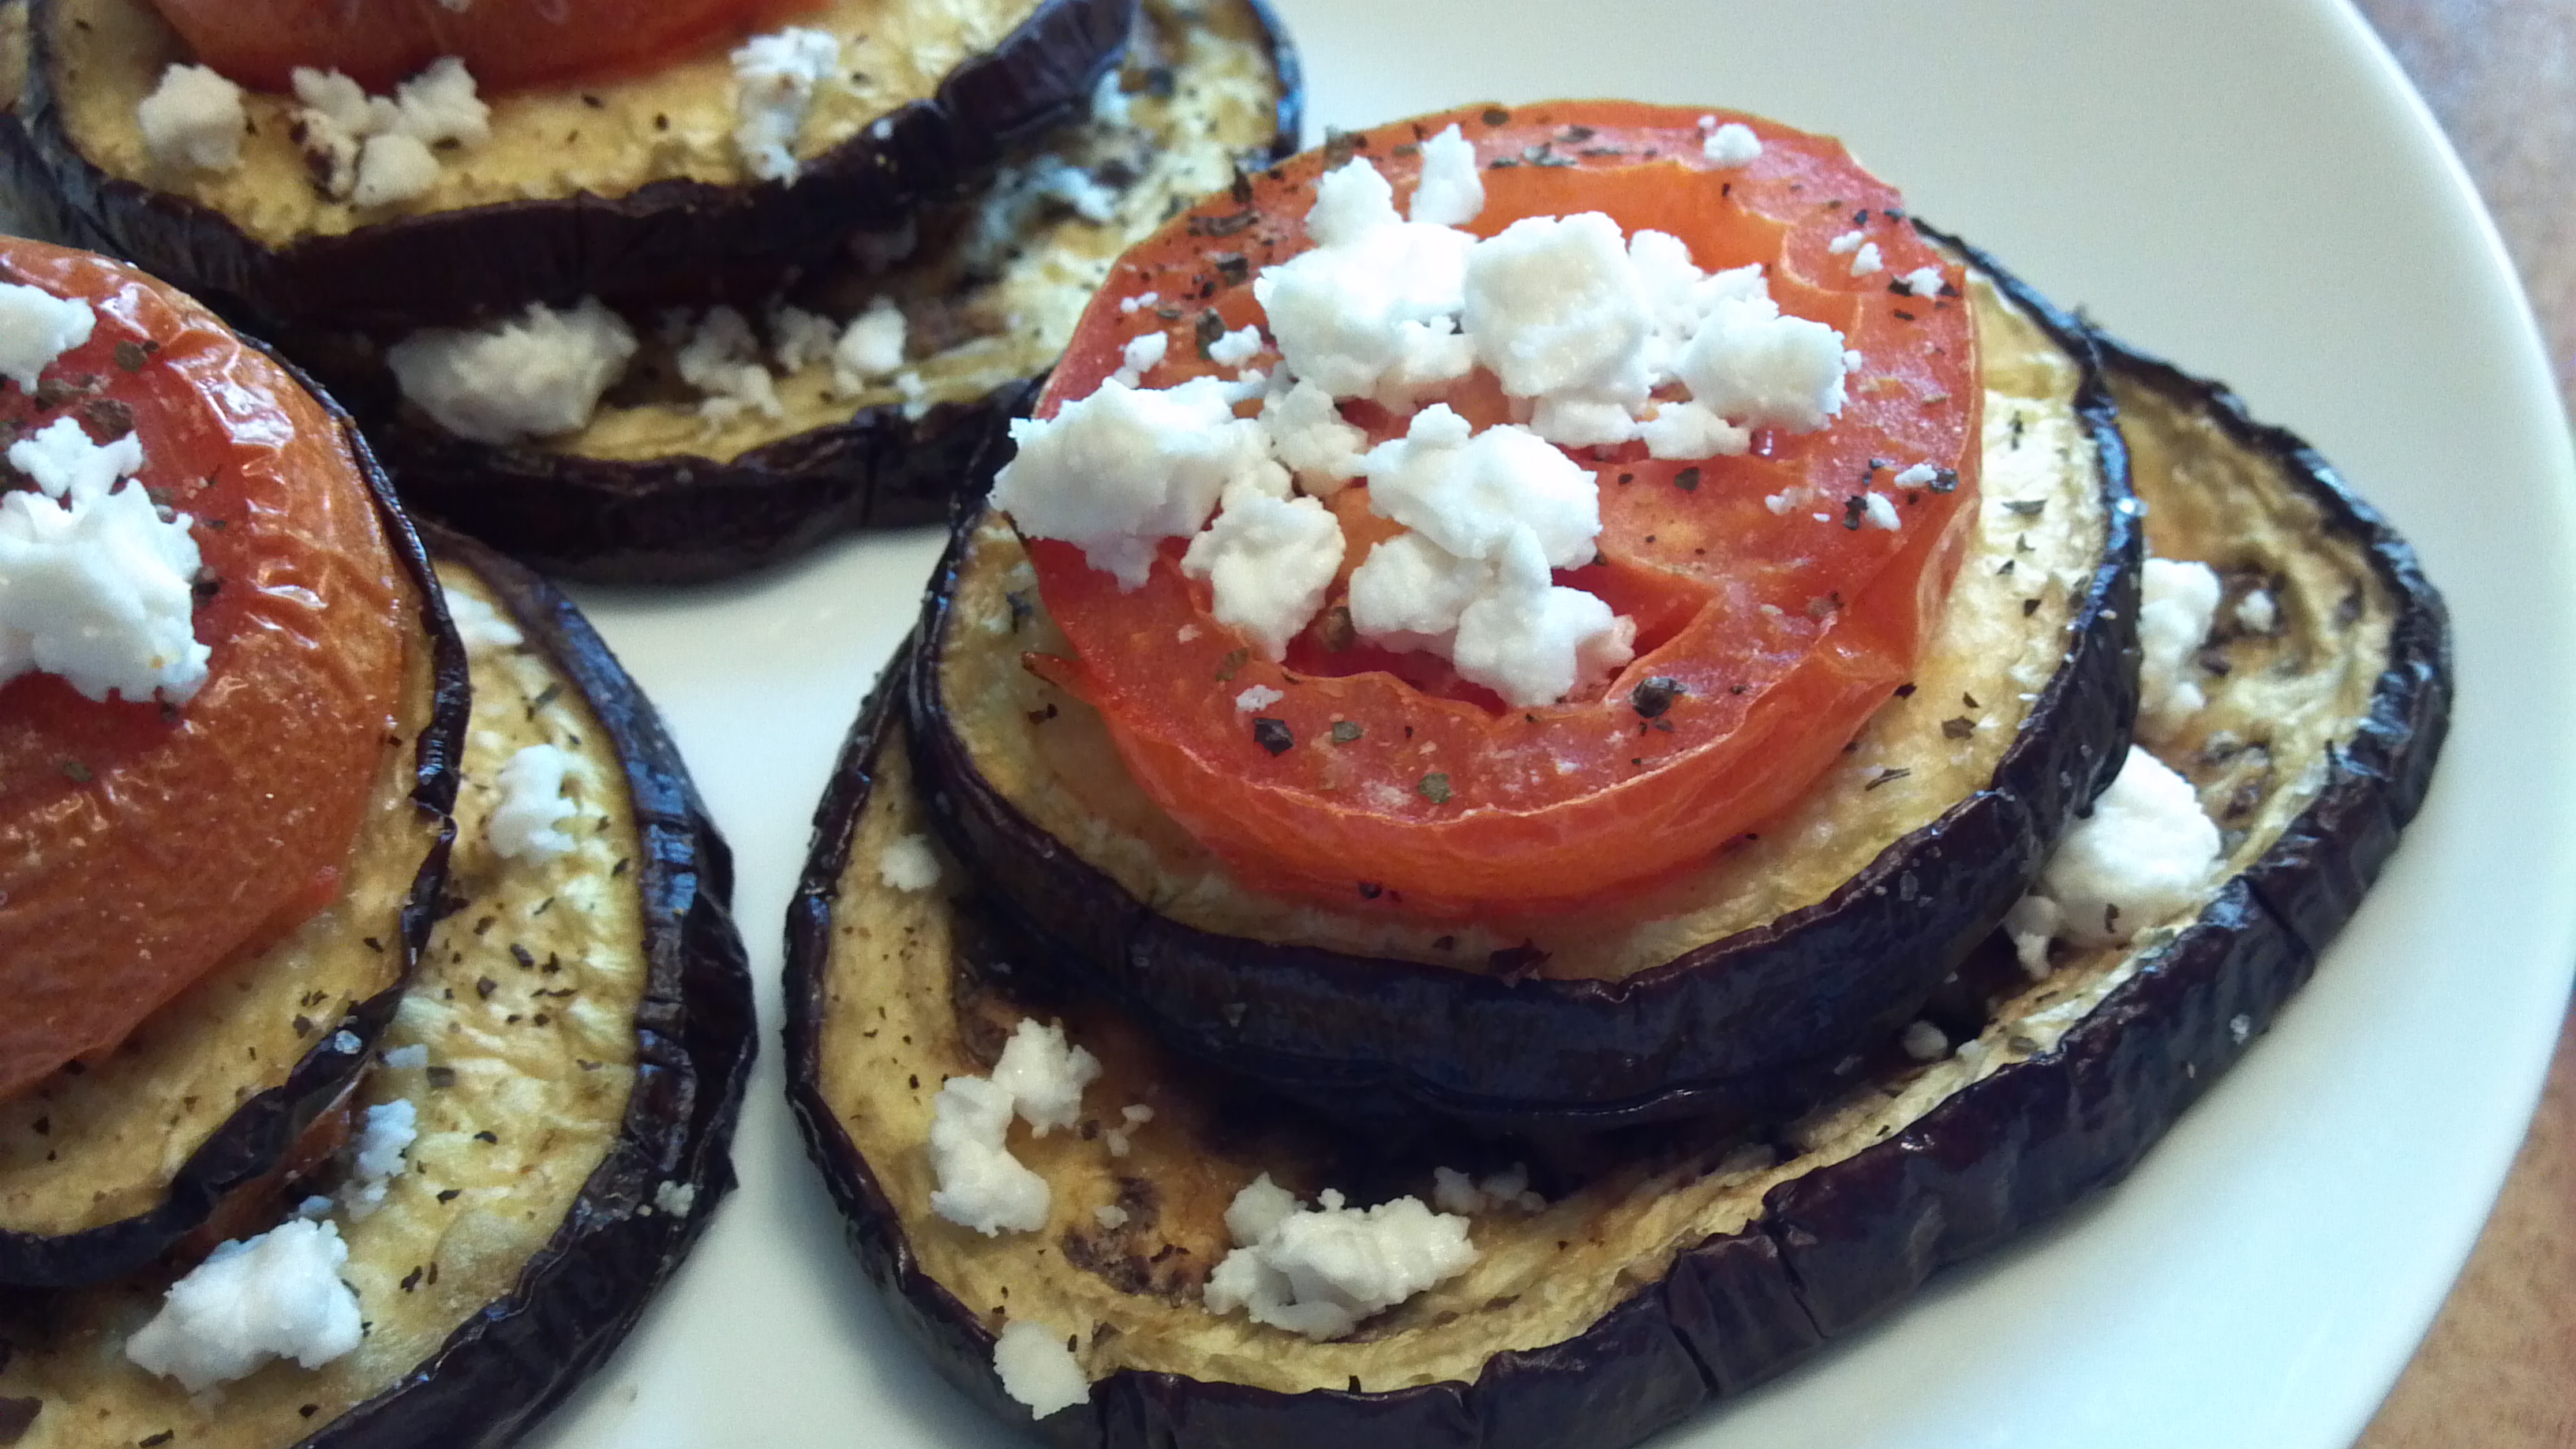 Food tends to photograph best in odd numbers. When you are photographing muffins, cookies, or things like these Roasted Eggplant, Tomato, and Feta Cheese Stacks, pair them in odd numbers. Odd numbers are more visually appealing to the reader.
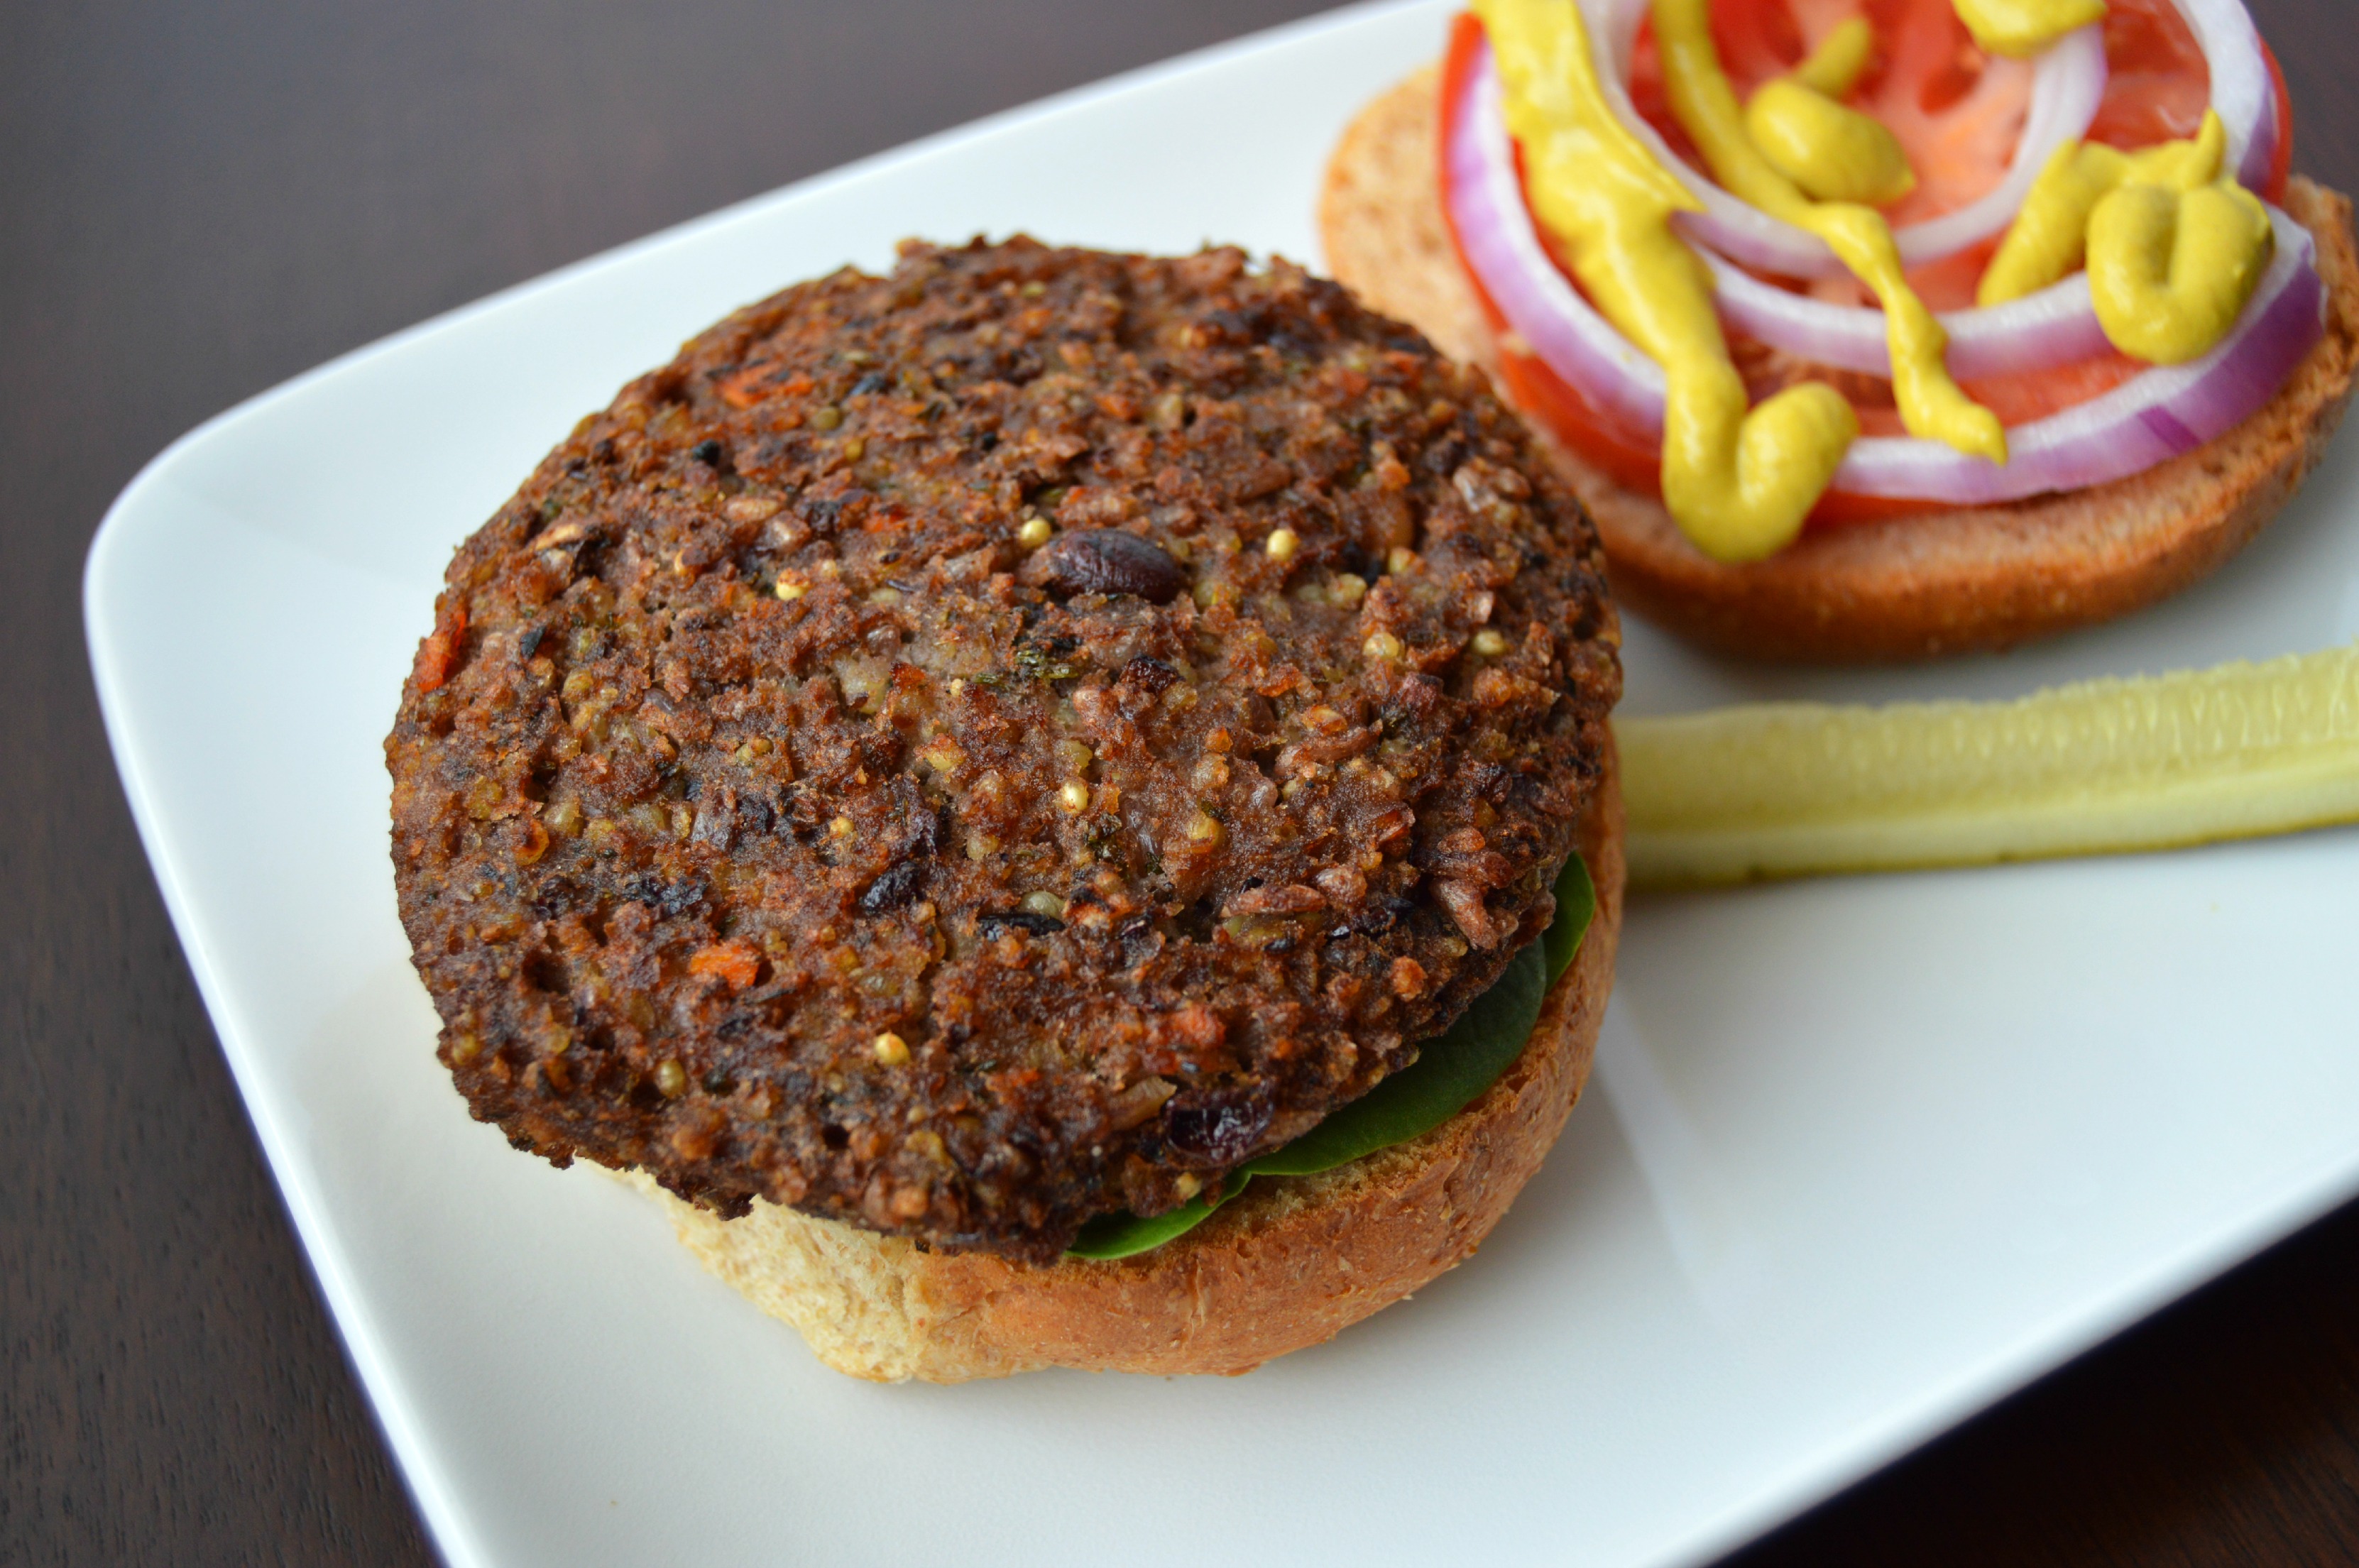
11. Add a pop of color.
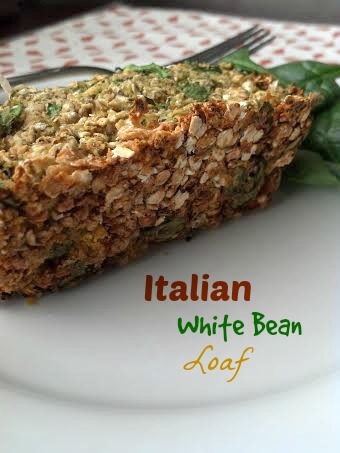 Adding a pop of color can be done in several ways. Try adding a garnish (like the spinach above), spicing things up with colored text, or providing colorful (but not distracting) accents through placemats and/or napkins.
12. Set the scene.
 Setting the scene is important. Adding that napkin, pop of color, garnish, fun utensil, accompanying side or drink, etc. can make the picture and can help your readers see themselves eating that same dish in their very own homes.
13. Take your time.
Sometimes I can be tempted to rush through my photography because…well, I’m hungry! Plan ahead when you know you are going to photograph your food and give yourself ample time. This is another instance where taking pictures of cold food can be helpful.
14. PicMonkey is your friend.
I know it is my friend! I do not pay for the upgraded version, but I find that the free version truly makes a difference in my pictures. For the most part, I focus on editing each picture’s exposure (brightness, shadows, highlights, contrast), colors (saturation), sharpness, and clarity. I also use it to add fun effects, graphics, and text. I can tell a difference in the quality of my photos every single time that I use PicMonkey. If you are not utilizing this free resource, you need to be!
As I mentioned before, I am by no means an expert when it comes to food photography. I also know that I have a lot to learn and can continually improve my work. I do hope, however, that some of these basic tips and techniques that I use may be of benefit to you.
What food photography tips do you have to share that I have not covered? Please share in the comments!