A rustic, chic DIY project on How to Make a Fabric Garland for a Wedding.
I am by no means a DIY queen. In fact, more times than not, I get these crazy DIY ideas that never pan out and I end up admitting to myself that I should have just hired someone to make it for me in the first place. Perfect example: my wedding cake that wasn’t.
Since I have been keeping things predominantly Paleo for close to a year now, I wanted my wedding cake to be Paleo. We already had plans to serve cupcakes made with gluten, sugar cookies, and macarons to our guests, but I simply could not fathom not having something sweet to cut and eat myself. No cake on your wedding day? Um, no bueno.
So roughly six weeks out from our big day, I found and tested this recipe for a grain-free, dairy-free smash cake thinking it would be the perfect size for Jeremy and me to cut into. To say it turned out perfectly would probably be an understatement. I mean, my frosting skills clearly needed some work, but the taste and texture of it was perfect. At that point I knew I had my cake and it was one less thing that I needed to stress about.
Fast forward to the Wednesday evening before my wedding. I, again, followed the recipe to a T, with the only thing different being the oven I was baking it in (I was at my parents’ house). I kind of knew something was wrong even as I was putting it into the oven because the texture of the batter seemed a bit off from the first time I made it. But I carried on. And about 30 minutes later I basically felt like crying. The cake had not set and was an ooey gooey mess in the center. I tried to salvage it with frosting, but it was definitely not up to my standards.
So after my hour-long freak out (surprisingly my only one the whole week), I breathed, recruited my mom to make some phone calls, and had Jeremy hand deliver me gluten-free, dairy-free cupcakes from Sweet Rewards Gluten-Free Bakery (which just so happens to deliver to Scratch Cupcakery). All was right with the world again, and we ate gluten-free, dairy-free cupcakes (laden with hot pink sprinkles because that is all they had at the time) with gold forks on our wedding day.
Moral of the story: I hate baking for a reason and I should have remembered this before I got all confident in the baking department. Hire somebody to do it for you when food is involved, unless you want to completely stress yourself out that close to the big day!
Despite my cake baking catastrophe, all was not lost in the DIY world. I did manage to make the majority of my reception decorations, and all without a single fresh flower. It helped that the venue was naturally gorgeous, but my own rustic DIY touches really added a little something-something.
Since this fabric garland was probably my absolute favorite wedding decoration, I wanted to share the idea with you. Of course it could certainly work for other occasions, but I think it is absolutely perfect for any rustic/country/boho-themed wedding.
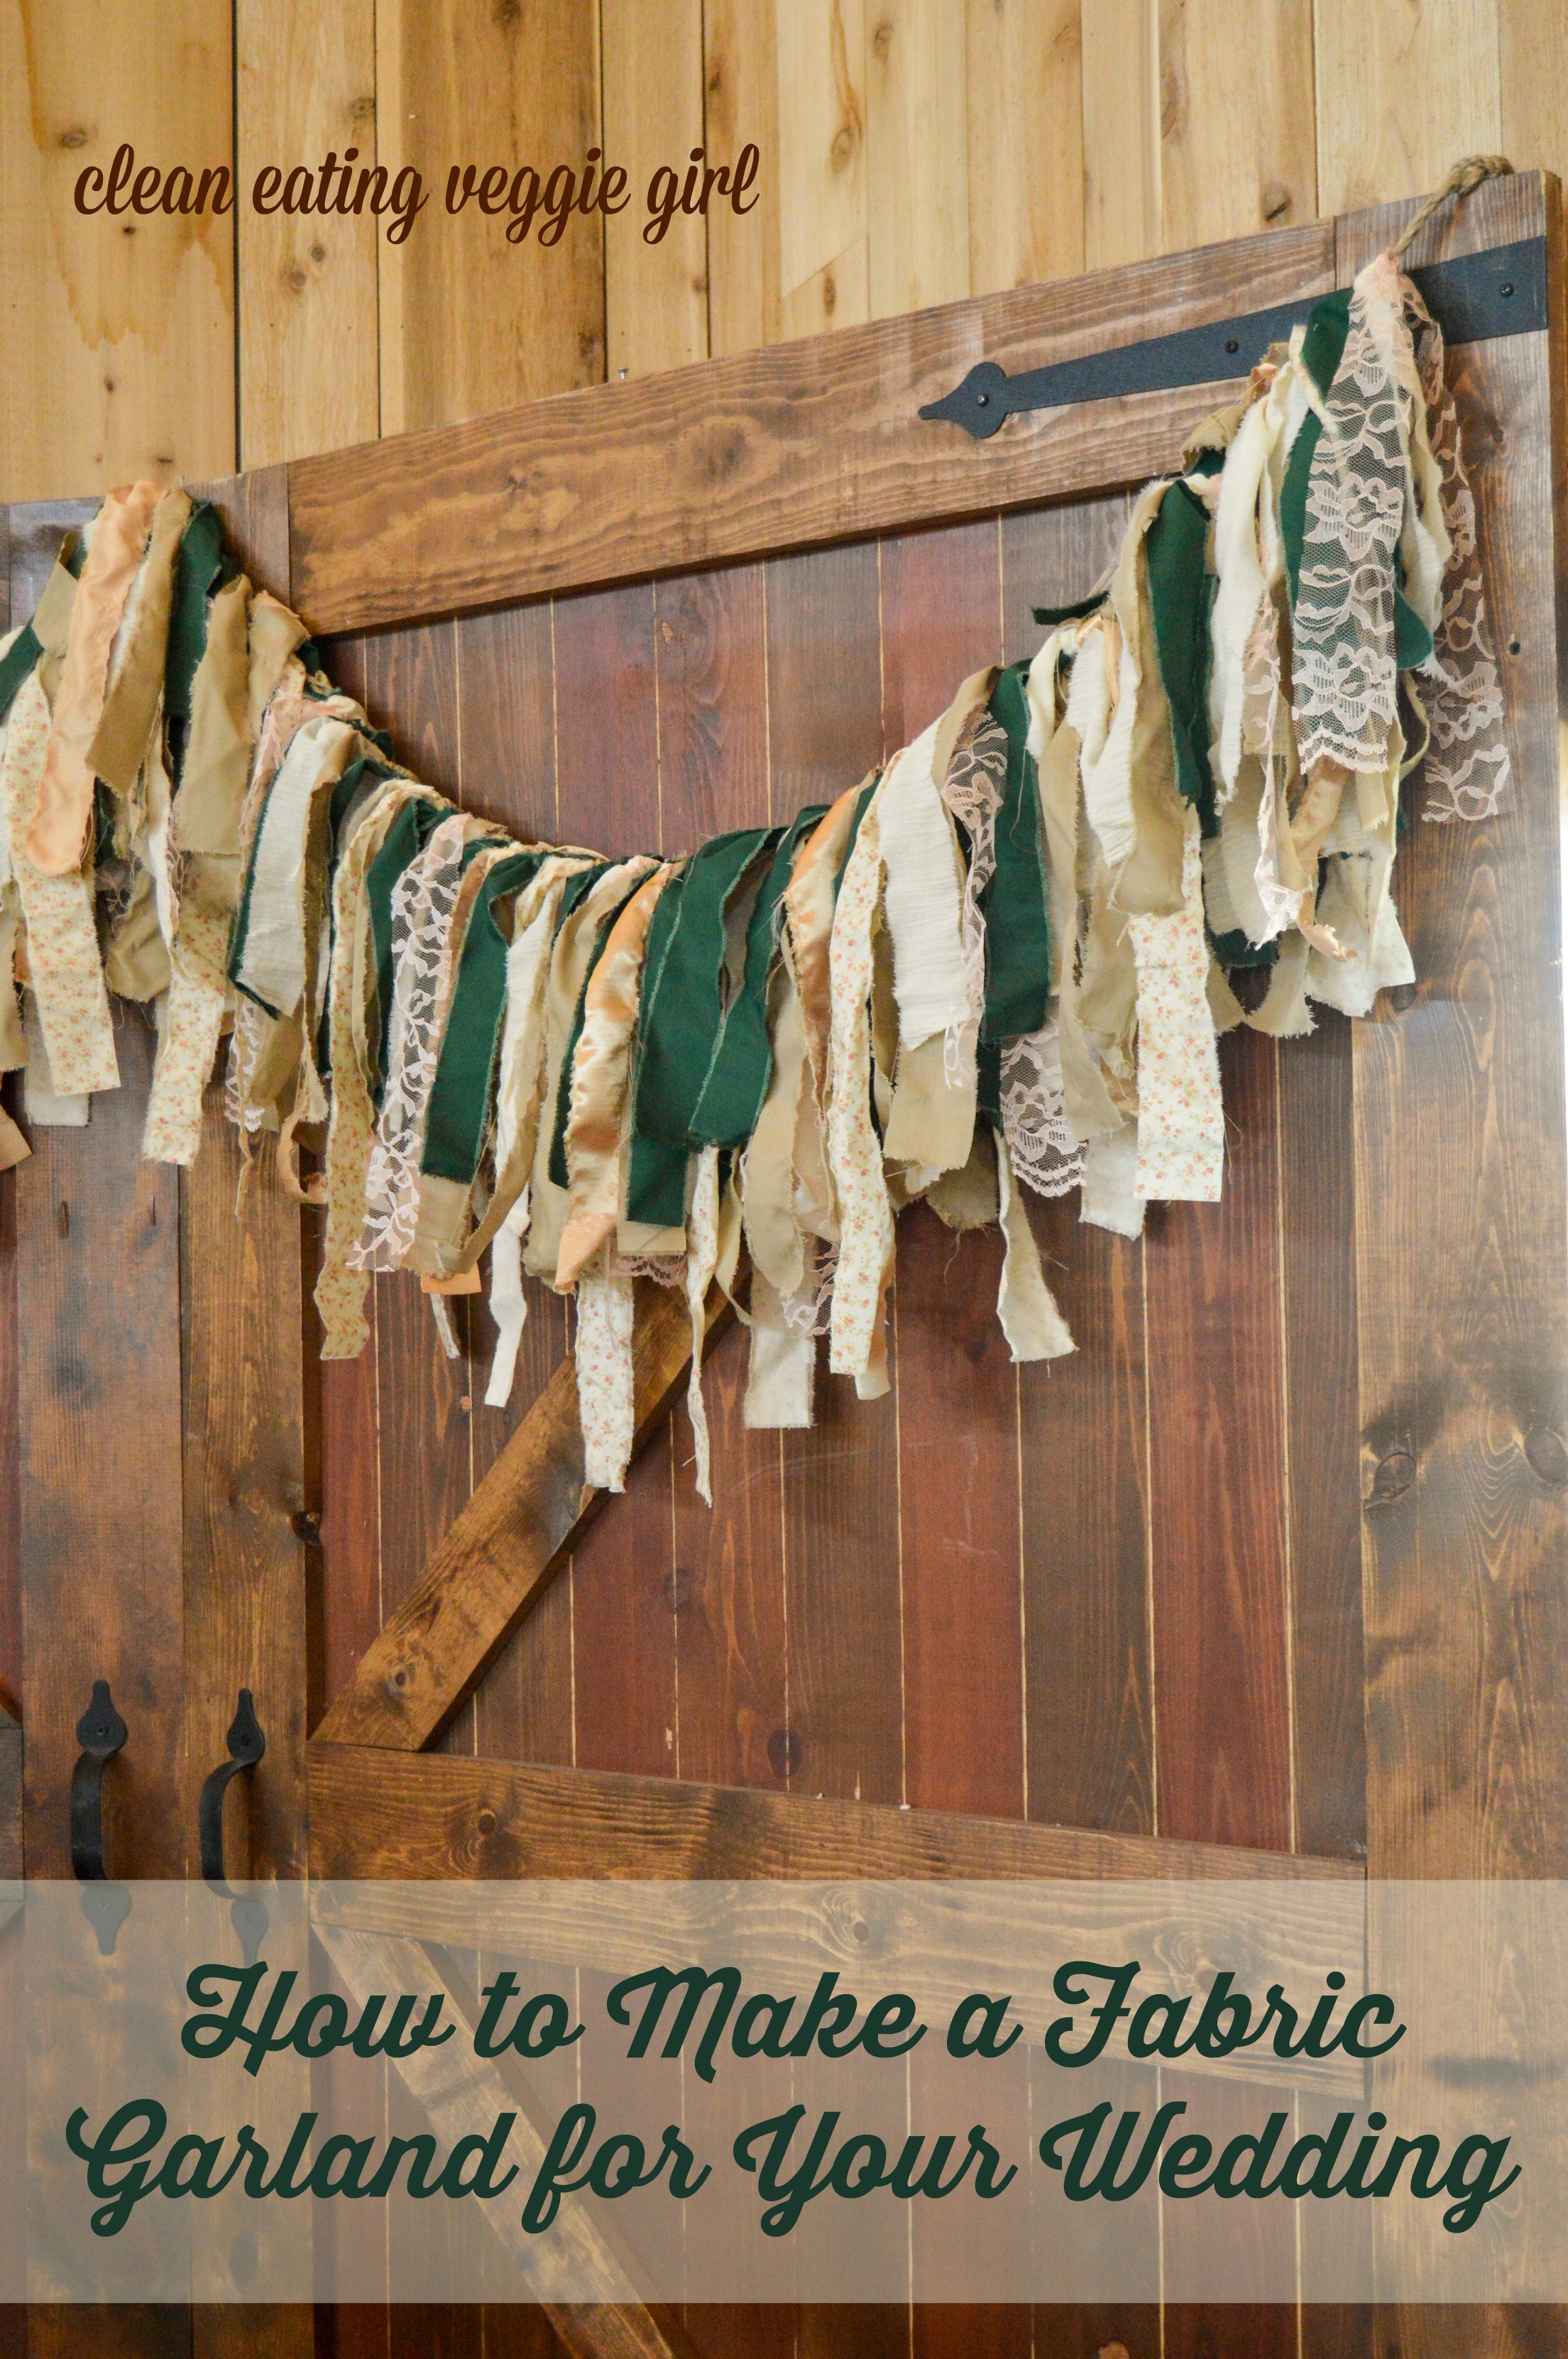 How to Make a Fabric Garland for a Wedding
I followed this tutorial when I made my garland. Refer to the original post for step-by-step instructions and photos of the process.
 There are several things you need to do before you actually get started making your garland.
1. Decide where you are going to hang your garland. This will help you determine the length of the rope and the amount of fabric needed.
2. Recruit a friend (or five) to help. Trust me, you do not want to do this alone.
3. Decide on the colors/types of fabric based on your color scheme. My wedding colors were hunter green and tan/ivory with hints of peach and gold. I ended up using six different fabrics (3 matte plain colors, 1 metallic color, and 2 patterns). I recommend basing the majority of the fabric out of plain colors matching your scheme and throwing in patterns or metallics using your accent colors.
4. Go to your favorite fabric/craft store. My matron of honor and I went to Jo-Ann Fabric for the fabric and Hobby Lobby for the twine rope.
5. On your way home, be sure to stop and get snacks and drinks because you will need plenty of breaks. Wine doesn’t hurt, either. You may also want to rent a couple of movies to watch while you rip and tie.
 Now to the fun part <– insert sarcasm.
Based on the length of your garland, determine the number of fabric strips that you need to cut and tear. We tore our fabric into strips that were approximately one and a half inches wide and two to three feet long (I wanted varying lengths for added dimension), which resulted in about 20 fabric strips per foot of rope (for a total of roughly 180 strips). The number of fabric strips you need will vary based on how closely you tie each knot.
Once your fabric strips are ready, unroll the rope and cut it into your desired length. I recommend adding an extra three feet of rope to each end (or six feet longer than you want the garland to be) for tying purposes. It is better to have too much than too little.
Decide on the pattern you want for your fabric and start tying. And tying. And tying.
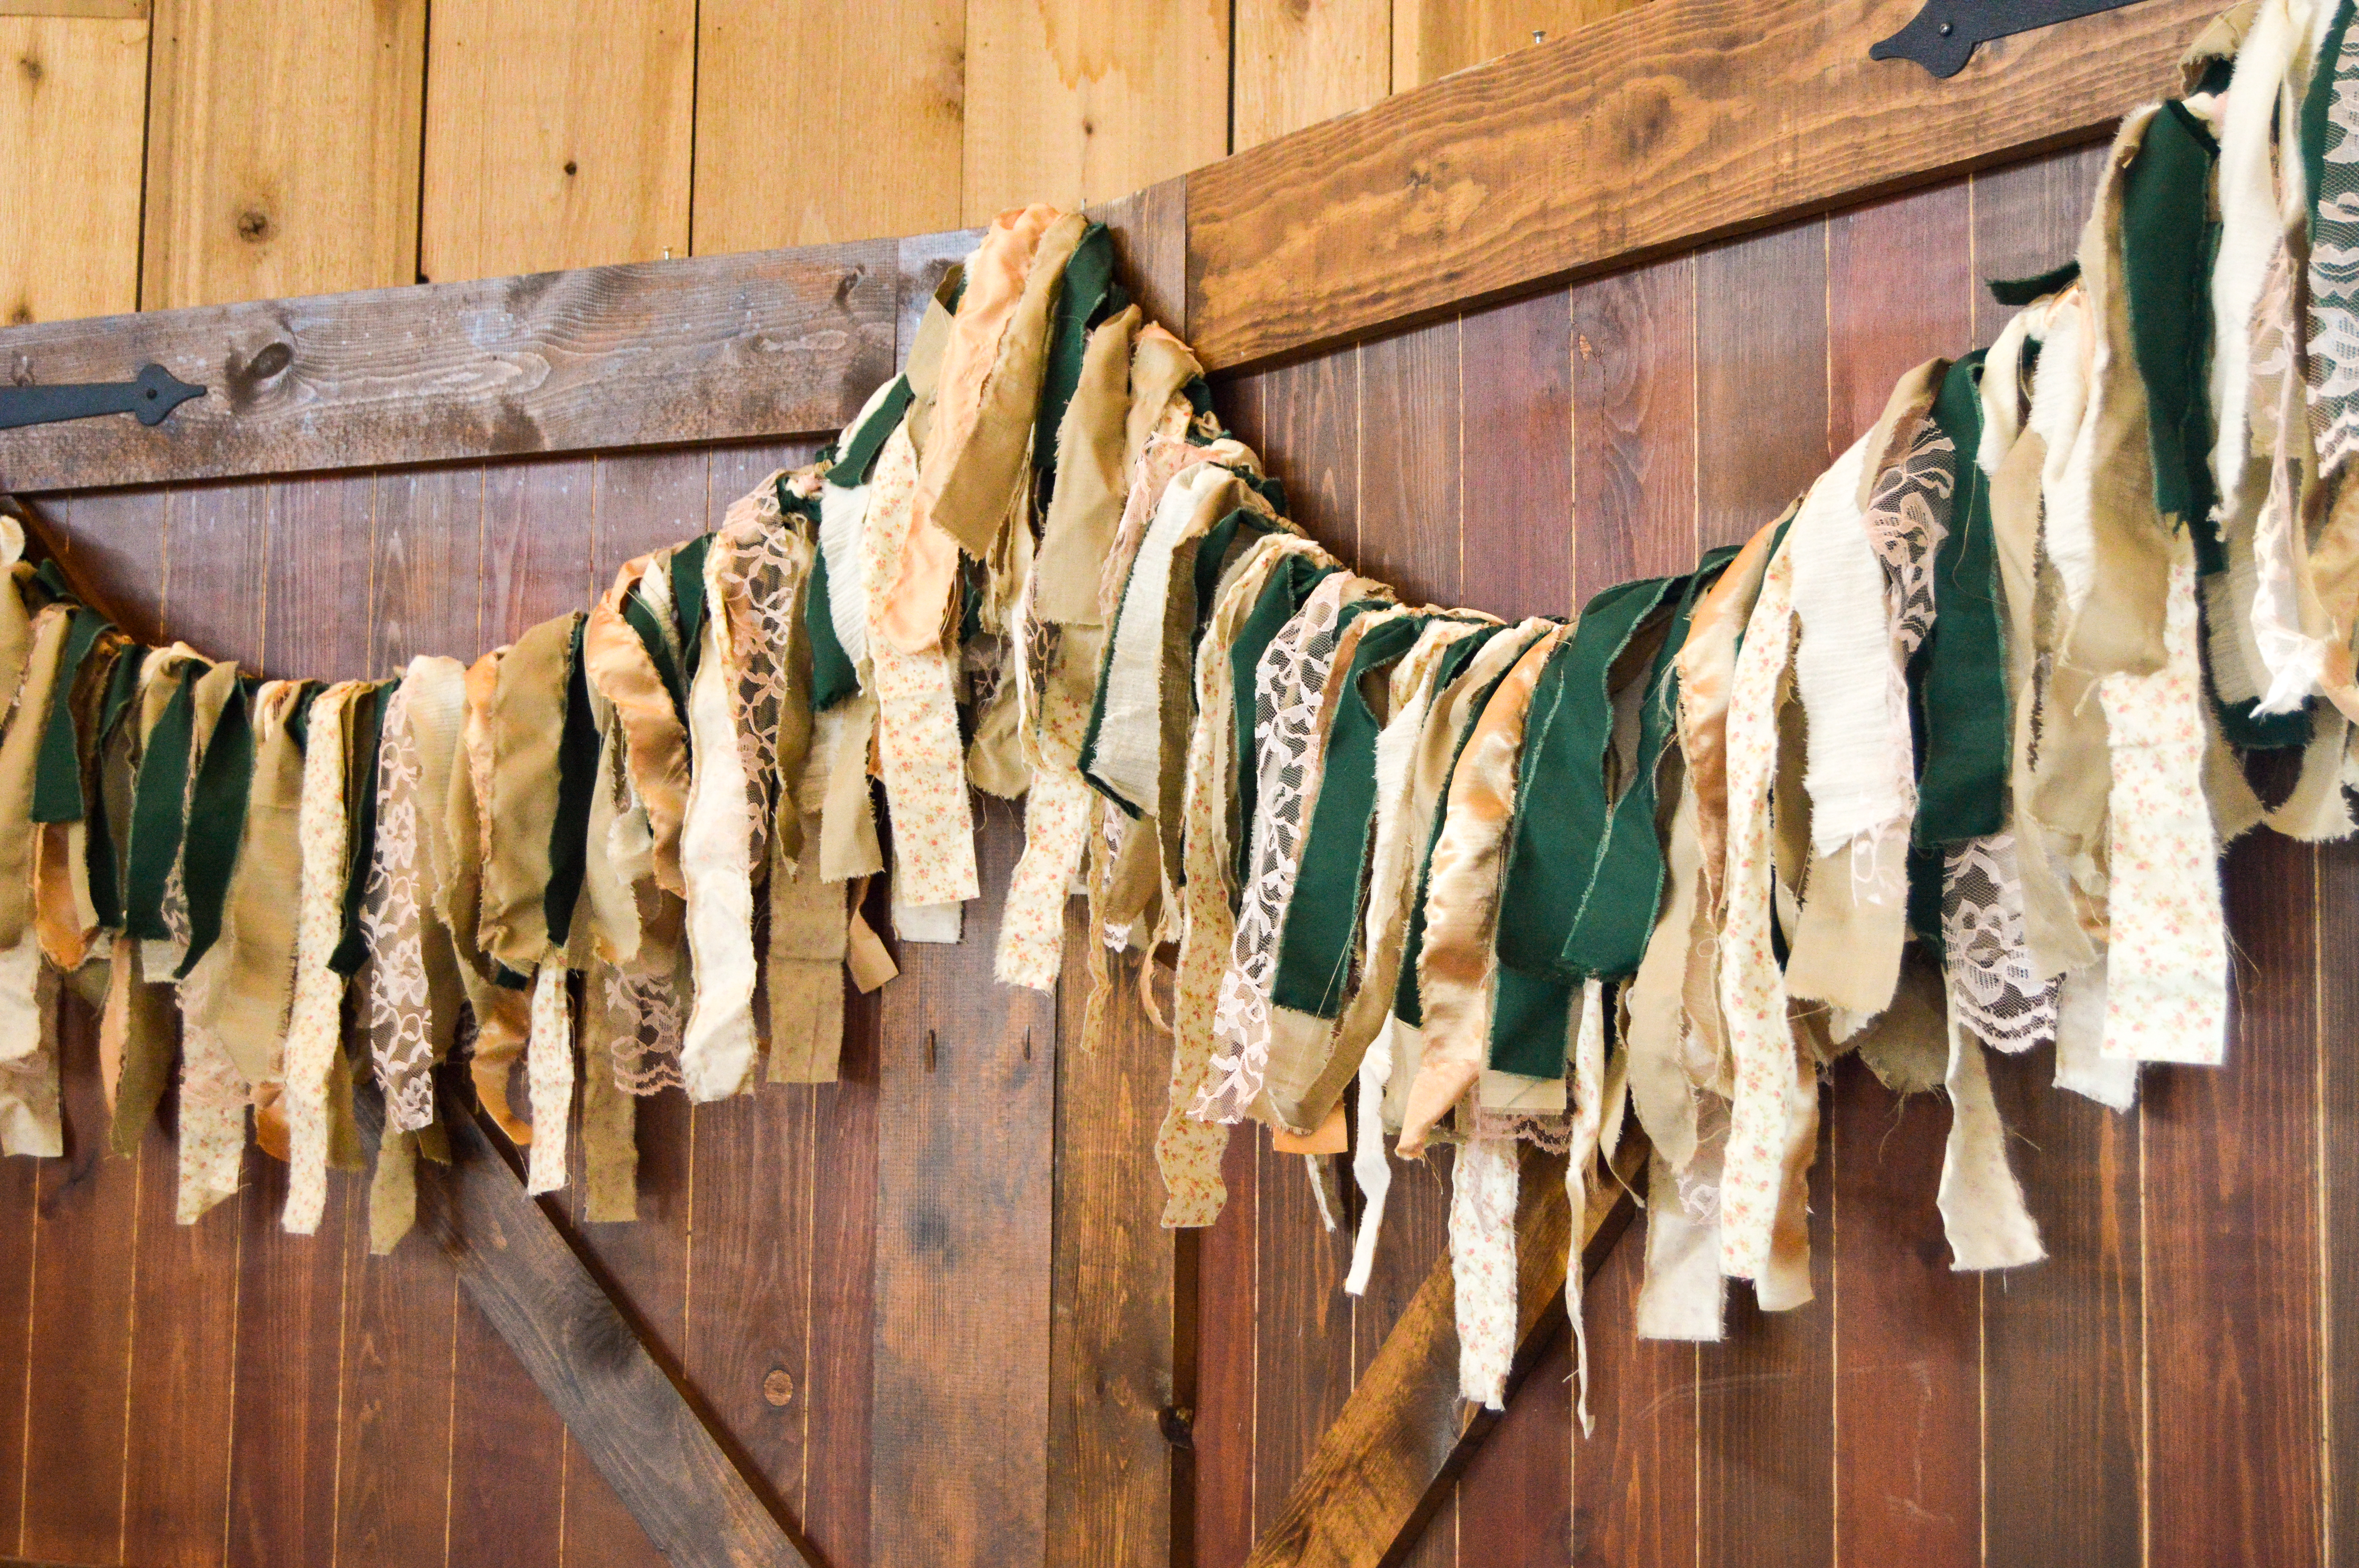
 Once the hard work is over, it will look something like this! Gorgeous, right?
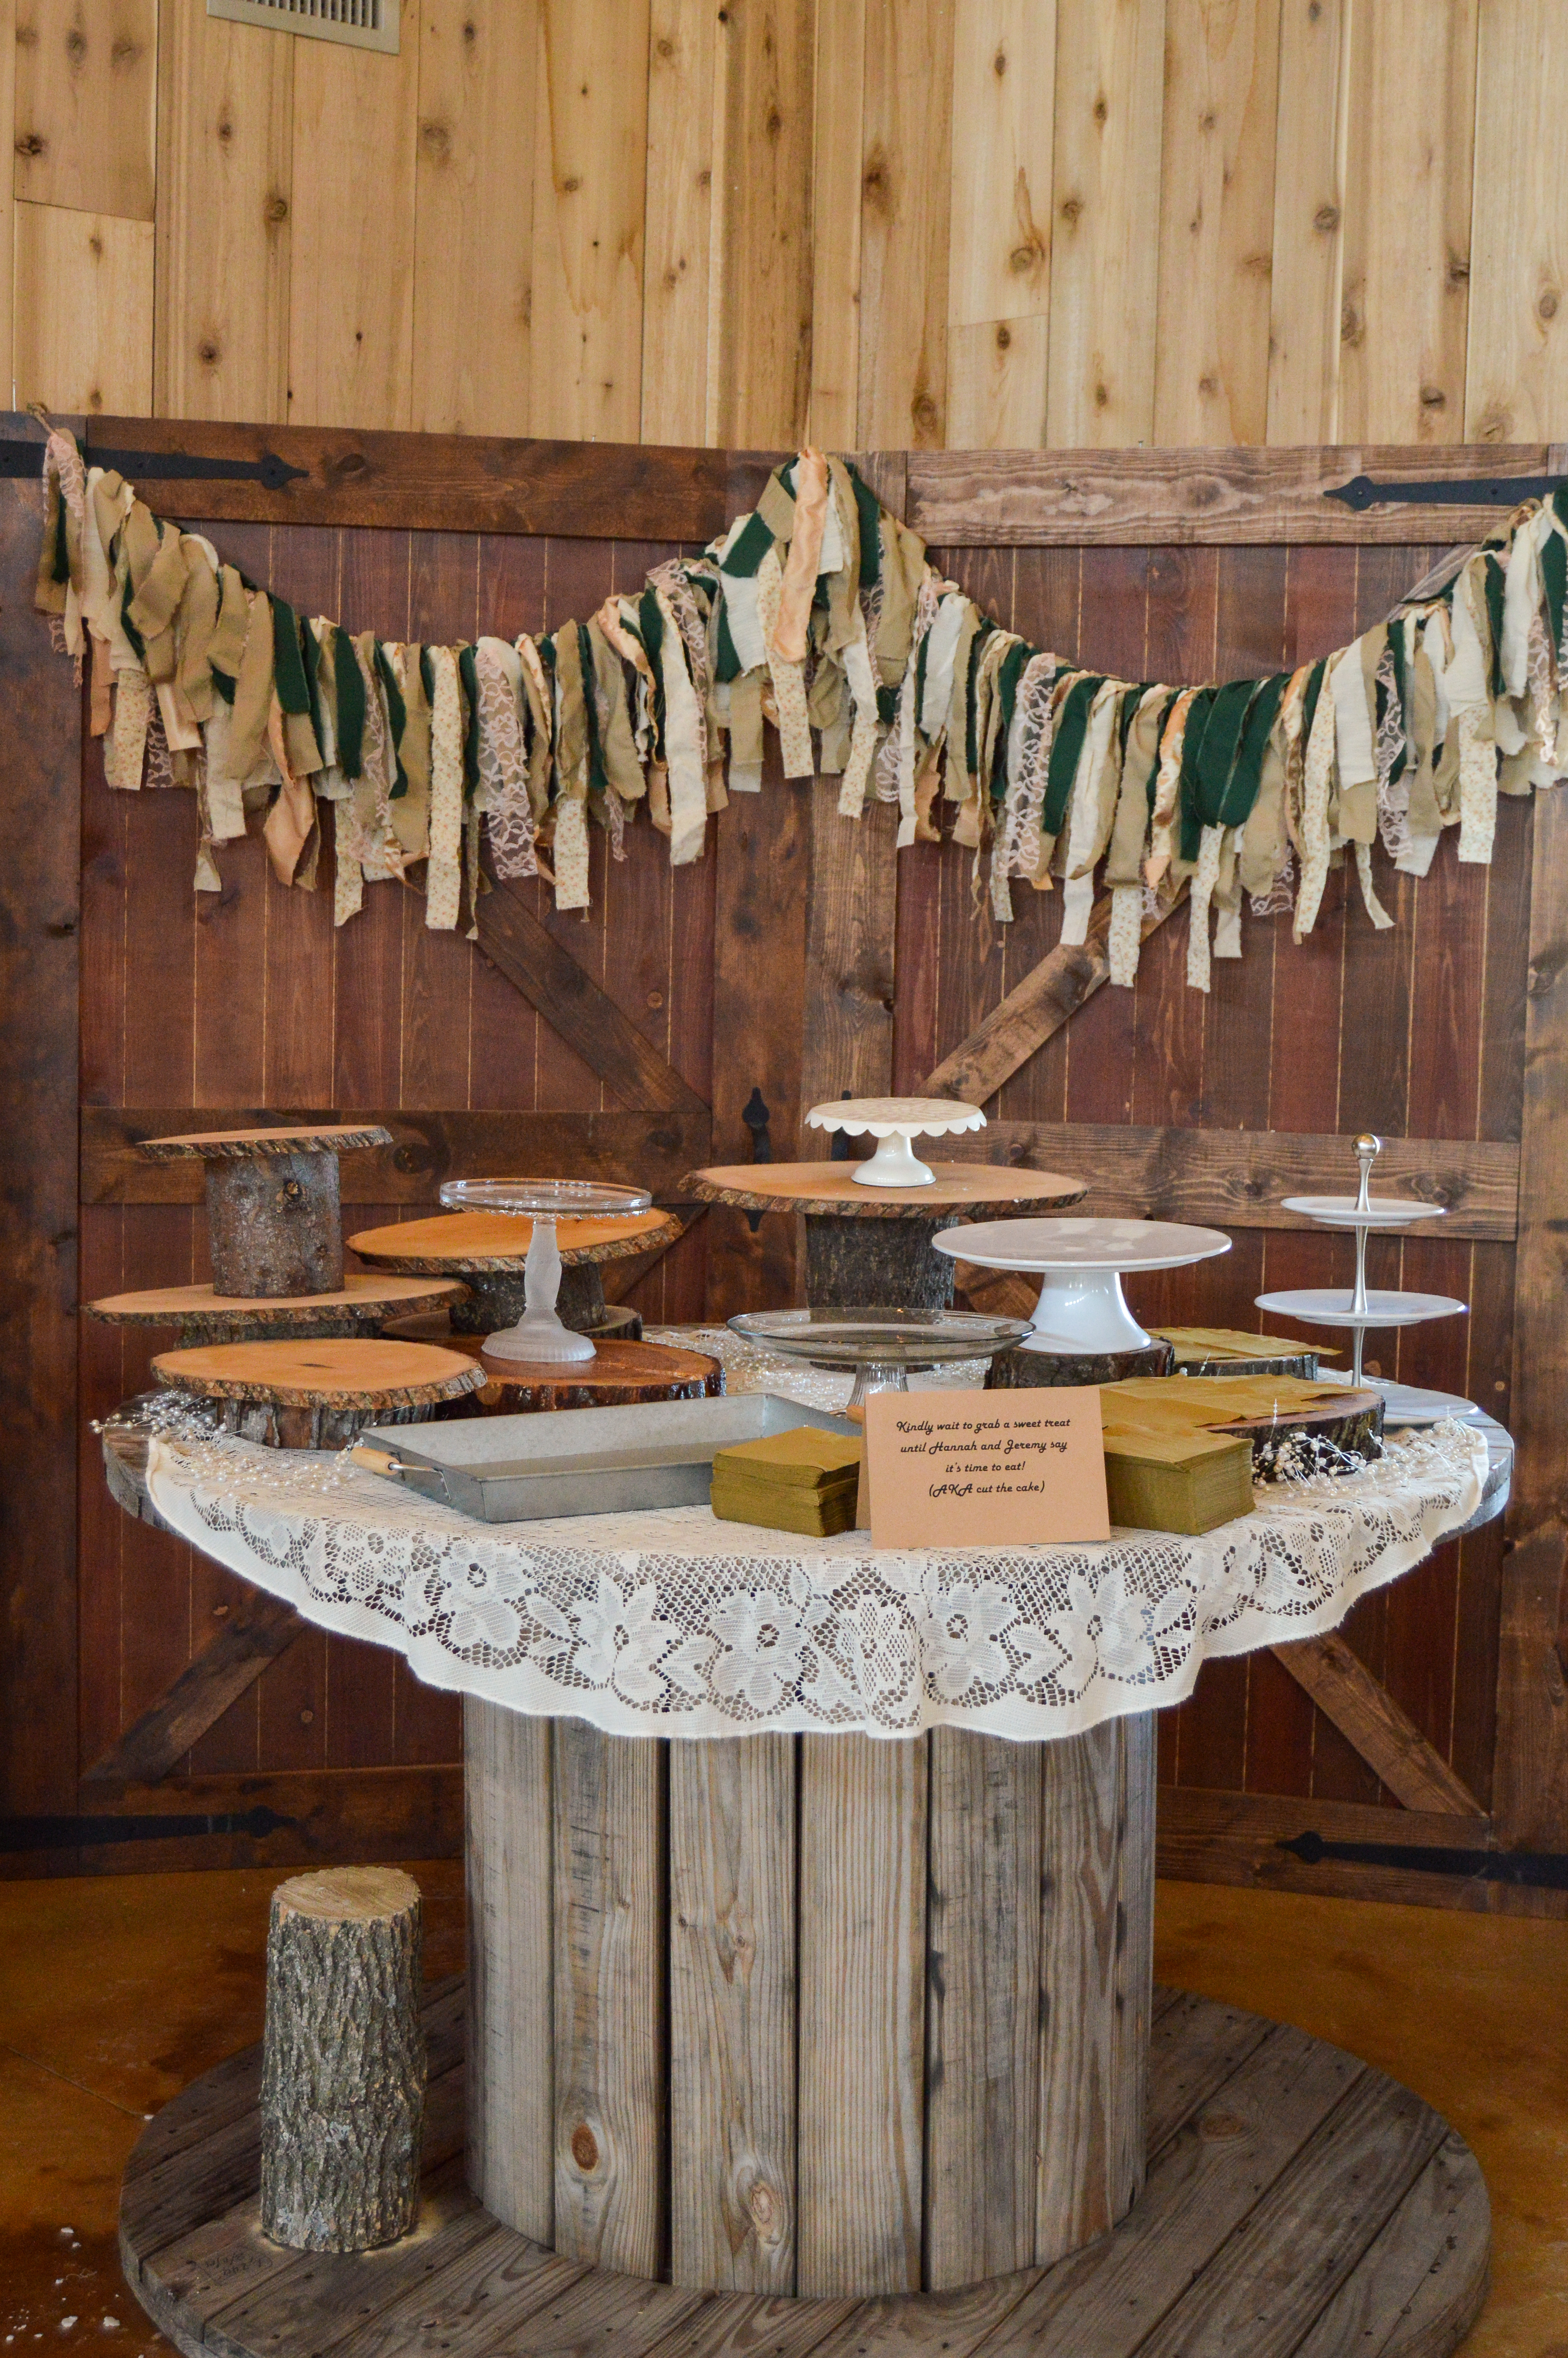
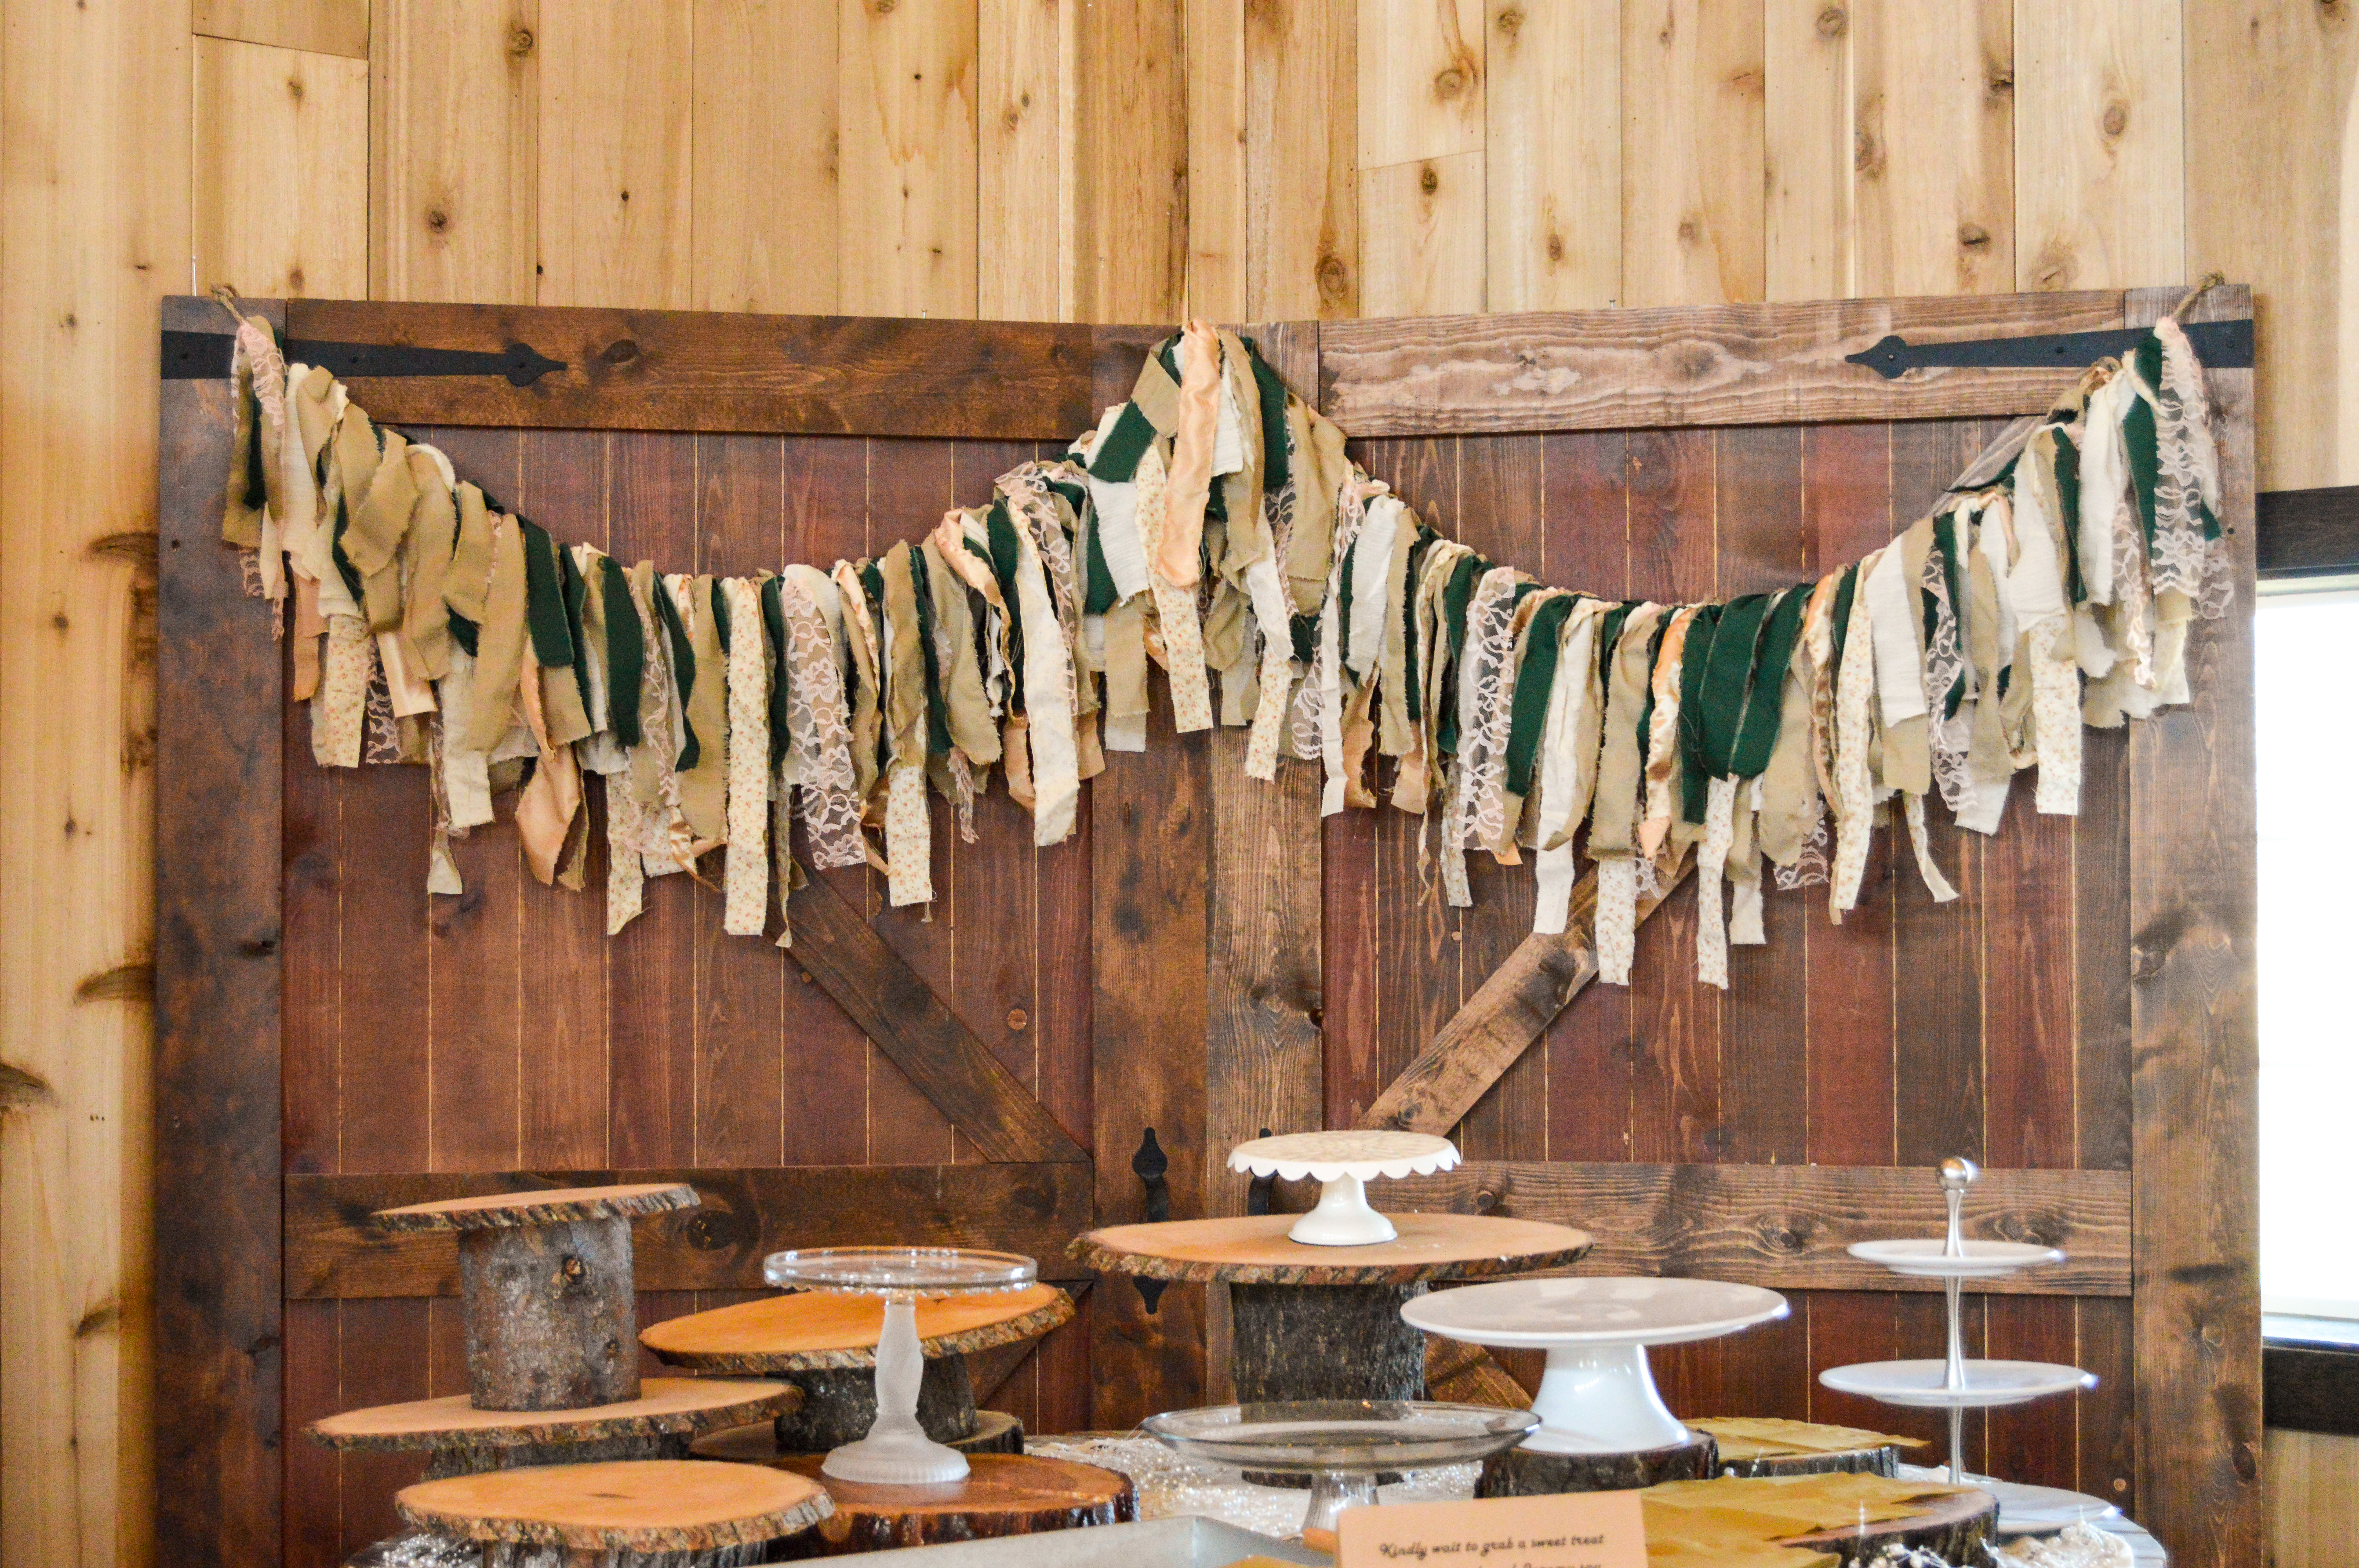
I absolutely loved how it looked hanging over our dessert table.
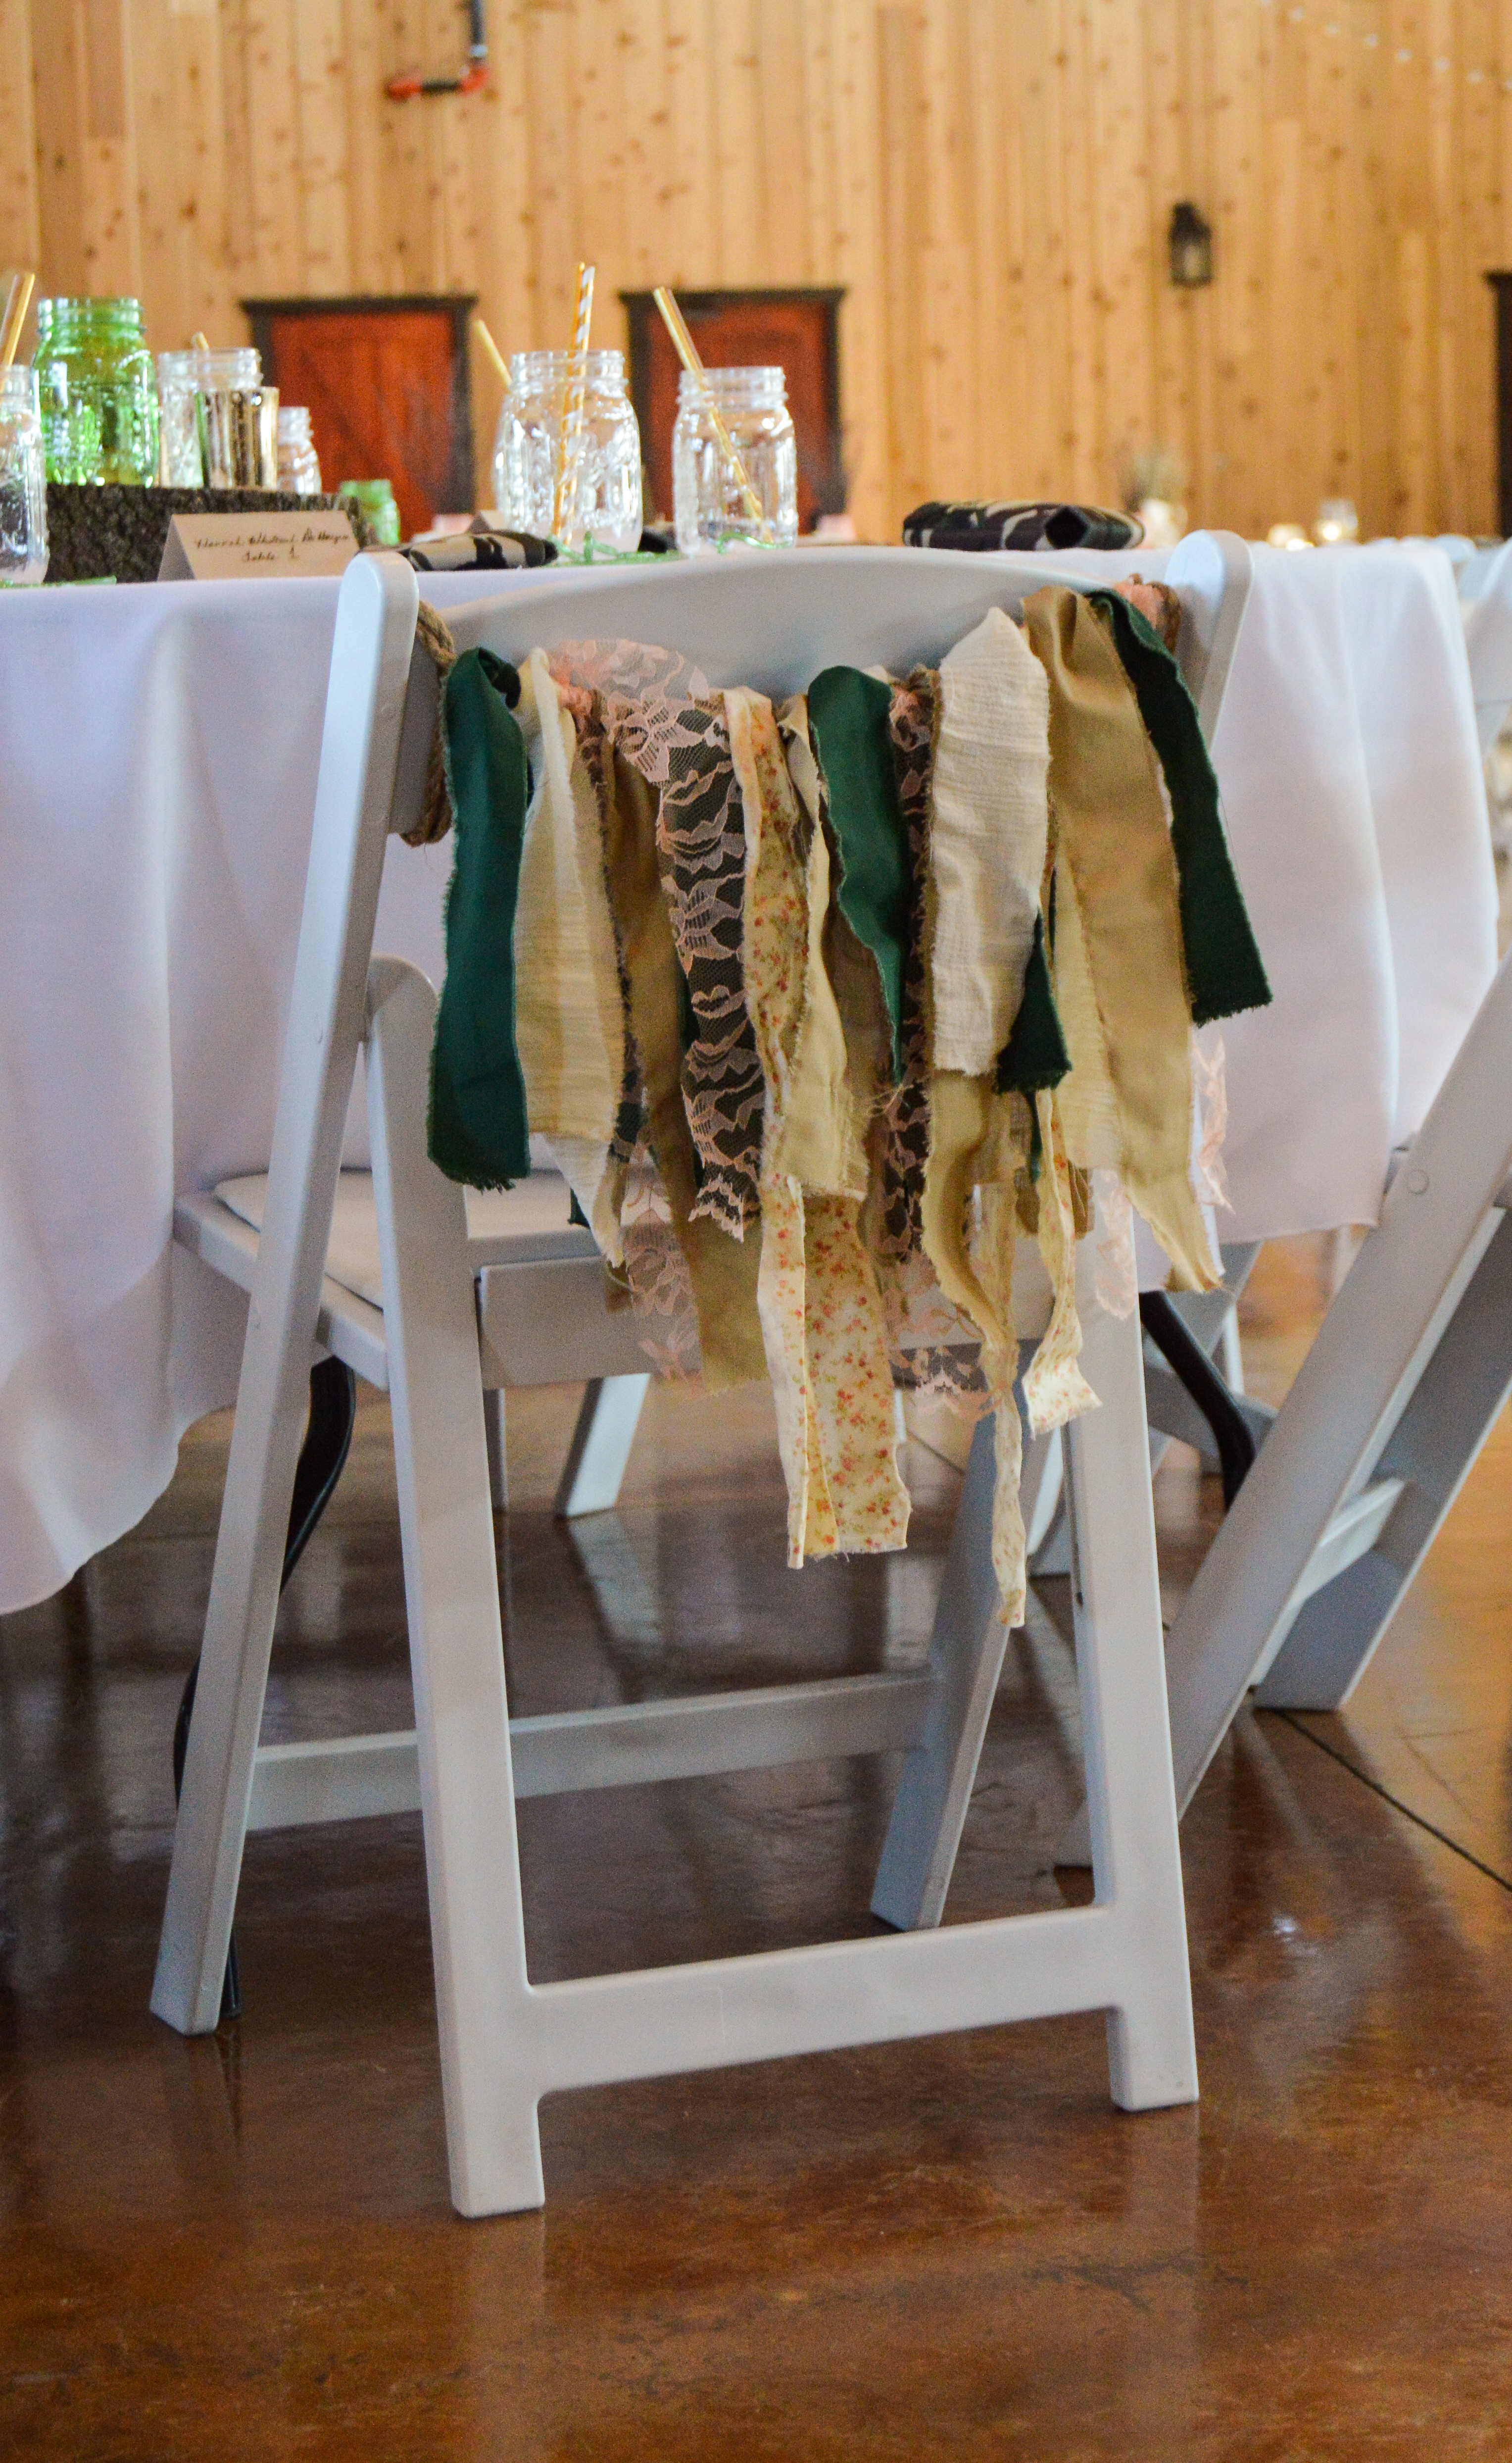 We had a decent amount of fabric leftover, so I also made mini garlands to put on Jeremy’s chair and my chair. I also made an extra mini garland on kebab sticks that I was going to use as a cake topper. But we all know what happened with the cake…
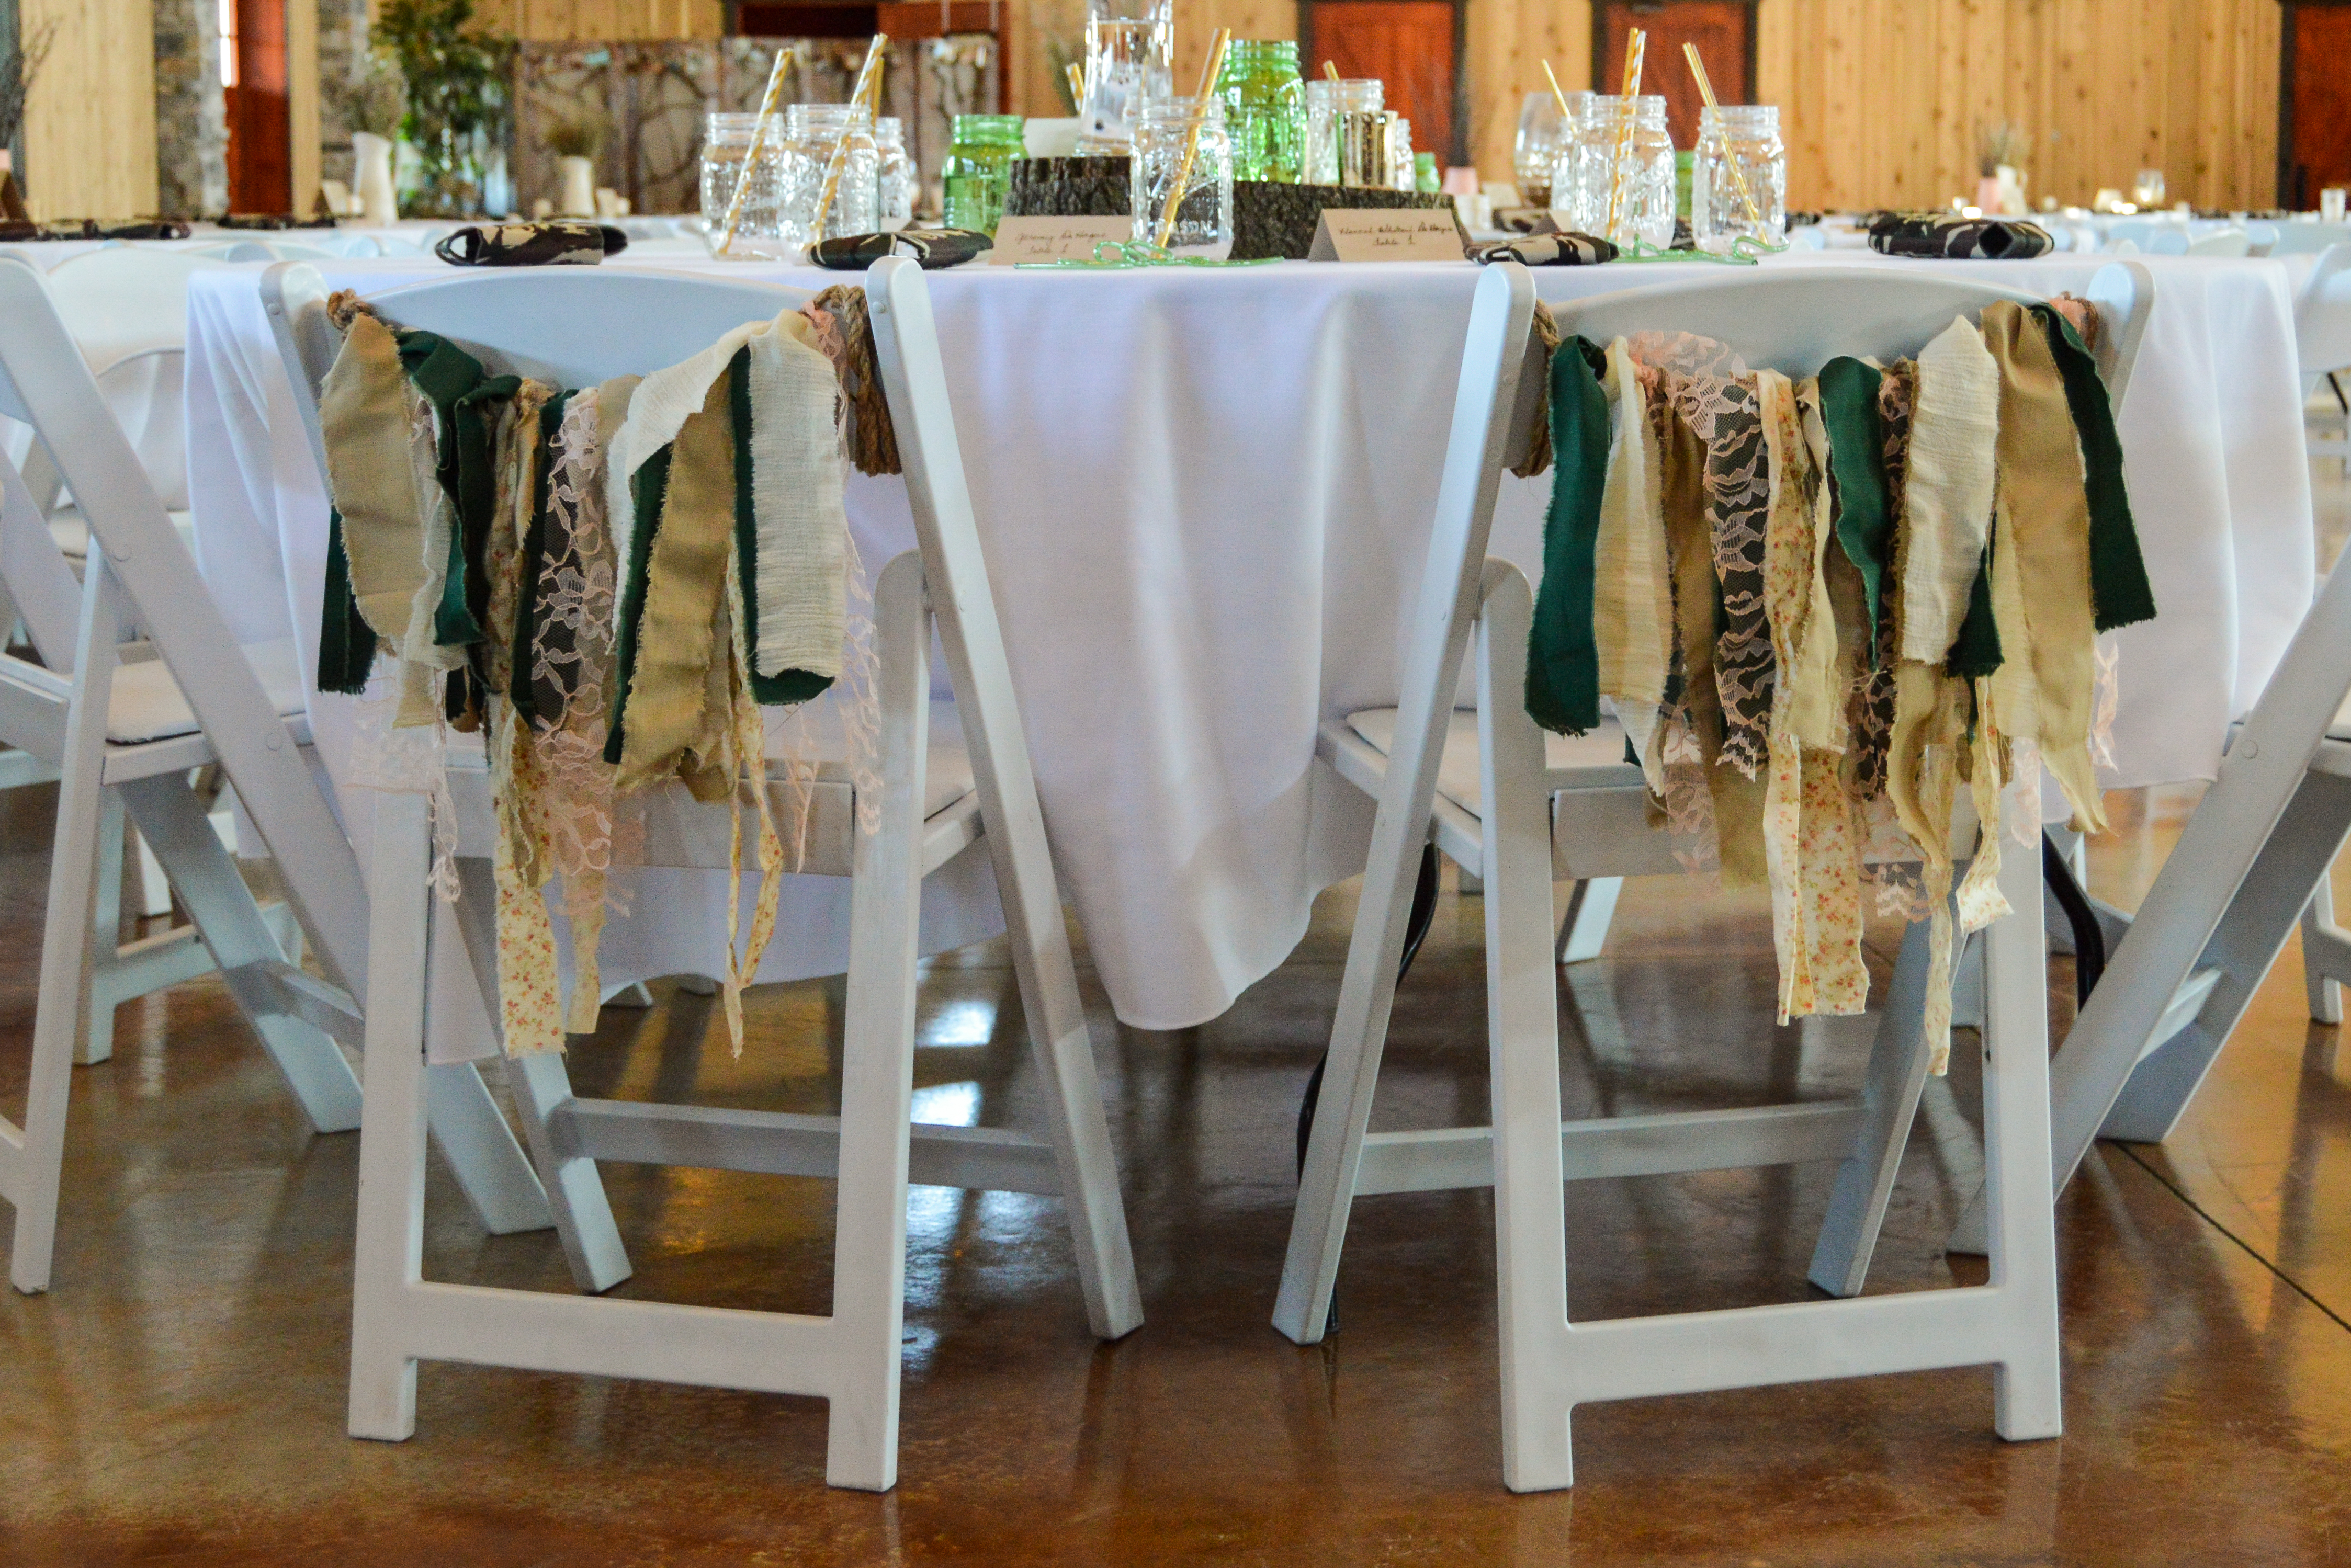 I love how everything was tied together (no pun intended) and we received tons of compliments on our creation.
Warning: This is not an hour-long project. It is time-consuming and honestly kind of mind-numbing. Be sure to recruit help and take breaks. The entire process between choosing fabric, cutting, tearing, and tying took us approximately five to six hours. As they say, patience is a virtue. Major props go out to my matron of honor for sticking through this DIY project with me. It was a lot of work, but the results were so worth it! Oh, and P.S. Tearing fabric is a messy job (strings upon strings upon strings). Put on your crappy clothes before getting to work.
How to Make a Fabric Garland for a #Wedding #DIY Click To Tweet